For a while now, I’ve been building various opens in new tabNeo4j.rb educational resources using the example of an opens in new tabasset portal.
There have been:- A screencast series (the opens in new tabfirst half and a opens in new tabsecond half)
- A opens in new tabSitePoint article on building recommendations and access control
- A opens in new tabwebinar on advanced access control
- An opens in new tabintroductory course for Neo4j using Ruby
As part of this process, I’ve wanted to use what I’ve been building and allow anybody to easily create a UI for their own assets in Rails. I’m pleased to say that I’ve got a good start with the opens in new tabgraph_starter gem.
The graph_starter gem is a Rails engine, which means that it can be placed within a Neo4j Rails application. The goal is to be able to quickly set up a basic UI for your entities, but to also be able to override it when you want to provide custom logic.
Setting up a graph_starter application is as simple as the following steps:
Installation
Using graph_starter is easy. First, create a Rails application if you don’t already have one:
rails new application_name
Include the graph_starter gem (it will include the Neo4j.rb gems for you):
# Gemfile

gem 'graph_starter'
Then, mount the engine:
# config/routes.rb

mount GraphStarter::Engine => '/'
Next, create some asset models:
# app/models/product.rb

class Product < GraphStarter::Asset
  # `title` property is added automatically

  property :name
  property :description
  property :price, type: Integer

  has_images

  has_one :in, :vendor, type: :SELLS_PRODUCT
end

# app/models/vendor.rb

class Vendor < GraphStarter::Asset
  property :brand_name
  property :code

  name_property :brand_name

  has_many :out, :products, origin: :vendor
end
These models are simply Neo4j.rb ActiveNode models so you can refer to the opens in new tabNeo4j.rb documentation to define them. They do have some special methods, however, which let you control how GraphStarter works.
In the above Product model, for example, has_images has been called to indicate that products have images which defines a separate Image model along with the necessary association.
See the opens in new tabgraph_starter README for documentation on how to configure aspects of your models.
Importing Data
Once that framework is in place, you can define a way to import data, if desired. In this case, I would suggest making a rake task:
# lib/tasks/store.rake

namespace :store do
  task :import do
    CSV.open(File.read('vendors.csv')).each do |row|
      Vendor.create(name: row['brand_name'],
                    code: row['code'])
    end

    CSV.open(File.read('products.csv')).each do |row|
      product = Product.create(name: row['name'],
                               description: row['description'],
                               price: row['price'].to_i)

      product.vendor = Vendor.find_by(code: row['vendor_code'])
    end
  end
end
And that’s all!
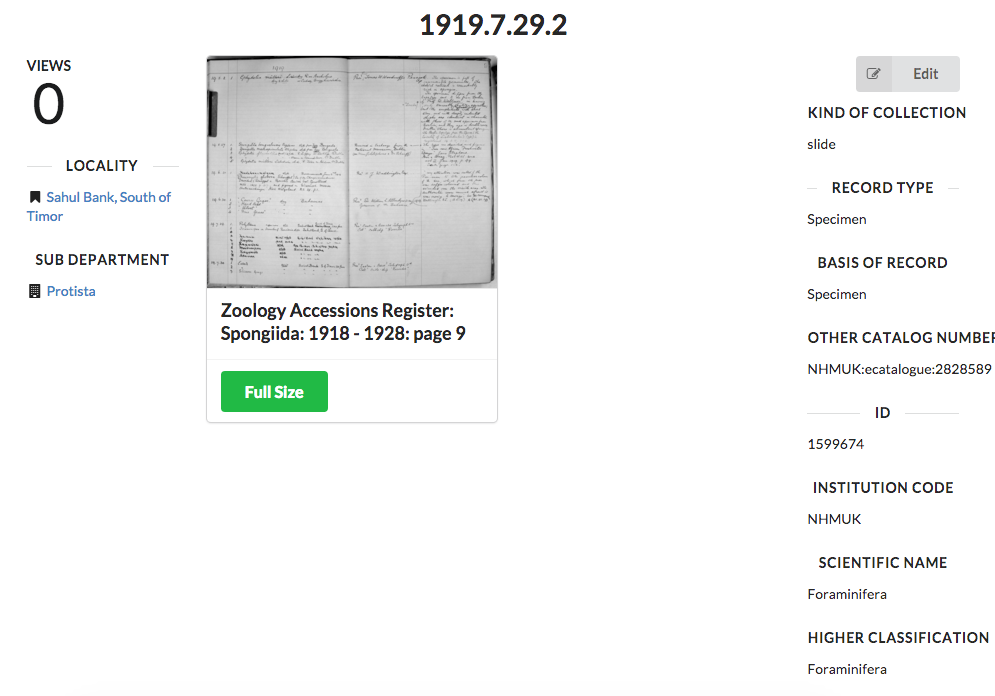
When everything is in place, you can simply start up your Rails server (by running rails server) and you get a UI which looks like this example site I made using data from the opens in new tabNatural History Museum in London:
More Information
You can browse the app on Heroku and opens in new tabcheckout the repository on GitHub
I’ll be working on a new project to create a opens in new tabGraphGist portal based on the graph_starter gem so I plan to continue improving it!
Need more tips on how to effectively use Neo4j in your next Neo4j Rails app? Register for our online training class, Neo4j in Production, and learn how master the world’s leading graph database.


