Deploy a Neo4j Causal Cluster on GCP Marketplace
This guide explains how to deploy a Neo4j Enterprise Causal Cluster via GCP Marketplace.
-
You have a Neo4j Enterprise license
-
You should have familiarity with causal cluster architecture.
-
Knowledge of remote drivers to access Neo4j from your application helps you connect to your cloud-hosted database.
Let’s get started!
Select Neo4j in GCP Marketplace
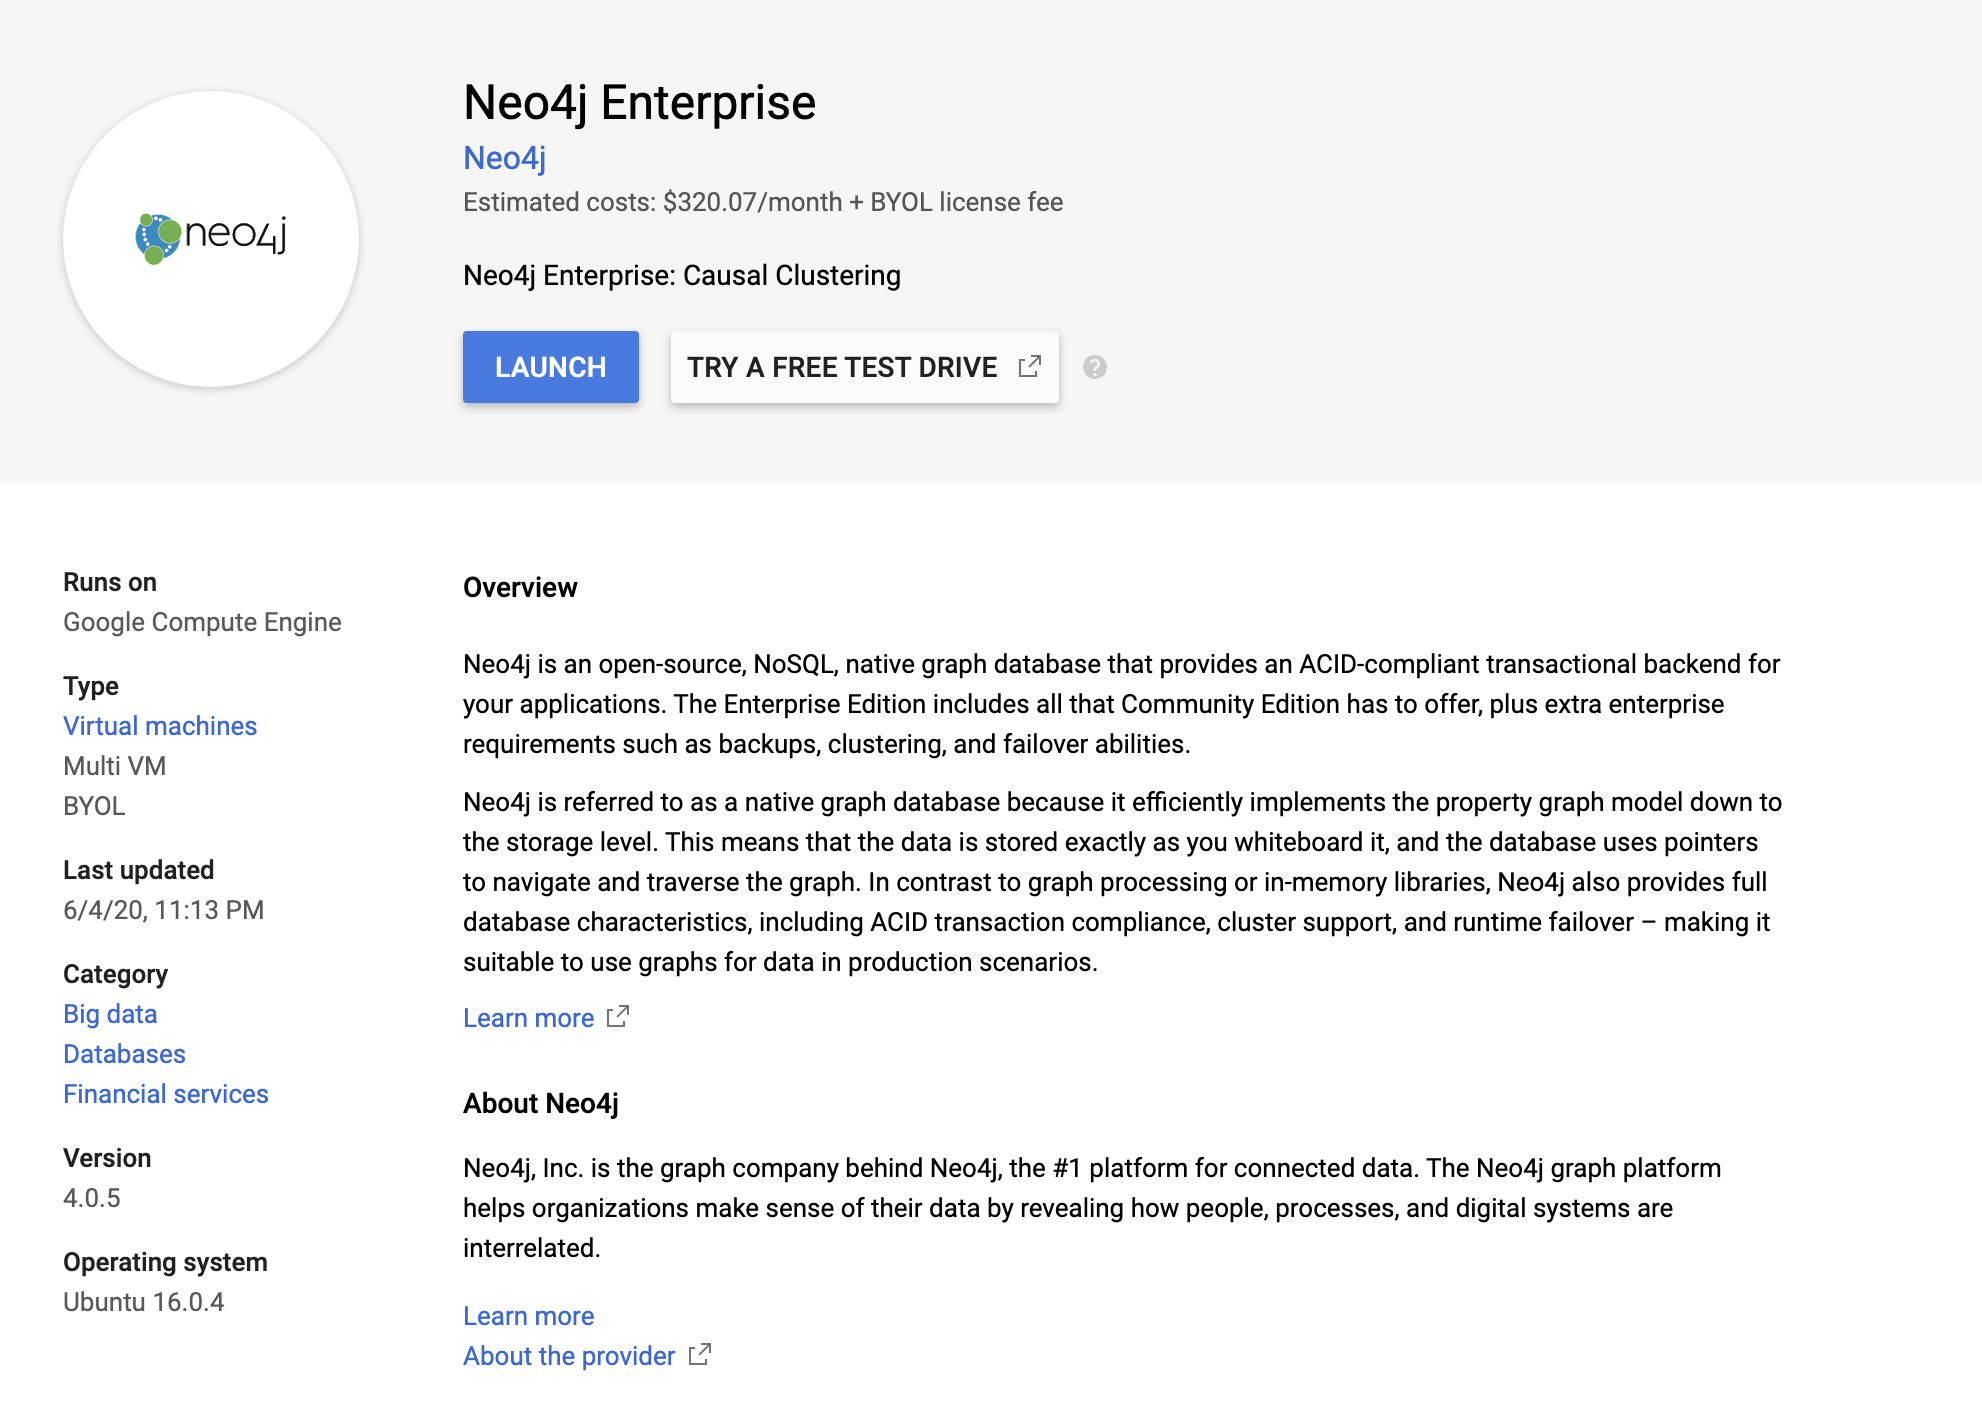
Select Neo4j from the Google Cloud Launcher console and click Launch on Compute Engine.

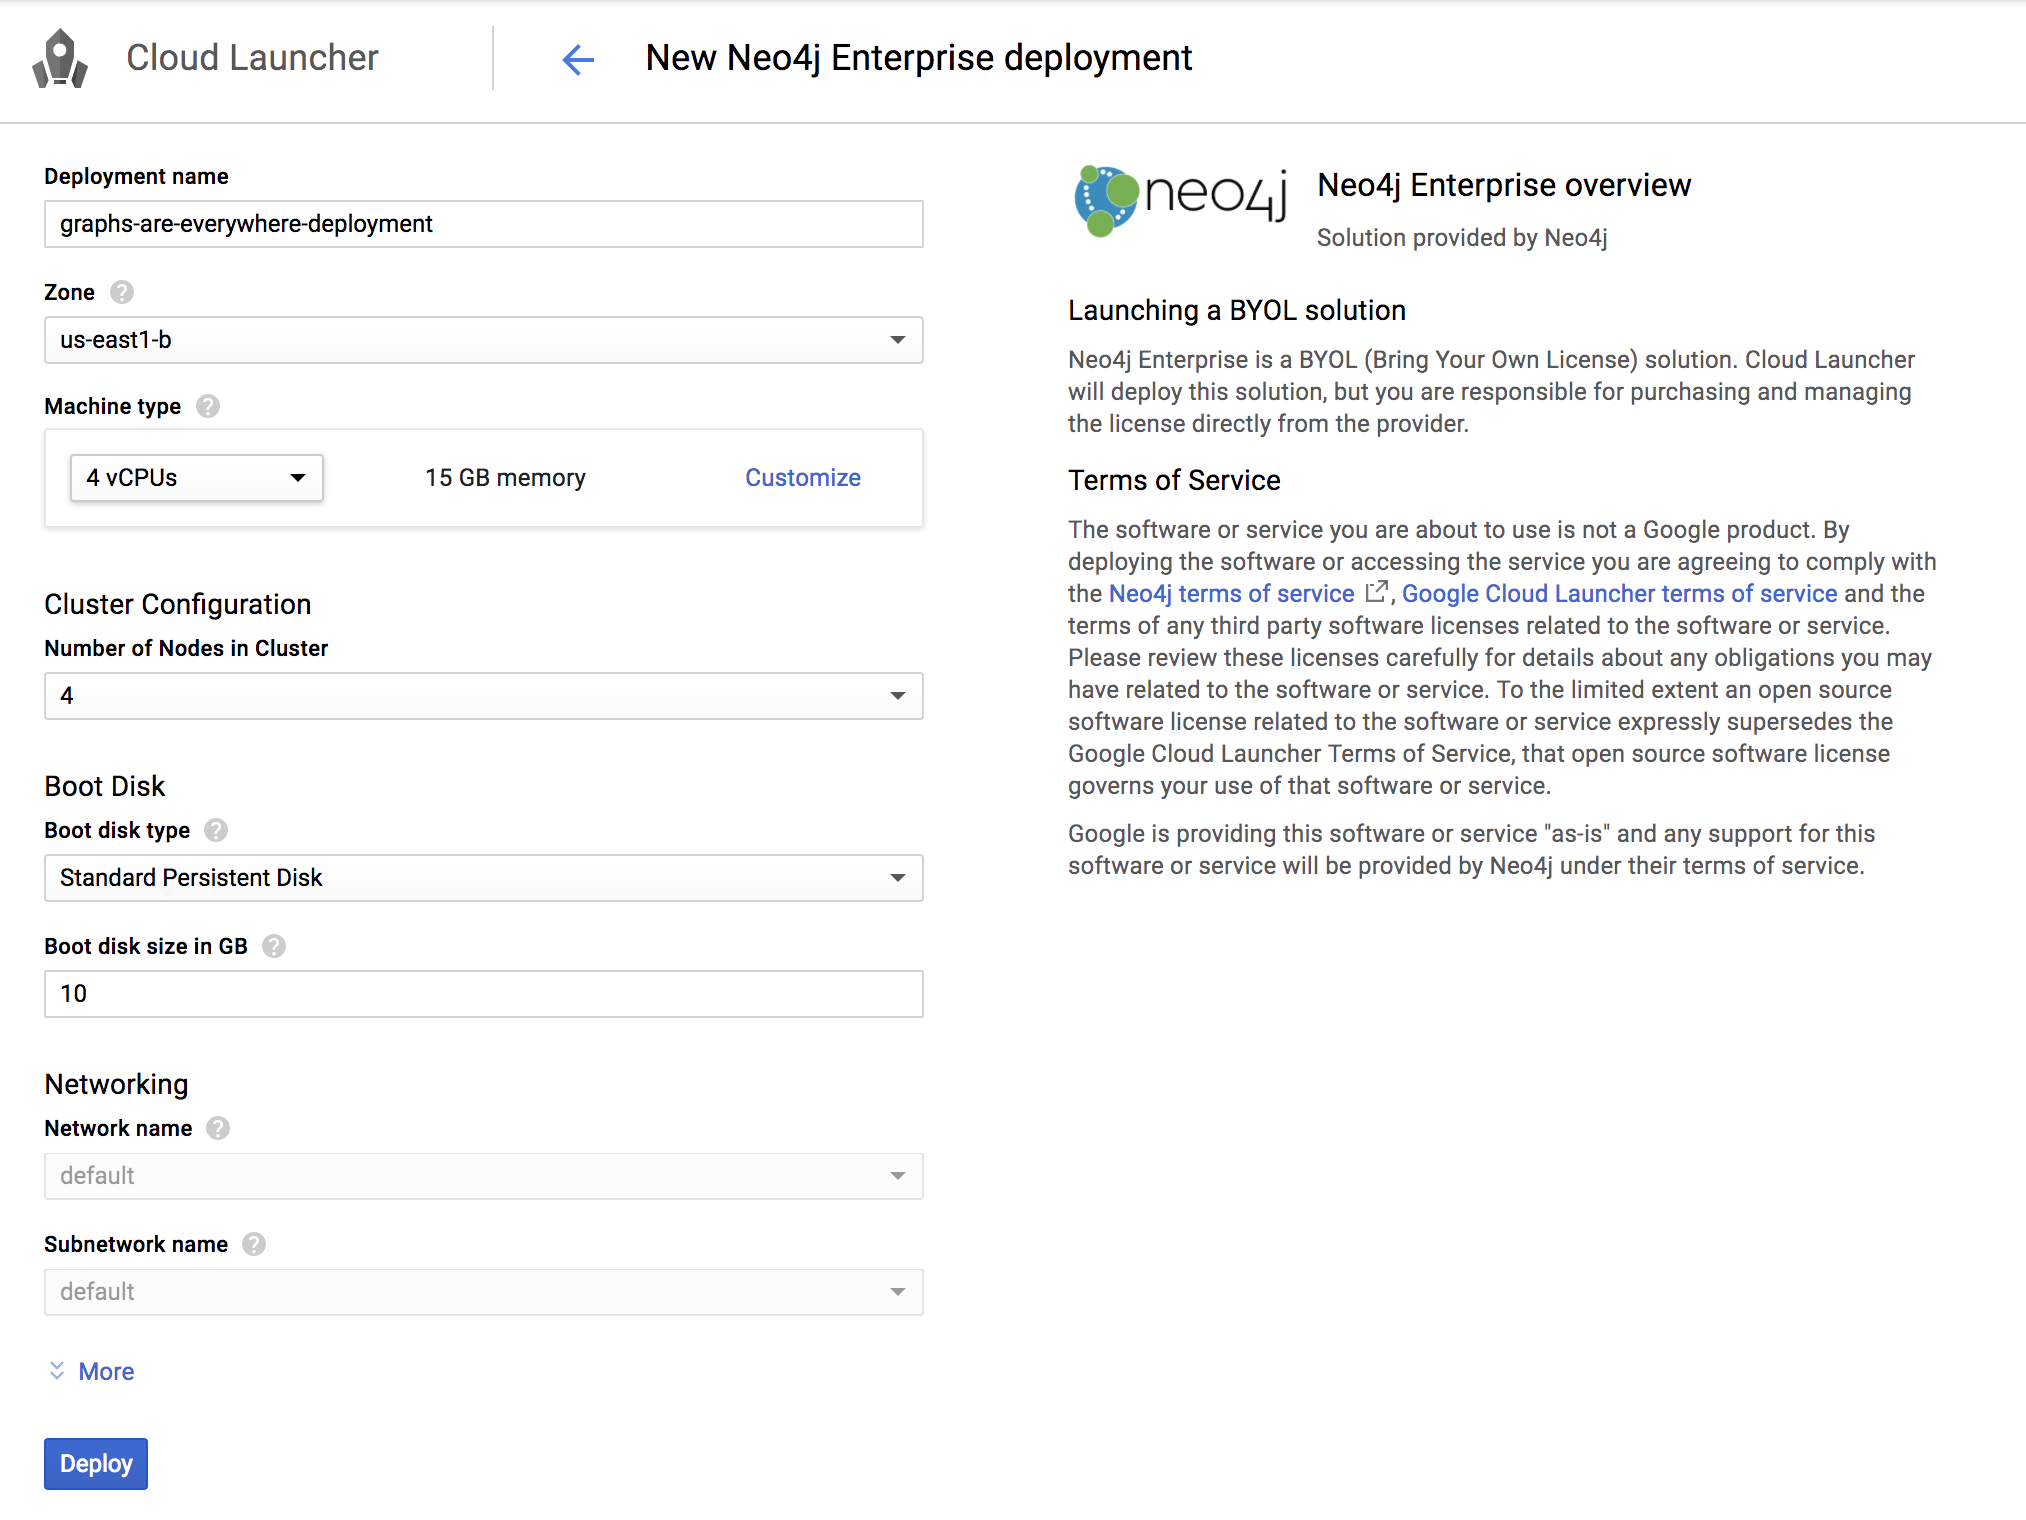
Deploy Neo4j Enterprise
-
Choose a name for your Neo4j instance
-
Choose a machine type
-
Select a number of core nodes in the cluster
-
Click
Deploy

-
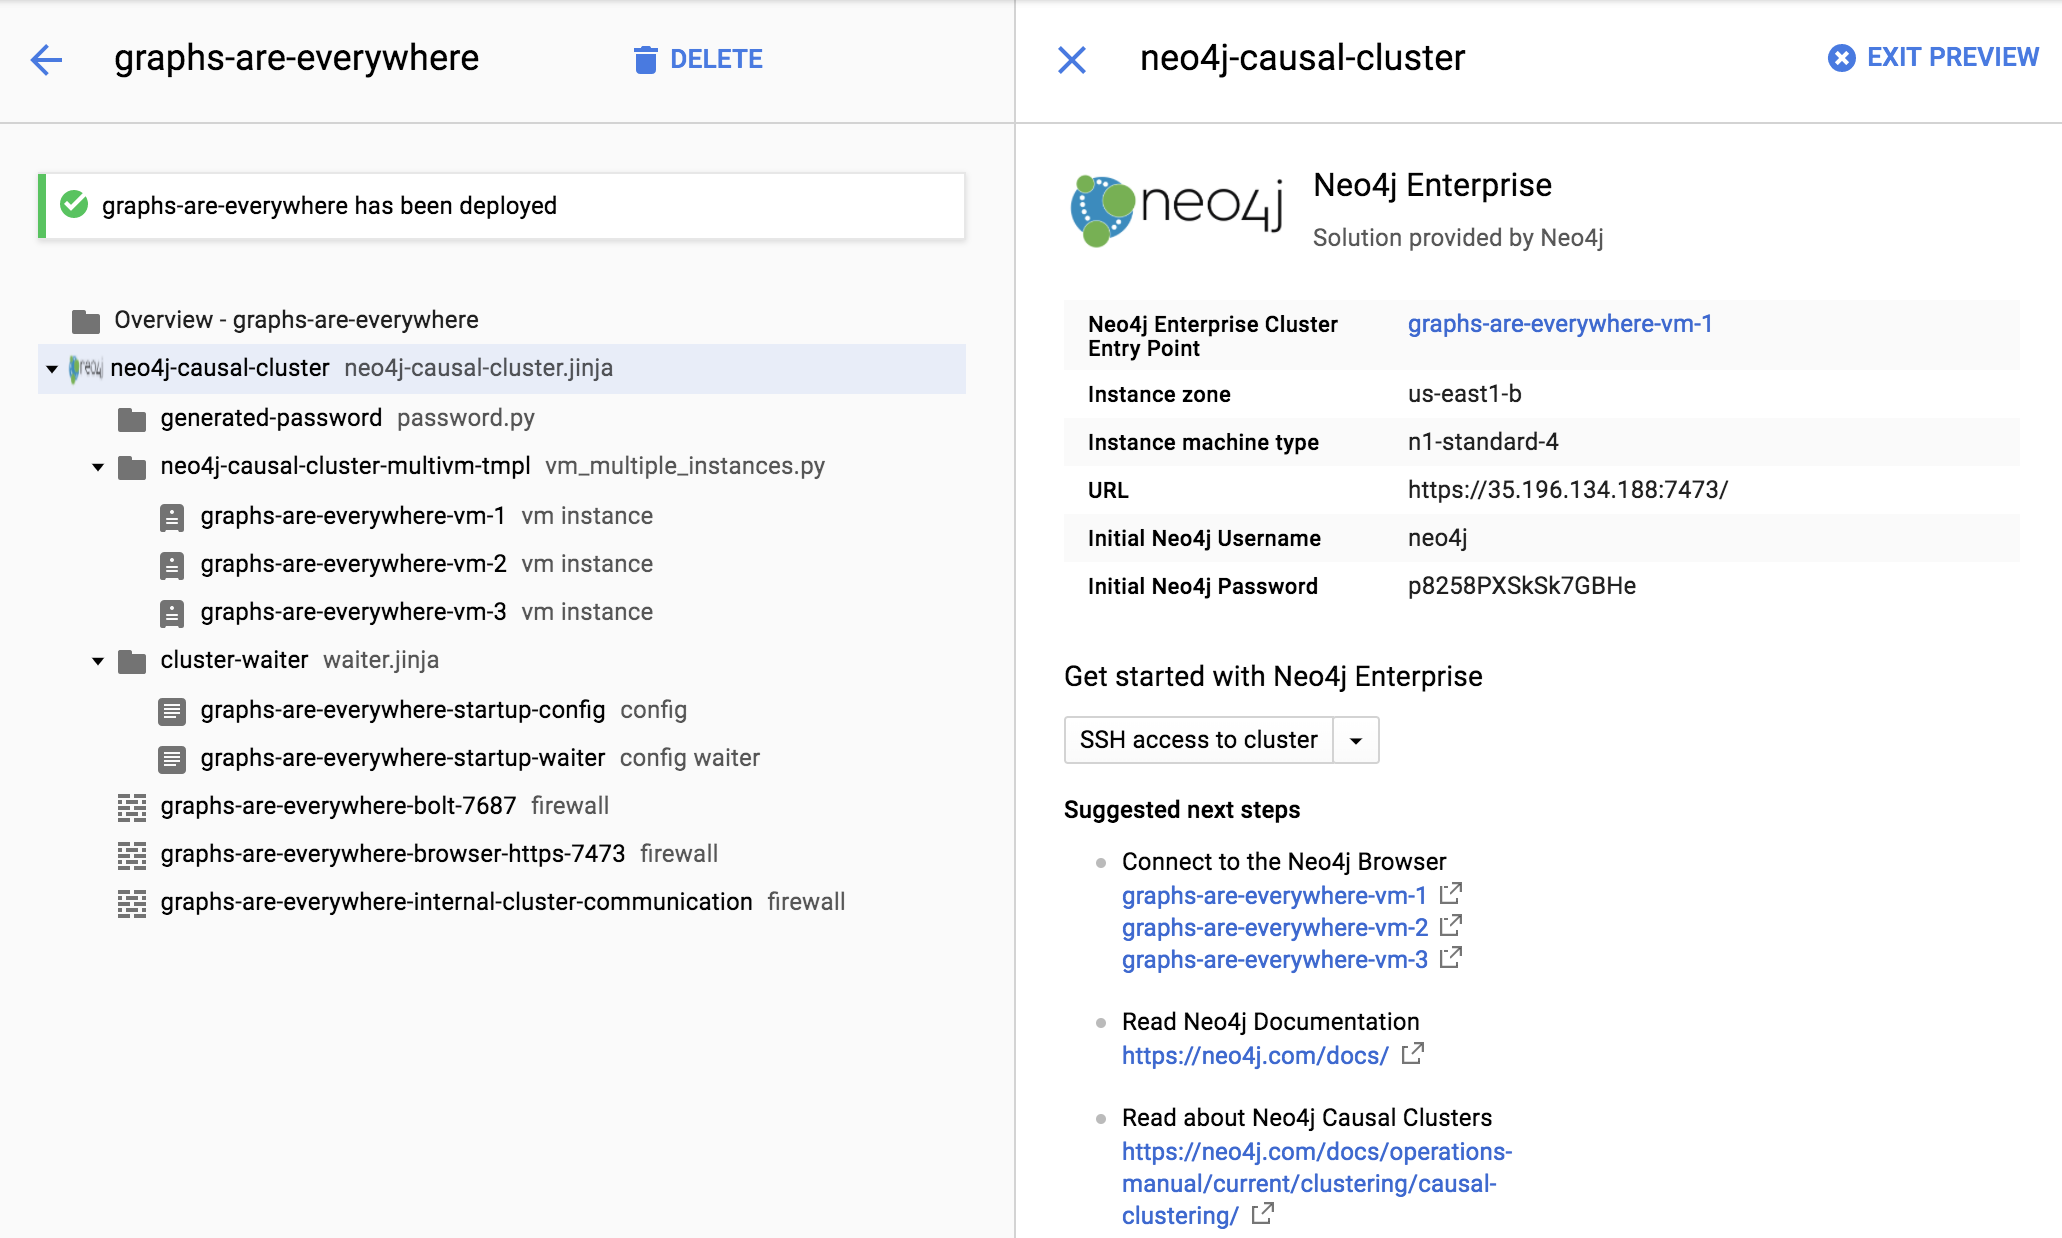
Once the deploy has finished, save the URL, username, and password for the next steps.

Start using Neo4j Browser
We are now ready to start using Neo4j!
Use your browser to access the URL provided in the previous step and log in with the initial username and password provided. You may see an SSL warning screen because the deployment uses an unsigned SSL certificate out of the box.
The initial password is set to a strong, random password and is saved as a metadata entry on the VMs themselves, so you cannot lose it.
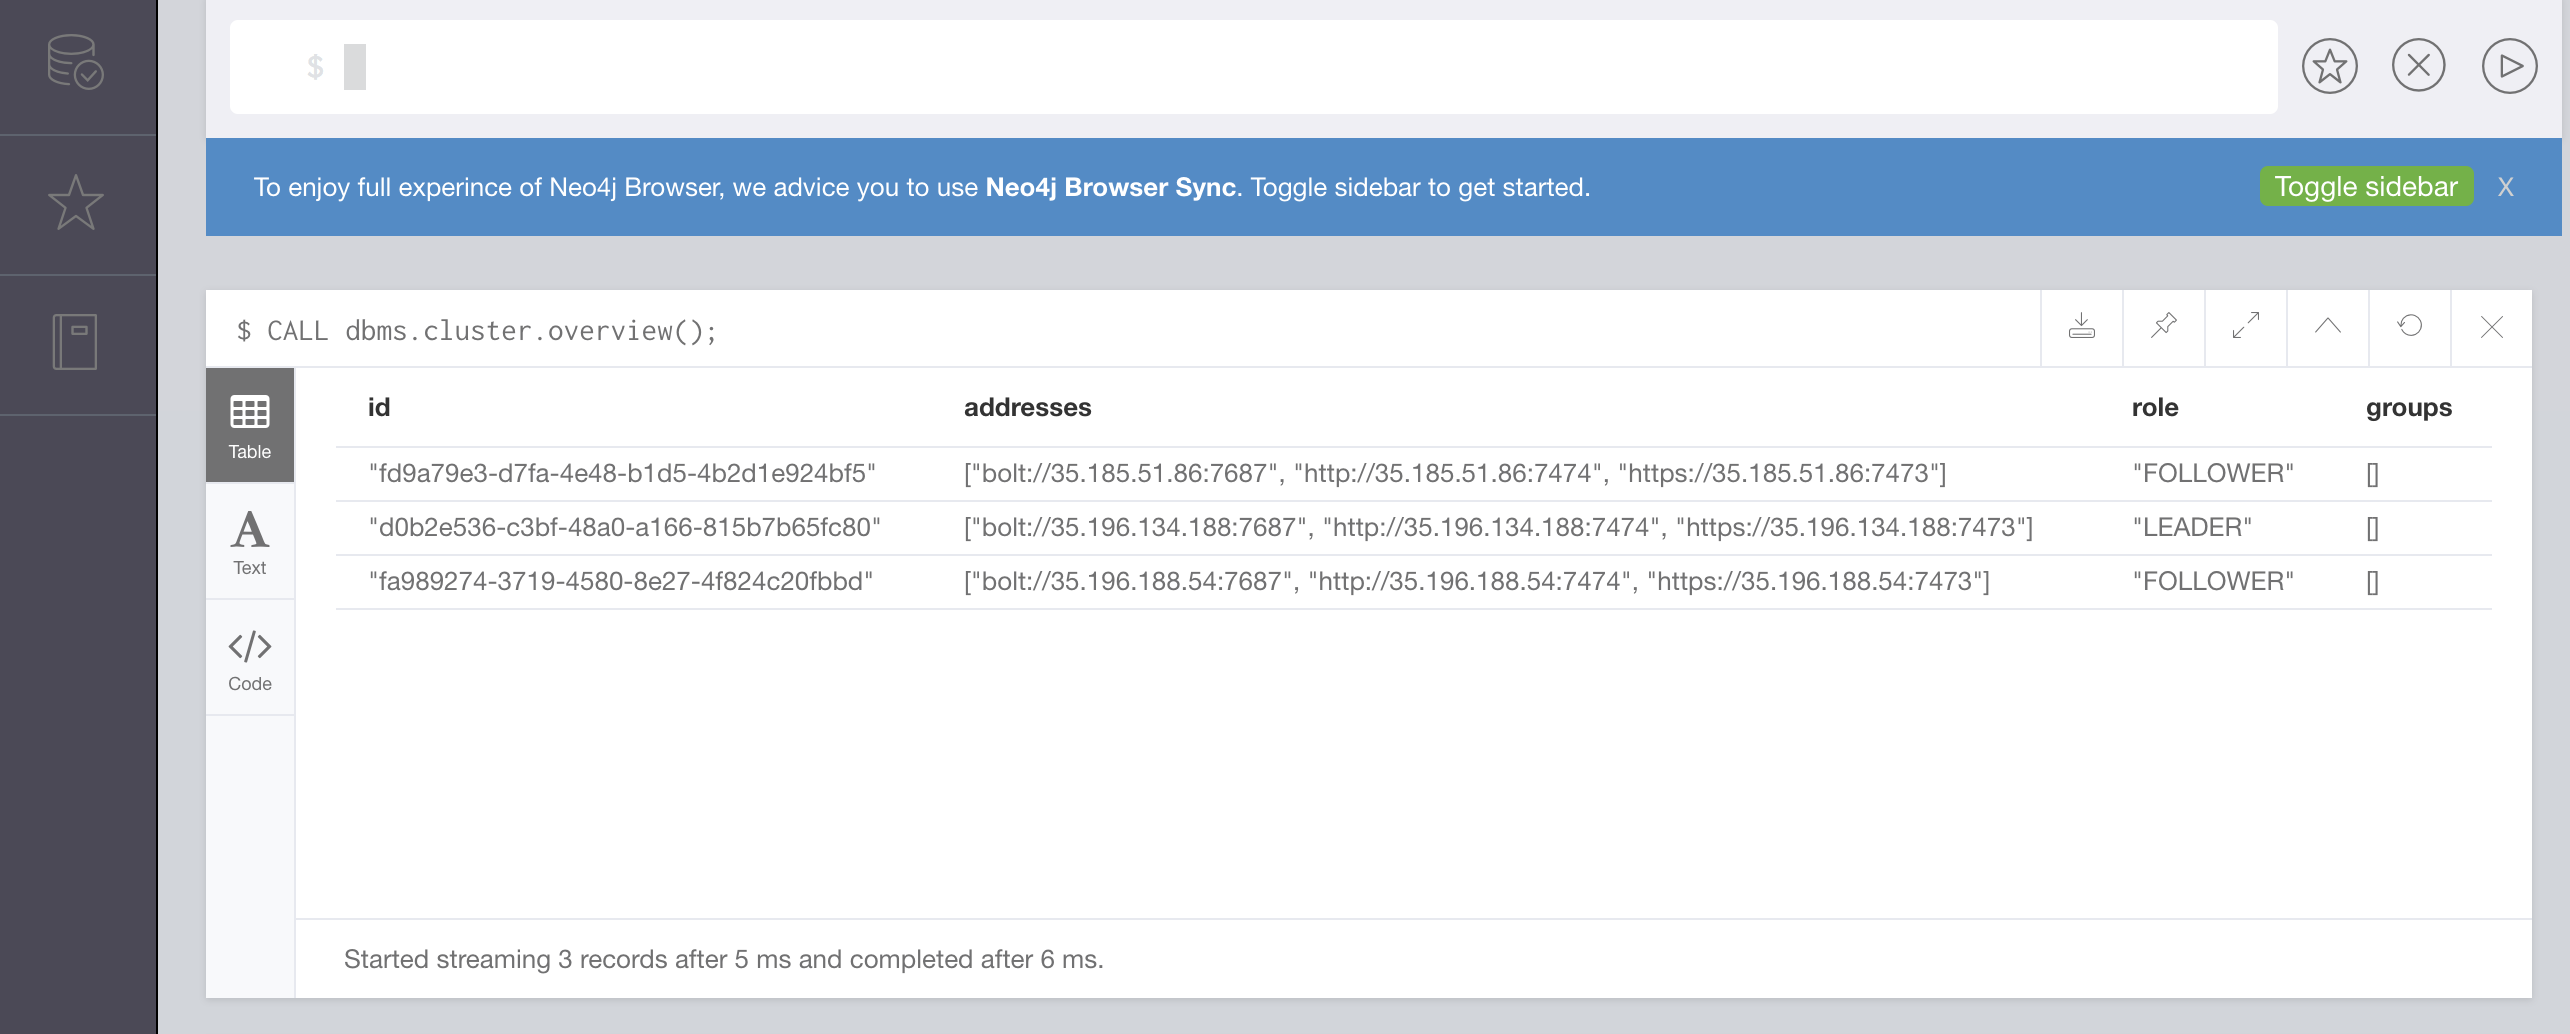
To verify that the cluster has formed correctly, run the cypher statement CALL dbms.cluster.overview().

You will know that everything is working properly when you see one LEADER node with the remainder of
your nodes as FOLLOWER.
The IP addresses and endpoints will match what Compute Engine shows you for your running instances.

How do I SSH into the instance?
On the deployment manager screen above, there is a button provided to SSH directly into the first node of the cluster.
Cluster members are regular Google Compute Engine VMs.
As a result, you can always access any of them via SSH.
Check your Compute Engine VMs.
They should be named cluster-name-vm-1, cluster-name-vm-2, and so on.
Using the Google Cloud CLI, you can access them via the following command:
gcloud compute ssh my-cluster-deploy-vm-1How the Virtual Machines Work
Please consult Neo4j Cloud VMs for details on internals of virtual machines, including configure Neo4j inside of the VM and access various files.
Your Cluster Default Configuration
The following notes are provided on your default cluster configuration.
-
Ports 7687 (bolt) and 7473 (HTTPS access) are the only ports exposed to the entire internet. Consider narrowing access on these ports to only your needed networks. External unencrypted HTTP access is disabled by default.
-
Ports 5000, 6000, and 7000 are enabled only for internal network access (
10.0.0.8), as they are needed for internal cluster communication. -
Because cloud VMs can start and stop with different IP addresses, the configuration of these VMs is driven by a file in
/etc/neo4j/neo4j.template. Configuration changes should be made to the template, not to the/etc/neo4j/neo4j.conffile, which is overwritten with template substitutions at every startup. The template allows you configure aspects of the cluster with VM metadata (see the "Custom Metadata" on any of your launched VMs for examples). The template’s behavior and layout matches the usualneo4j.conffile.
What’s Next
-
Visit the Neo4j Operations Manual for information on how to configure all aspects of your cluster
-
Add users and change passwords as necessary
-
Consider creating DNS entries with Google to permit addressing your cluster with client applications under a single host name
Terminating the Deployment
Should you need to, you can tear down this infrastructure by using the deployment manager to delete the deployment. To ensure data safety, the disks that back the VMs will not be autodeleted if the cluster deployment is deleted. These disks must be deleted separately, and manually, if desired.
Questions?
You can ask questions and connect with other people launching Neo4j in the cloud through the cloud topic on the Community Site.
Was this page helpful?