Example Project
This guide explains the example application we use to introduce the different Neo4j drivers in detail.
You should be familiar with graph database concepts and the property graph model. You should have created an Neo4j AuraDB cloud instance, or installed Neo4j locally
Beginner
Example Project Description
To demonstrate connection to and usage of Neo4j in different programming languages we’ve created an example application. It is a simple, one-page webapp, that uses Neo4j’s movie demo database (movie, actor, director) as data set. The same front-end web page in all applications consumes 3 REST endpoints provided by backend implemented in the different programming languages and drivers.
-
movie search by title
-
single movie listing
-
graph visualization of the domain

GitHub
The source code for all the different language examples is available on GitHub as individual repositories that can be cloned and directly used as starting points.
Domain Model
We use a simple Movie database domain, which is also built into Neo4j Browser. If you need the data separately, it is available in this GitHub repository.
(:Person {name: string})-[:ACTED_IN {roles: [string]}]->(:Movie {title: string, released: number})
An example subgraph of the data is the neighborhood of "Tom Hanks".
Data Setup
Neo4j Labs Demo Server
Most of the examples should already work with the following settings:
Connection URI |
|
Database Name |
|
Username |
|
Password |
|
Other data setup options are explained below.
Webpage
The webpage is a single, simple Bootstrap page that uses jQuery AJAX calls to access the backend and adds the returned JSON result data to HTML DOM elements in the page.
For the search, that is the /search?q=query endpoint whose results are added as table rows in a listing.
If you click on any of the movie titles, the right-side view is populated with the movie details.
For the movie details it uses the /movie/A%20Movie%20Title endpoint and the results are rendered as panel title, image source, and unordered list for the crew.
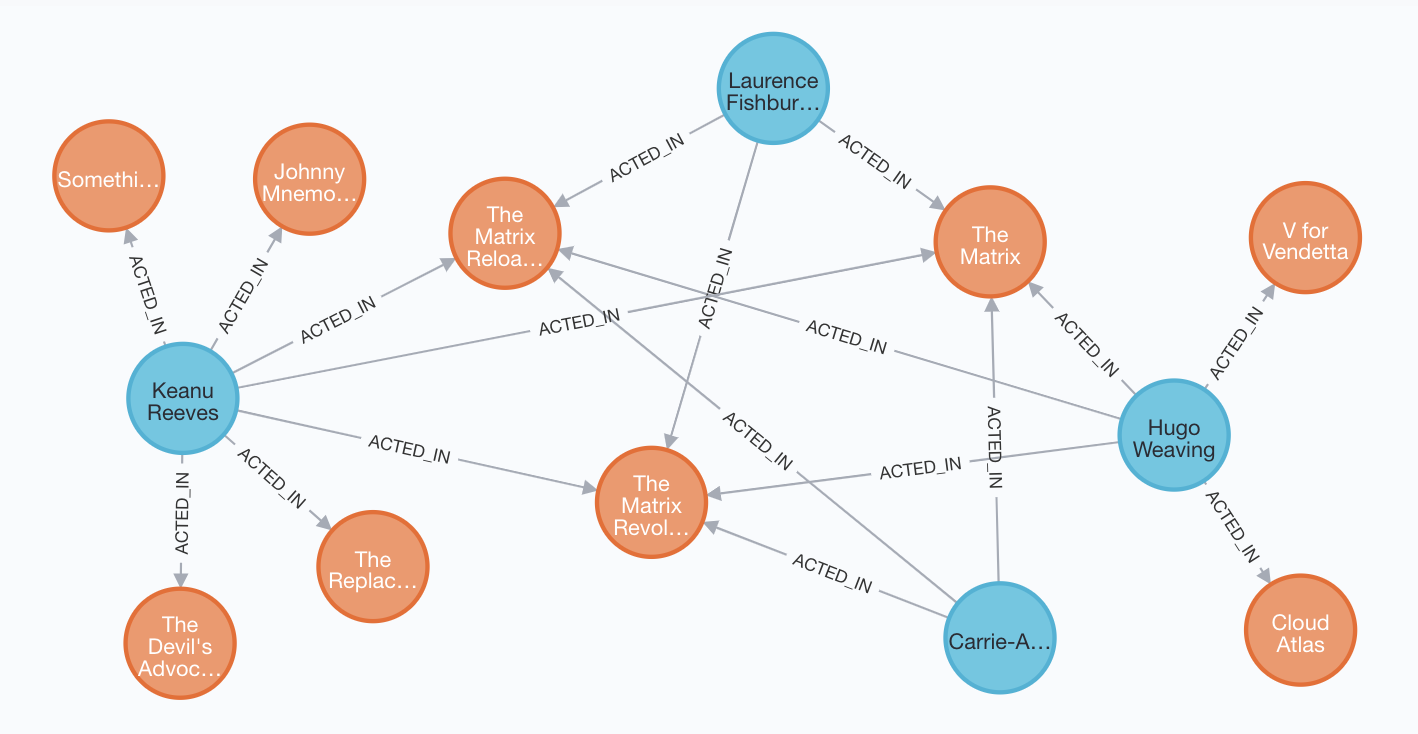
Graph Visualization
For the Graph Visualization we use d3.js. Our /graph endpoint already returns the data in the format of "nodes" and "links"-list that d3 can use directly.
We then apply the force-layout algorithm to render nodes as circles and relationships as lines, and add some minimal styling to the visualization to provide the movie title/person name as title attribute to the node circles which is shown as a tooltip.
Endpoints
Search Movies
// list of JSON objects for movie search results
curl http://localhost:8080/search?q=matrix

[{"movie": {"released": 1999, "tagline": "Welcome to the Real World", "title": "The Matrix"}},
 {"movie": {"released": 2003, "tagline": "Free your mind", "title": "The Matrix Reloaded"}},
 {"movie": {"released": 2003, "tagline": "Everything that has a beginning has an end", "title": "The Matrix Revolutions"}}]
The Cypher query used, with the parameters {query:"matrix"}.
The search movies query MATCHes the movies by title with CONTAINS and then RETURNs the movie nodes as a list of maps with the title, released and tagline attributes.
MATCH (movie:Movie)
 WHERE lower(movie.title) CONTAINS $query
 RETURN movie
Get Movie
// JSON object for single movie with cast
curl http://localhost:8080/movie/The%20Matrix

{"title": "The Matrix",
 "cast": [{"job": "acted", "role": ["Emil"], "name": "Emil Eifrem"}, {"job": "acted", "role": ["Agent Smith"], "name": "Hugo Weaving"}, ...
          {"job": "directed", "role": null, "name": "Andy Wachowski"}, {"job": "produced", "role": null, "name": "Joel Silver"}]}
The Cypher query is used, with the parameters {title:"The Matrix"}
It matches the movie by title, then optionally finds all people working on that movie and returns the movie title and a crew-list consisting of a map with person-name, job identifier derived from the relationship-type and optionally a role for actors.
This is the Cypher statement used, it finds a movie by title and then returns for all people their name, possible roles, and the job (acted, directed, produced) as the first part of the lowercase rel-type ACTED_IN → acted.
MATCH (movie:Movie {title:$title})
OPTIONAL MATCH (movie)<-[rel]-(person:Person)
RETURN movie.title as title,
collect({name:person.name, role:rel.roles, job:head(split(toLower(type(rel)),'_'))}) as cast
LIMIT 1
Graph Visualization
// JSON object for whole graph viz (nodes, links - arrays)
curl http://localhost:8080/graph[?limit=50]

{"nodes":
  [{"title":"Apollo 13","label":"movie"},{"title":"Kevin Bacon","label":"actor"},
   {"title":"Tom Hanks","label":"actor"},{"title":"Gary Sinise","label":"actor"},
   {"title":"Ed Harris","label":"actor"},{"title":"Bill Paxton","label":"actor"}],
 "links":
  [{"source":1,"target":0},{"source":2,"target":0},{"source":3,"target":0},
   {"source":4,"target":0},{"source":5,"target":0}]}
The Cypher query used finds all pairs of movies and actors and returns the movie title and a collection of all actor names as cast. A separate function then takes this result and converts it into the node- and link-list that d3 expects.
The parameter {limit:50} is used to prevent the visualization from becoming a hairball.
MATCH (m:Movie)<-[:ACTED_IN]-(a:Person)
 RETURN m.title as movie, collect(a.name) as cast
 LIMIT $limit
Deployment
Run Locally
Then setup and start the language/stack specific implementation of the backend and open the web-application on http://localhost:8080.
You can search for movies by title or click on any result entry to see the details.
Deployment Options
There are many deployment options, from Docker containers or Kubernetes pods to serverless AWS-lambdas, GCP-cloud-run functions to PaaS environments like Heroku, Cloudfound or DigitialOcean App Platform.
To keep it simple we only show deployment to Heroku here, more involved deployments will be discussed later.
Deploy to Heroku
Many of the mentioned GitHub example repositories feature a "Deploy to Heroku" button. You can either use that or follow the manual process outlined below.
We want to install our application to the cloud, for instance the Heroku PaaS. You can either use the demo server mentioned above or the Neo4j AuraDB Free, Neo4j Sandbox or Cloud Marketplaces shown below
Install the Heroku Toolbelt and git.
Then run these commands:
# Clone the appropriate repository for your language
# initialize the git repository and add files
git init
git add .
git commit -m"my neo4j movies app"

# create heroku application, please change the app-name
export app=my-neo4j-movies-app
heroku apps:create $app

# configure your app to use the connection credentials
# e.g. bolt://user:password@host:port
heroku config:set NEO4J_URL=<bolt-url> --app $app

# or depending on the repository you might have separate username and password environment variables
heroku config:set NEO4J_USER=neo4j --app $app
heroku config:set NEO4J_PASSWORD=neo4j --app $app

# deploy to heroku
git push heroku master

# open application
heroku open --app $app
Then your app is ready to roll.
Other Neo4j Database Setup Options
Neo4j AuraDB Free
-
Log in to Neo4j AuraDB Free.
-
Proceed to the database creation page
-
Choose AuraDB Free
-
Select a region near you
-
Pick the movies database
-
Confirm and save the credentials
-
Wait until the database is started and also save the connection URL
-
Then use the connection URL and credentials for your backend setup (environment variables)
Neo4j Desktop
-
After installation, there is a "first use" graph available
-
To change the password from the auto-generated one, click the three dots to Manage and choose the Admistration tab
-
Open the Neo4j Browser with the blue "Open" button to explore
If you want to create a new database, do so within a Desktop Project, then start Neo4j-Browser
-
Install the Movies dataset with
:play movies -
Click the large
CREATEstatement and hit the triangular "Run" button to insert the data.
The connection details will be bolt://localhost, username: neo4j and your chosen password.
Neo4j Sandbox
-
Log in to Neo4j Sandbox.
-
Create a project with the "Movies" dataset and launch it.
-
The Connection Details are in the sandbox UI if you unfold the lower part with the black triangle
Existing Language / Driver Examples
For our example application we’ve provided a implementation for the languages and drivers listed below. You can find them in the Neo4j Examples GitHub repository. Most of them have thankfully been made available by the driver authors.
For Community Drivers
-
Elixir: phoenix by Florin Pătraşcu
-
.Net neo4jclient by Pierrick Gannon
-
Ruby Neo4j-Core by Neo4j.rb Team
-
Ruby Neo4j.rb Rails by Neo4j.rb Team
-
Perl: Neo4p::REST by Mark Jensen
-
PHP: Neoclient by Chris Willemsen
-
Python: Neomodel
Was this page helpful?