Neo4j Desktop User Interface Guide
This article demonstrates how to use the Neo4j Desktop GUI for managing instances of Neo4j locally for development.
It helps if you have read the section on graph databases or tried Neo4j in our Sandbox.
Beginner
| There is now an official Neo4j Desktop Manual and also the option to send feature requests and read the change-log. |
Instructions for installing Neo4j Desktop will be shown after you click the download button. These instructions are customized for your OS.
| The activation key will be displayed at the top of the instruction page. Copy it as you need it when you first open Neo4j Desktop. |
Using the provided instructions, follow the steps to install and start the Neo4j Desktop application.
What is Neo4j Desktop
Neo4j Desktop is a Developer IDE or Management Environment for Neo4j instances similar to Enterprise Manager, but better. You can manage as many projects and database servers locally as you like and also connect to remote Neo4j servers. Neo4j Desktop comes with a free Developer License of Neo4j Enterprise Edition. The Java Runtime is also bundled.
Each database server managed through desktop can be configured, upgraded and maintained through the UI, no command line needed. You can install popular Neo4j extensions like APOC or the Graph Data Science library with a single click.
Similar to IDE plugins, Graph Apps are helper web applications that make interacting with Neo4j easier. They cover visualization and querying with Neo4j Browser and Bloom, import tools for relational databases, and monitoring tools to query log analyzers.
Both Neo4j Desktop as well as Graph Apps offer automatic updates.
Here is a video that shows you how to get started with Neo4j Desktop:
Opening Neo4j Desktop for the First Time
If you are opening Neo4j Desktop for the first time, it should ask you to register the software with an activation key. This activation key is generated when you first download Neo4j Desktop and will be displayed on the download confirmation page. Keep it somewhere safe.
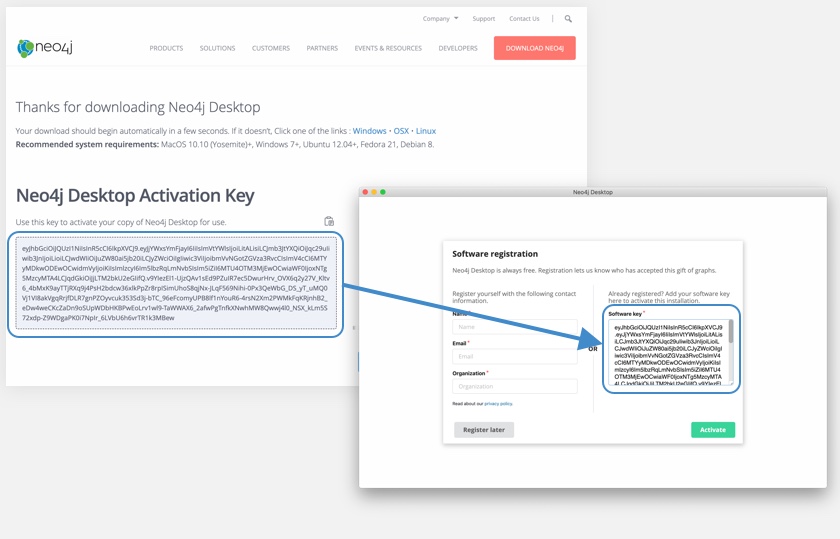
Copy this activation key into the Software registration form and click Activate to continue.
As a new user to Neo4j Desktop, you will be greeted with a project containing the sample database containing Movies and Actors.
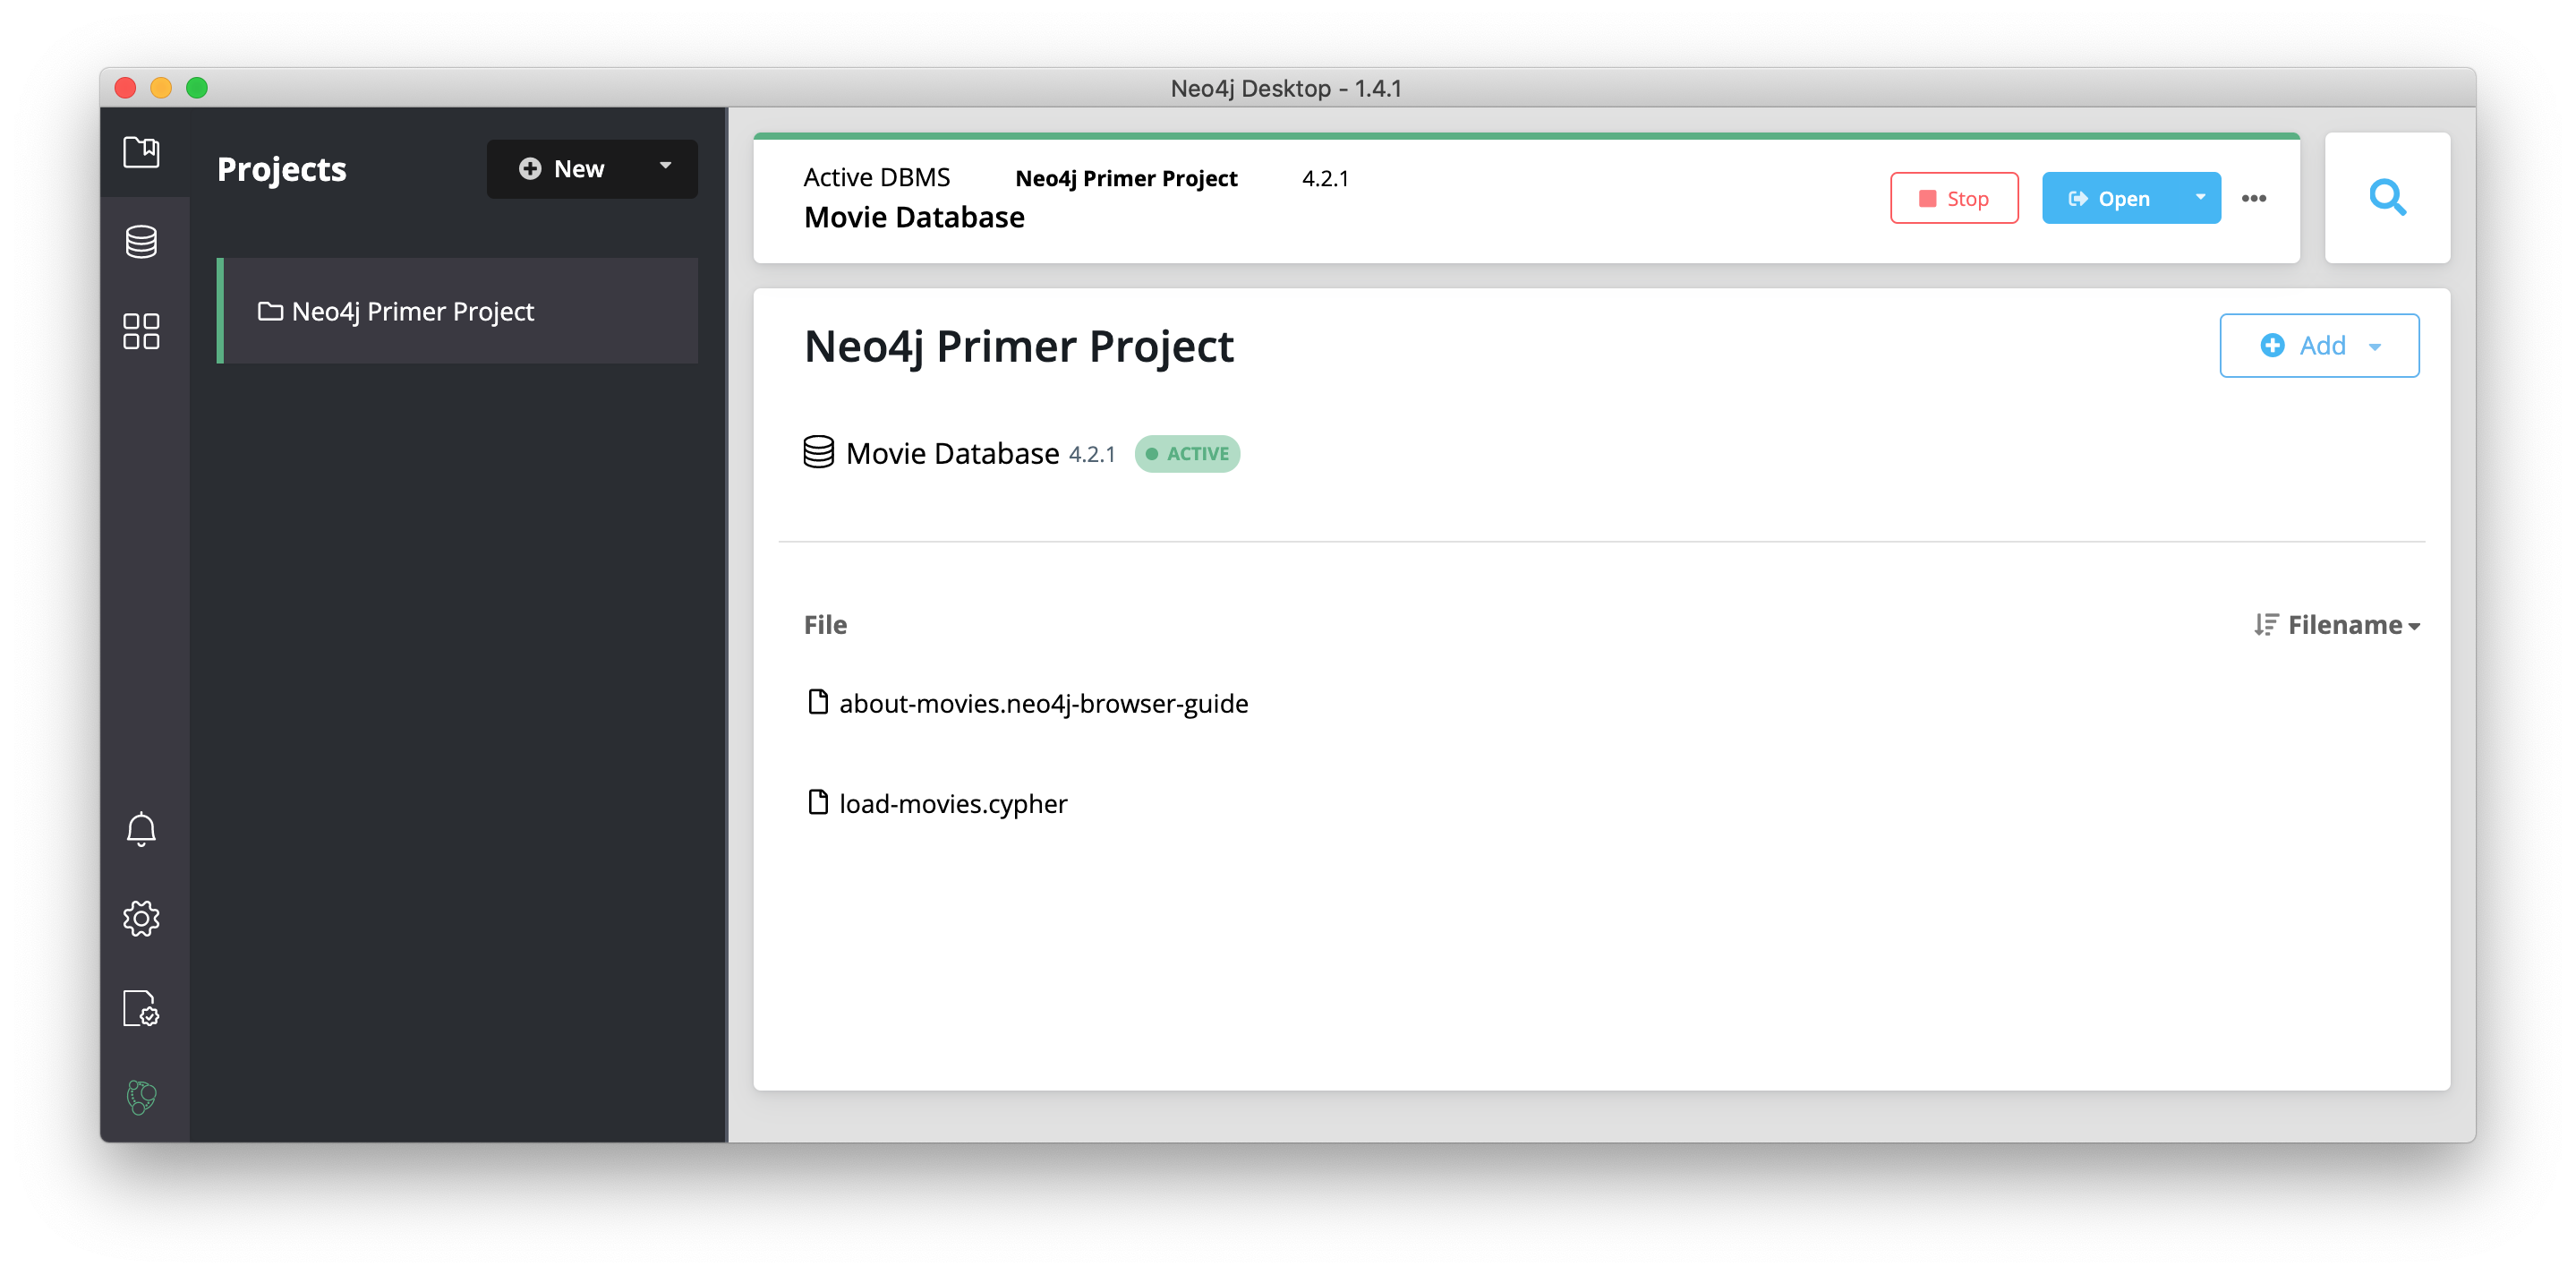
This database is already started for you. If for some reason the database is not started, you can start it by hovering to the right of the database name and clicking the Start button. The sample database is created using a randomly generated password, which is stored within Neo4j Desktop and used by Neo4j Browser to authenticate against the database.
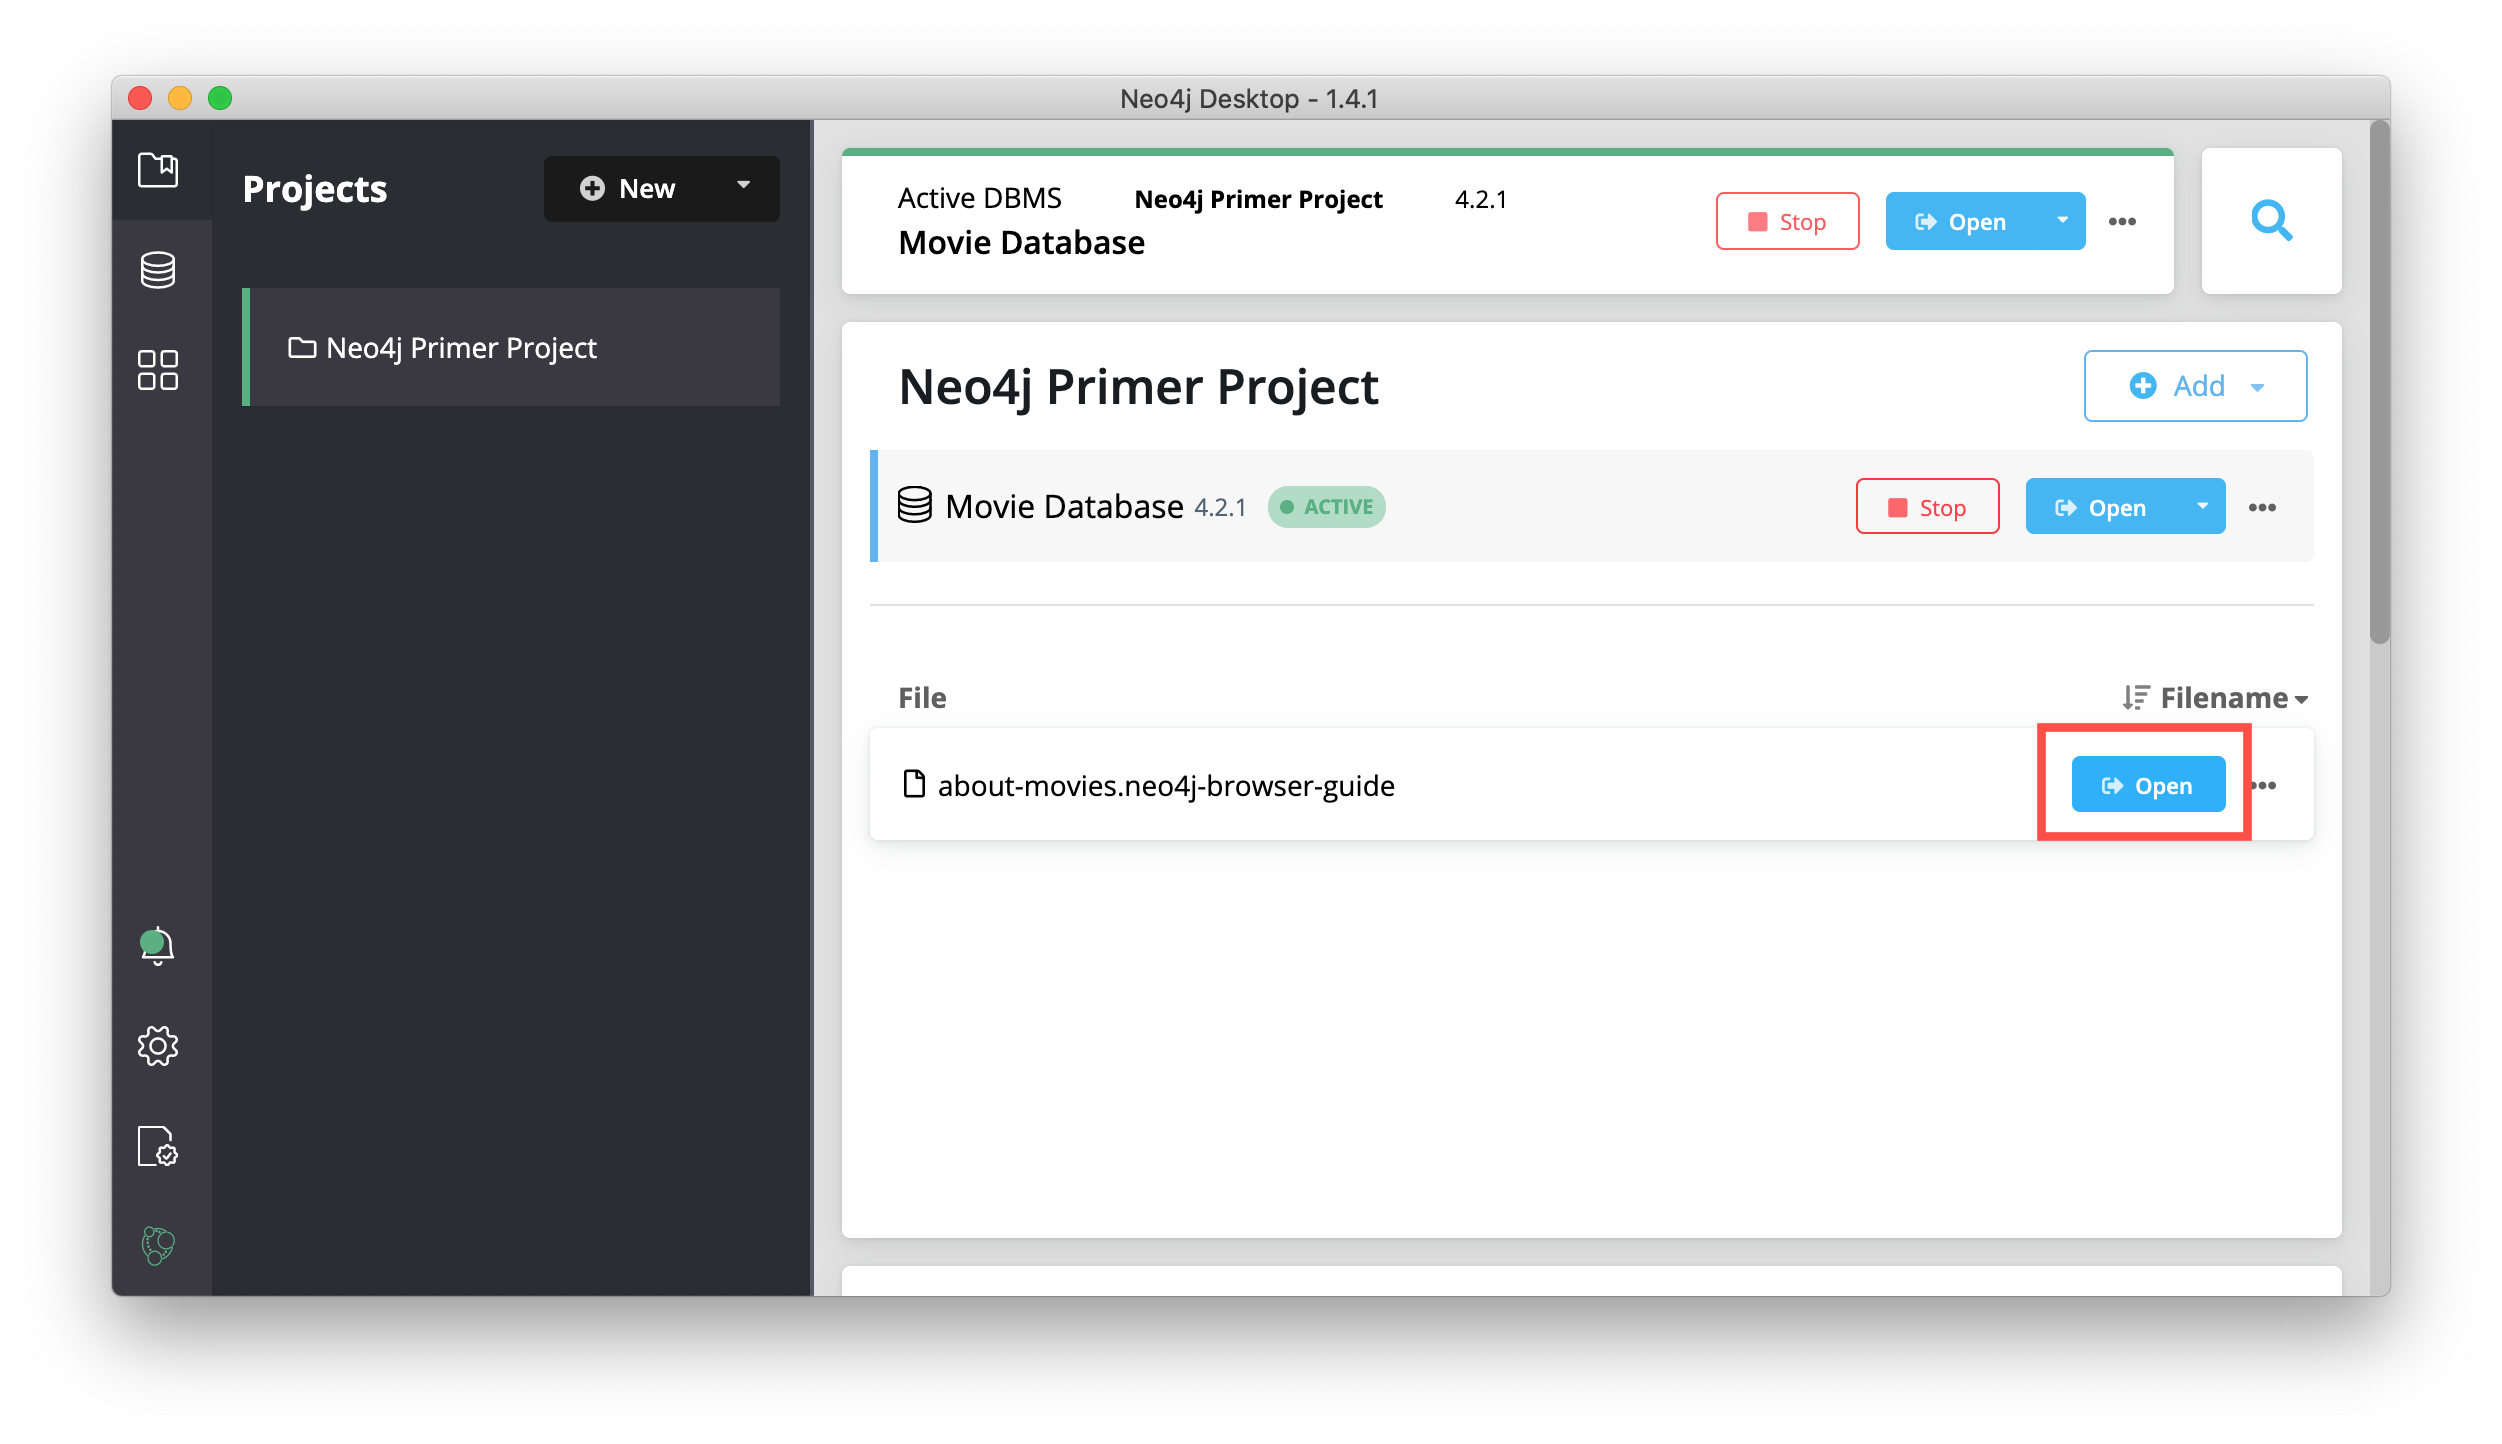
This database has a Browser Guide that introduces you to the database. The database must be started before you open the Browser Guide.
Clicking the Open button for the Sample database will open up the Neo4j Browser with a Browser Guide that will guide you through your first queries on this Neo4j database.
Here is how the Browser Guide appears when you first open it:
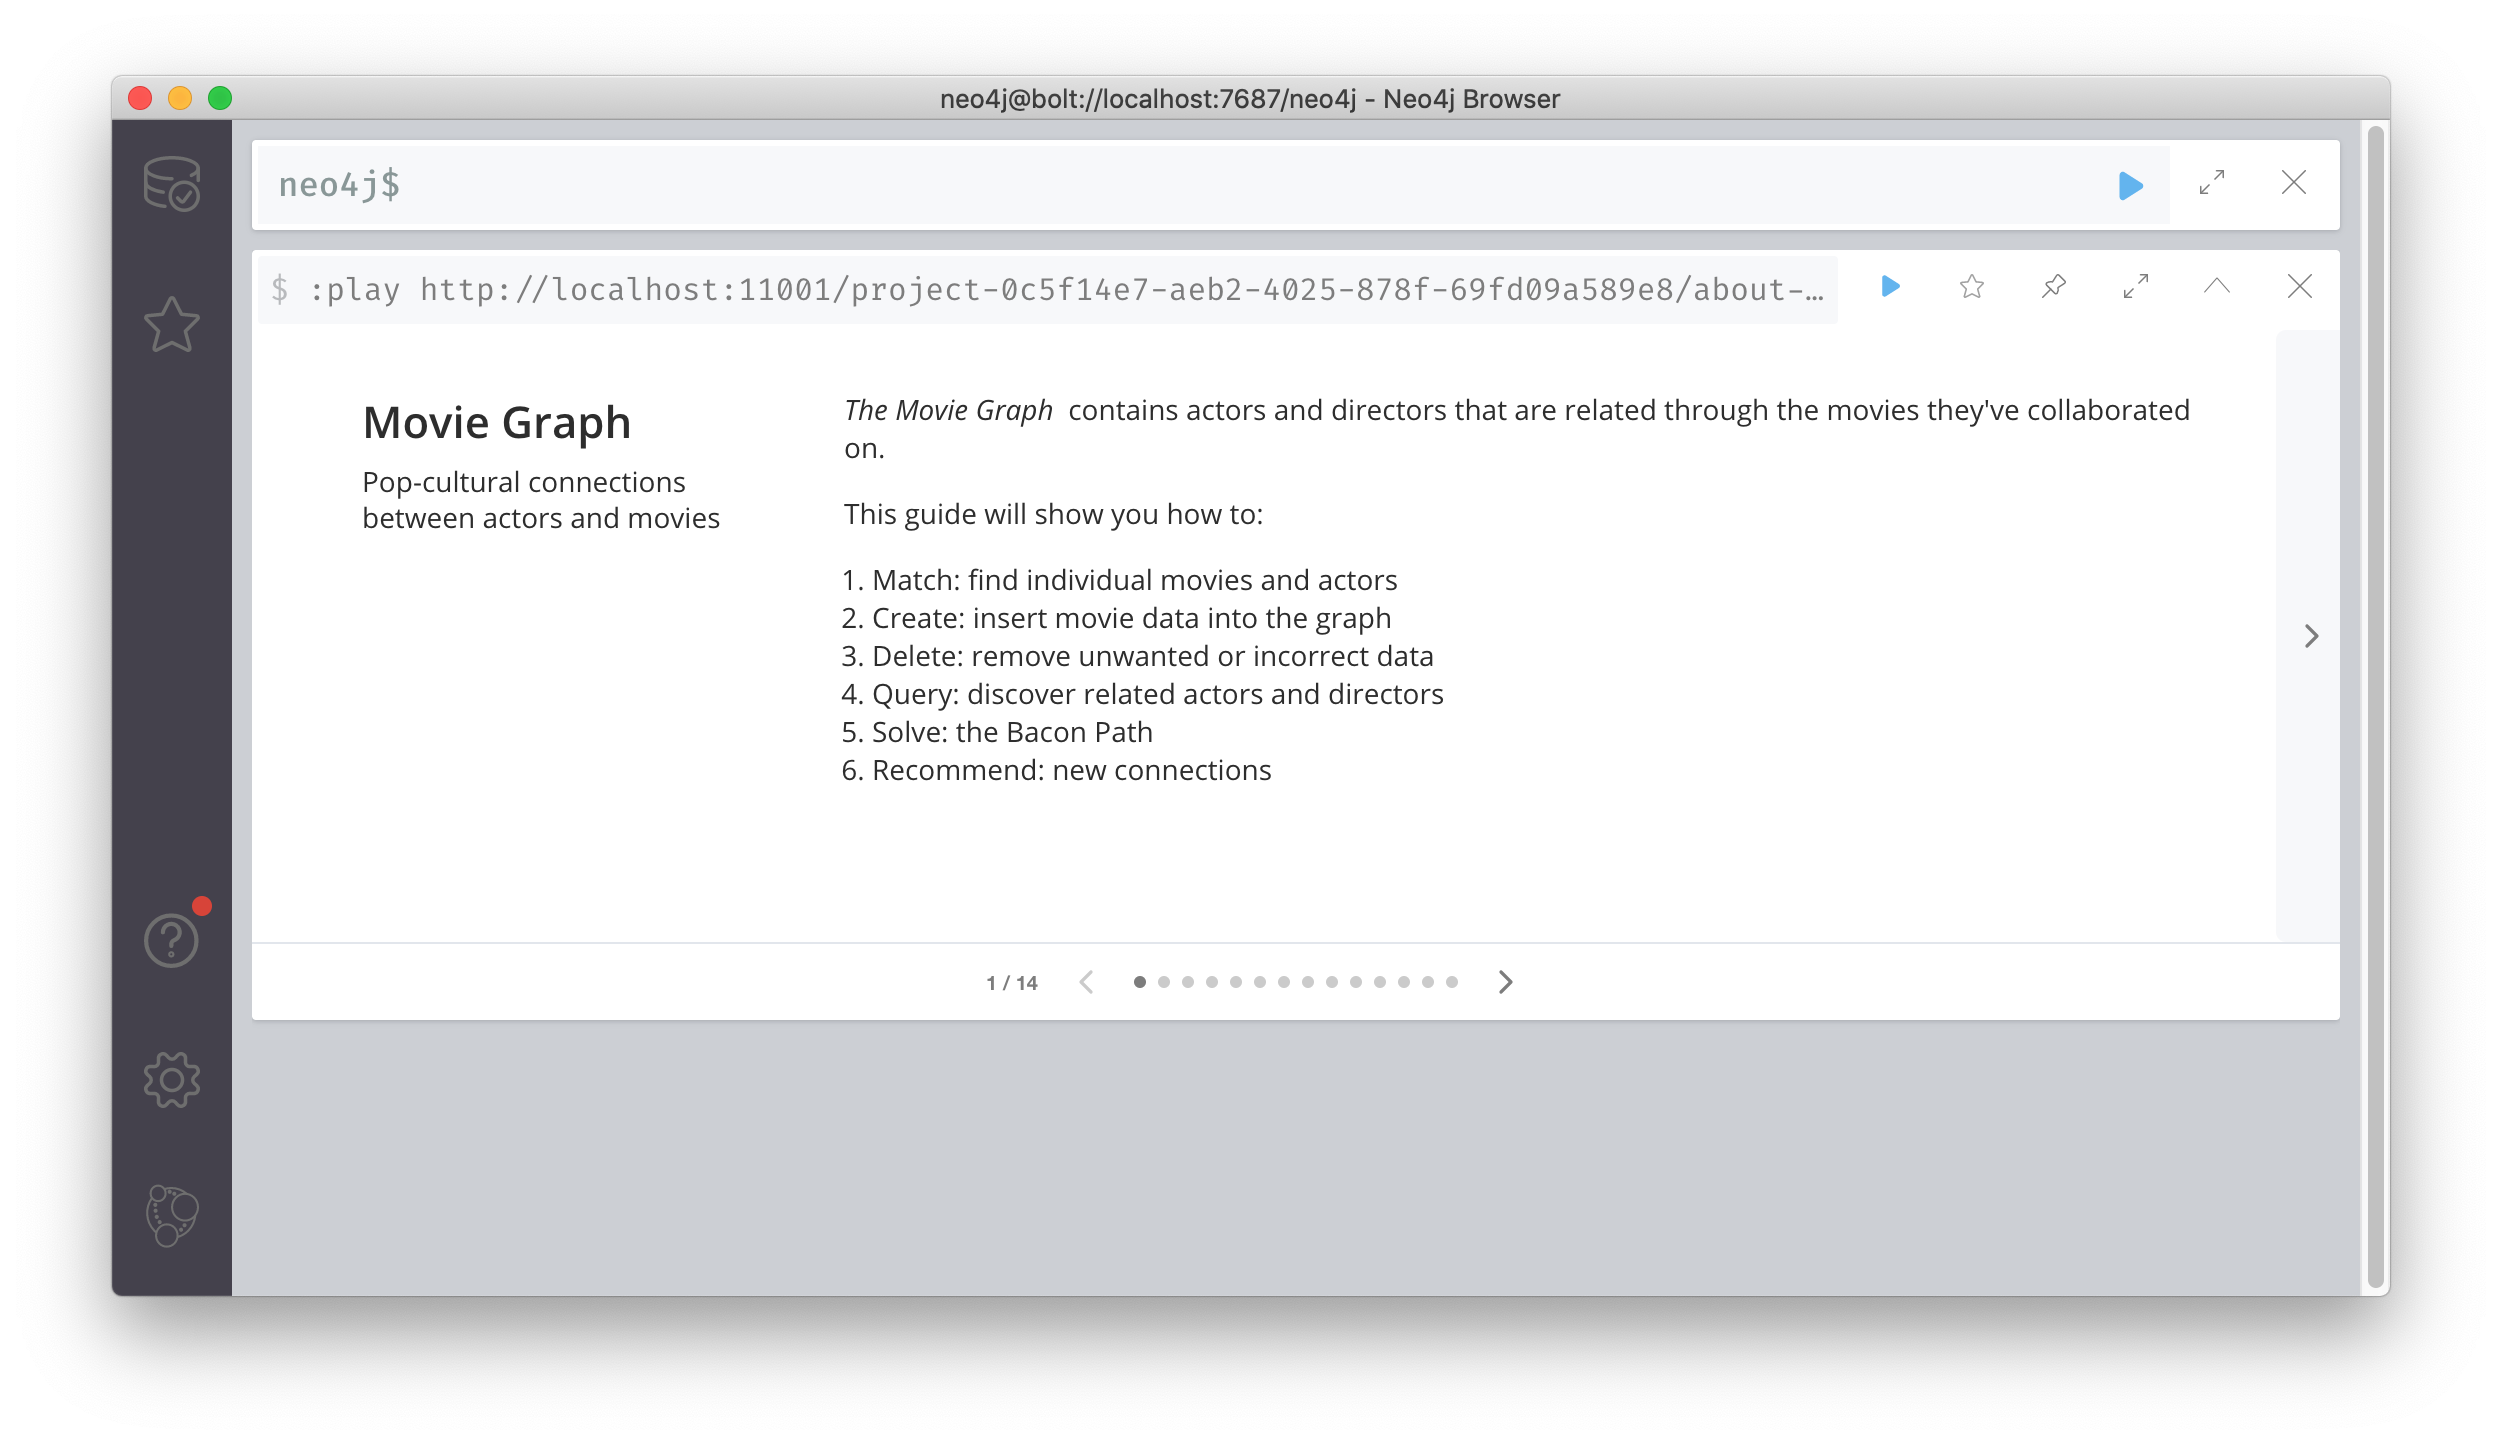
Within the Guide, you can navigate through the pages to learn more about accessing this sample database.
Navigation
The left sidebar of Neo4j Desktop shows high-level icons for projects, graph applications, settings, activation keys, and Neo4j info.
At the top, the folder with a bookmark (![]() ) shows the list of projects you have created.
) shows the list of projects you have created.
Settings
Application settings can be modified or viewed by clicking the gear towards the bottom of the left-side menu in Neo4j Desktop (![]() ).
You can modify any of these settings at any time.
).
You can modify any of these settings at any time.
The first block is for privacy settings where you can adjust what data is sent back to Neo4j for assistance and future improvements. The next two sections are where you can configure a proxy or run Neo4j Desktop in offline mode.
|
We do not recommend running Neo4j Desktop in offline mode unless required by your company. Offline mode prevents software updates from occurring as well as downloading required resources. |
Other sidebar sections
The DBMS section shows which versions of the database are used in your projects (if any) and lists the currently set up projects and databases.
Another section, Graph Apps enables you to add and integrate graph apps with Neo4j.
In addition, you can access the javascript console of an application for debugging and error reporting through the developer tools.
The Notification Center section enables you to update software.
The Software Keys section (![]() ) shows the licenses that are attached to this installation in Neo4j Desktop, which includes activation of Desktop itself along with any graph app licenses.
) shows the licenses that are attached to this installation in Neo4j Desktop, which includes activation of Desktop itself along with any graph app licenses.
The About section (![]() ) is information about Neo4j itself and includes links to the main company website, as well as release and license information.
) is information about Neo4j itself and includes links to the main company website, as well as release and license information.
Creating a Project
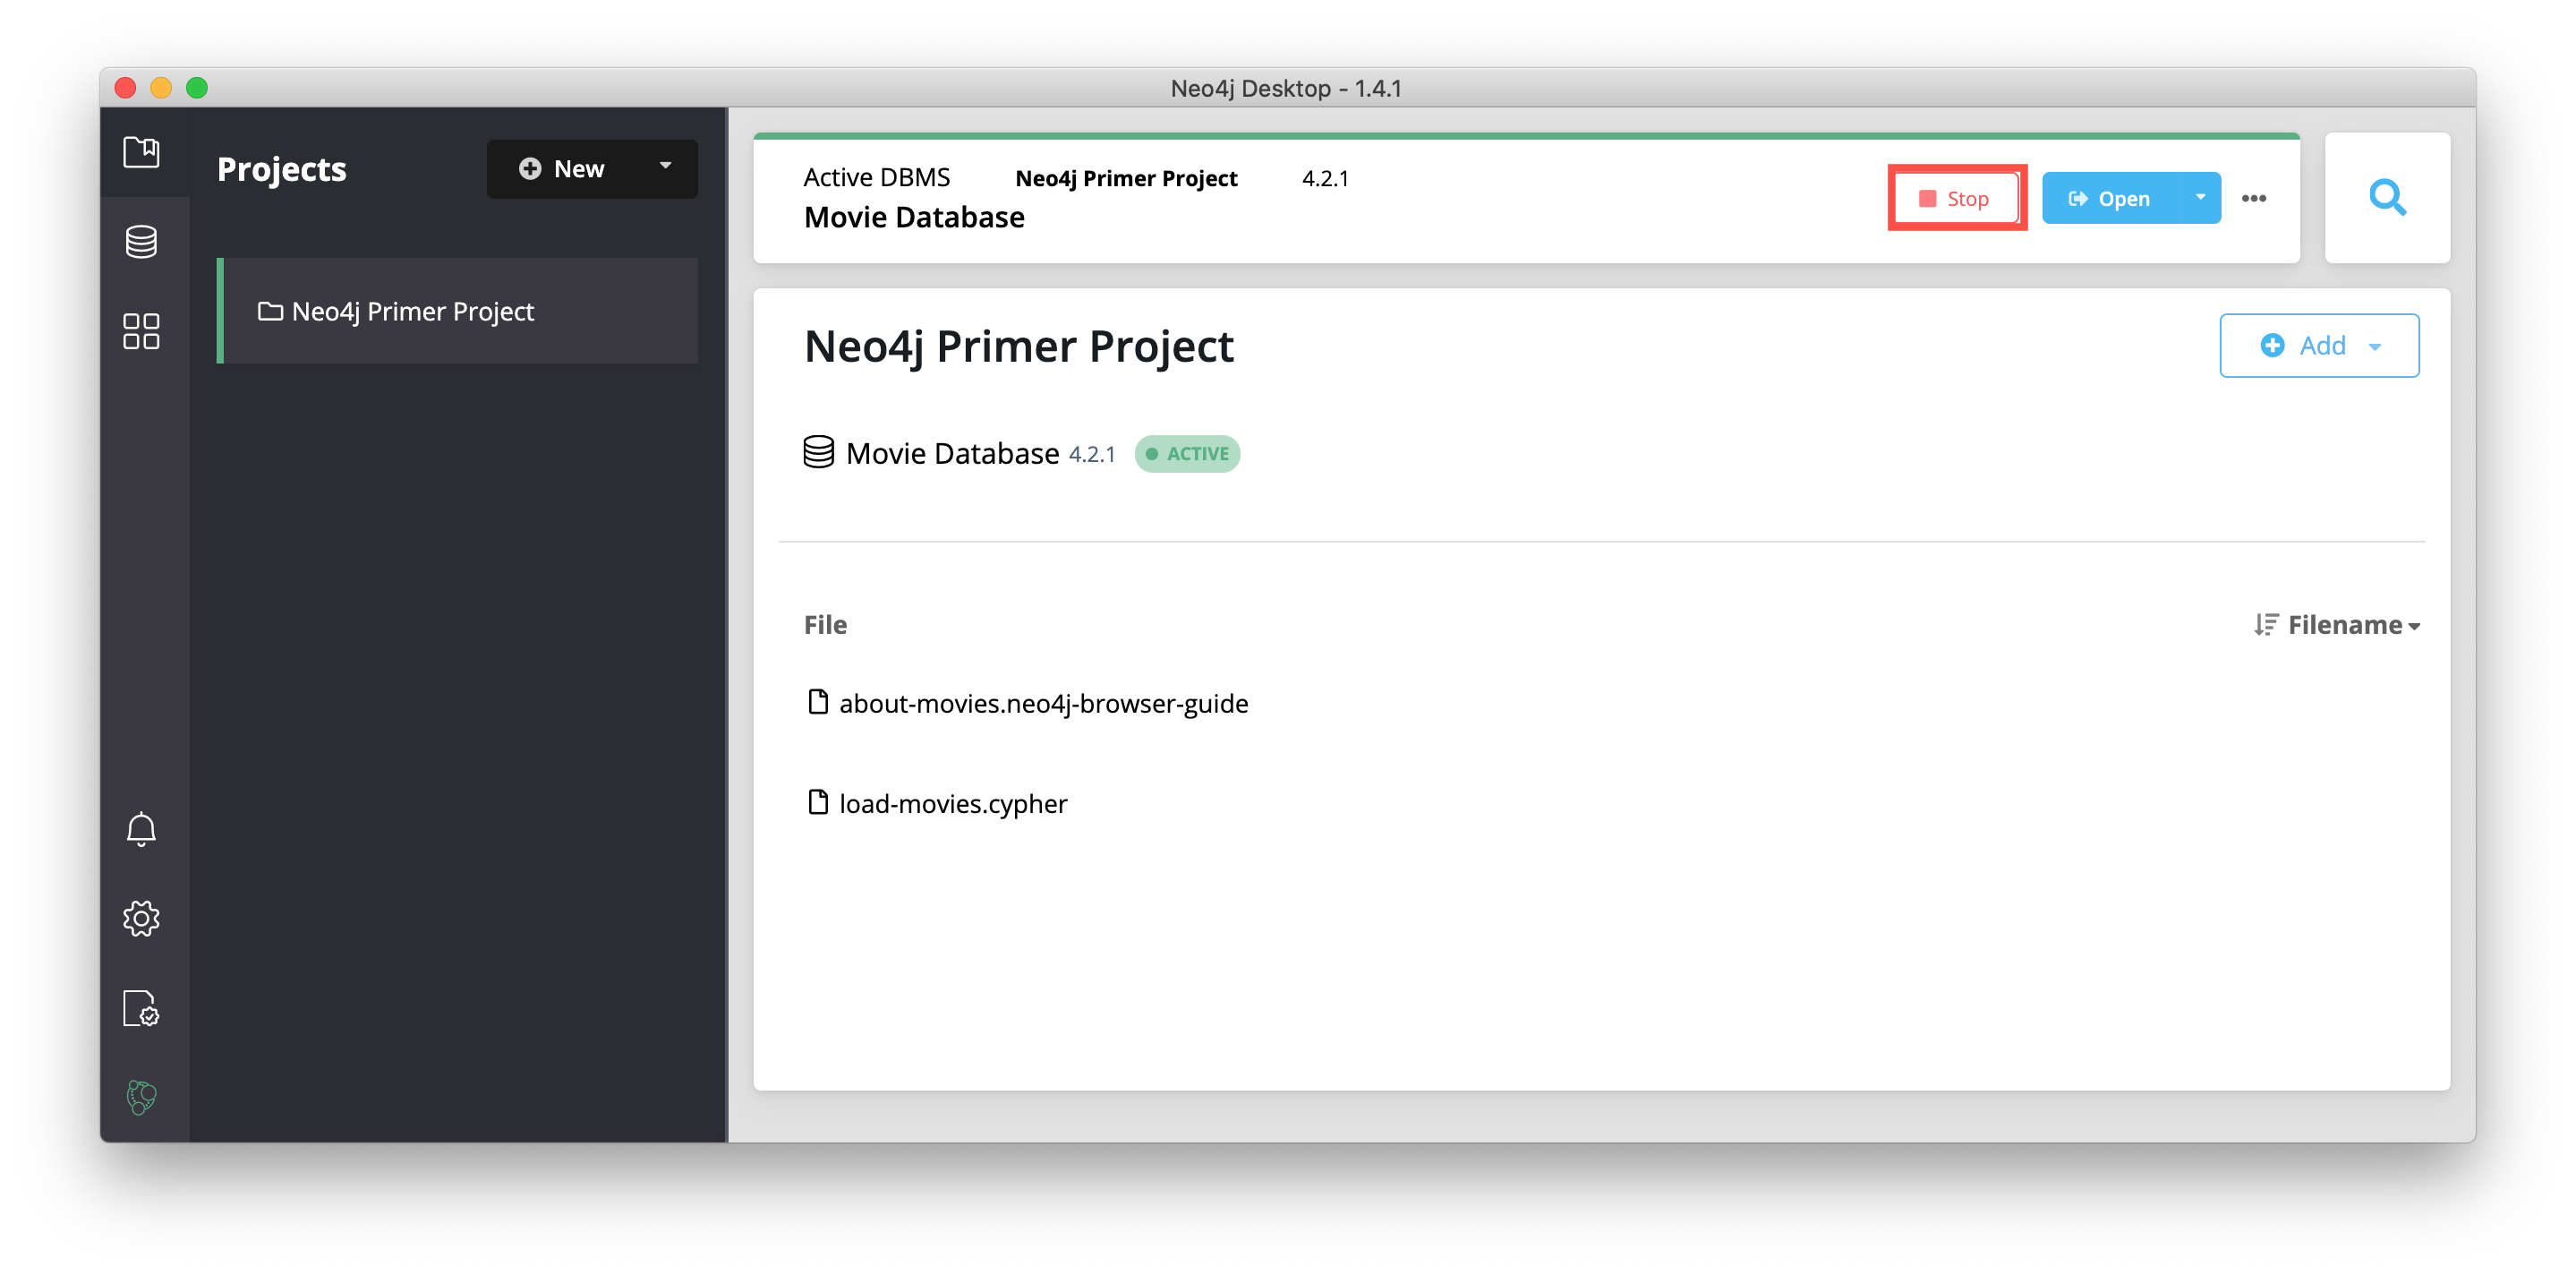
When you open Neo4j Desktop for the first time you will see a Neo4j Primer Project with the Movie Database already started as shown here:
You can use this already-started DBMS if you want to begin learning about using Neo4j and Cypher. For your development, you typically create one or more projects where a project can contain one or more DBMSs.
Next, you will create a new project in Neo4j Desktop. You can only have a single DBMS running, so you must first stop the DBMS that is started by clicking the Stop button:
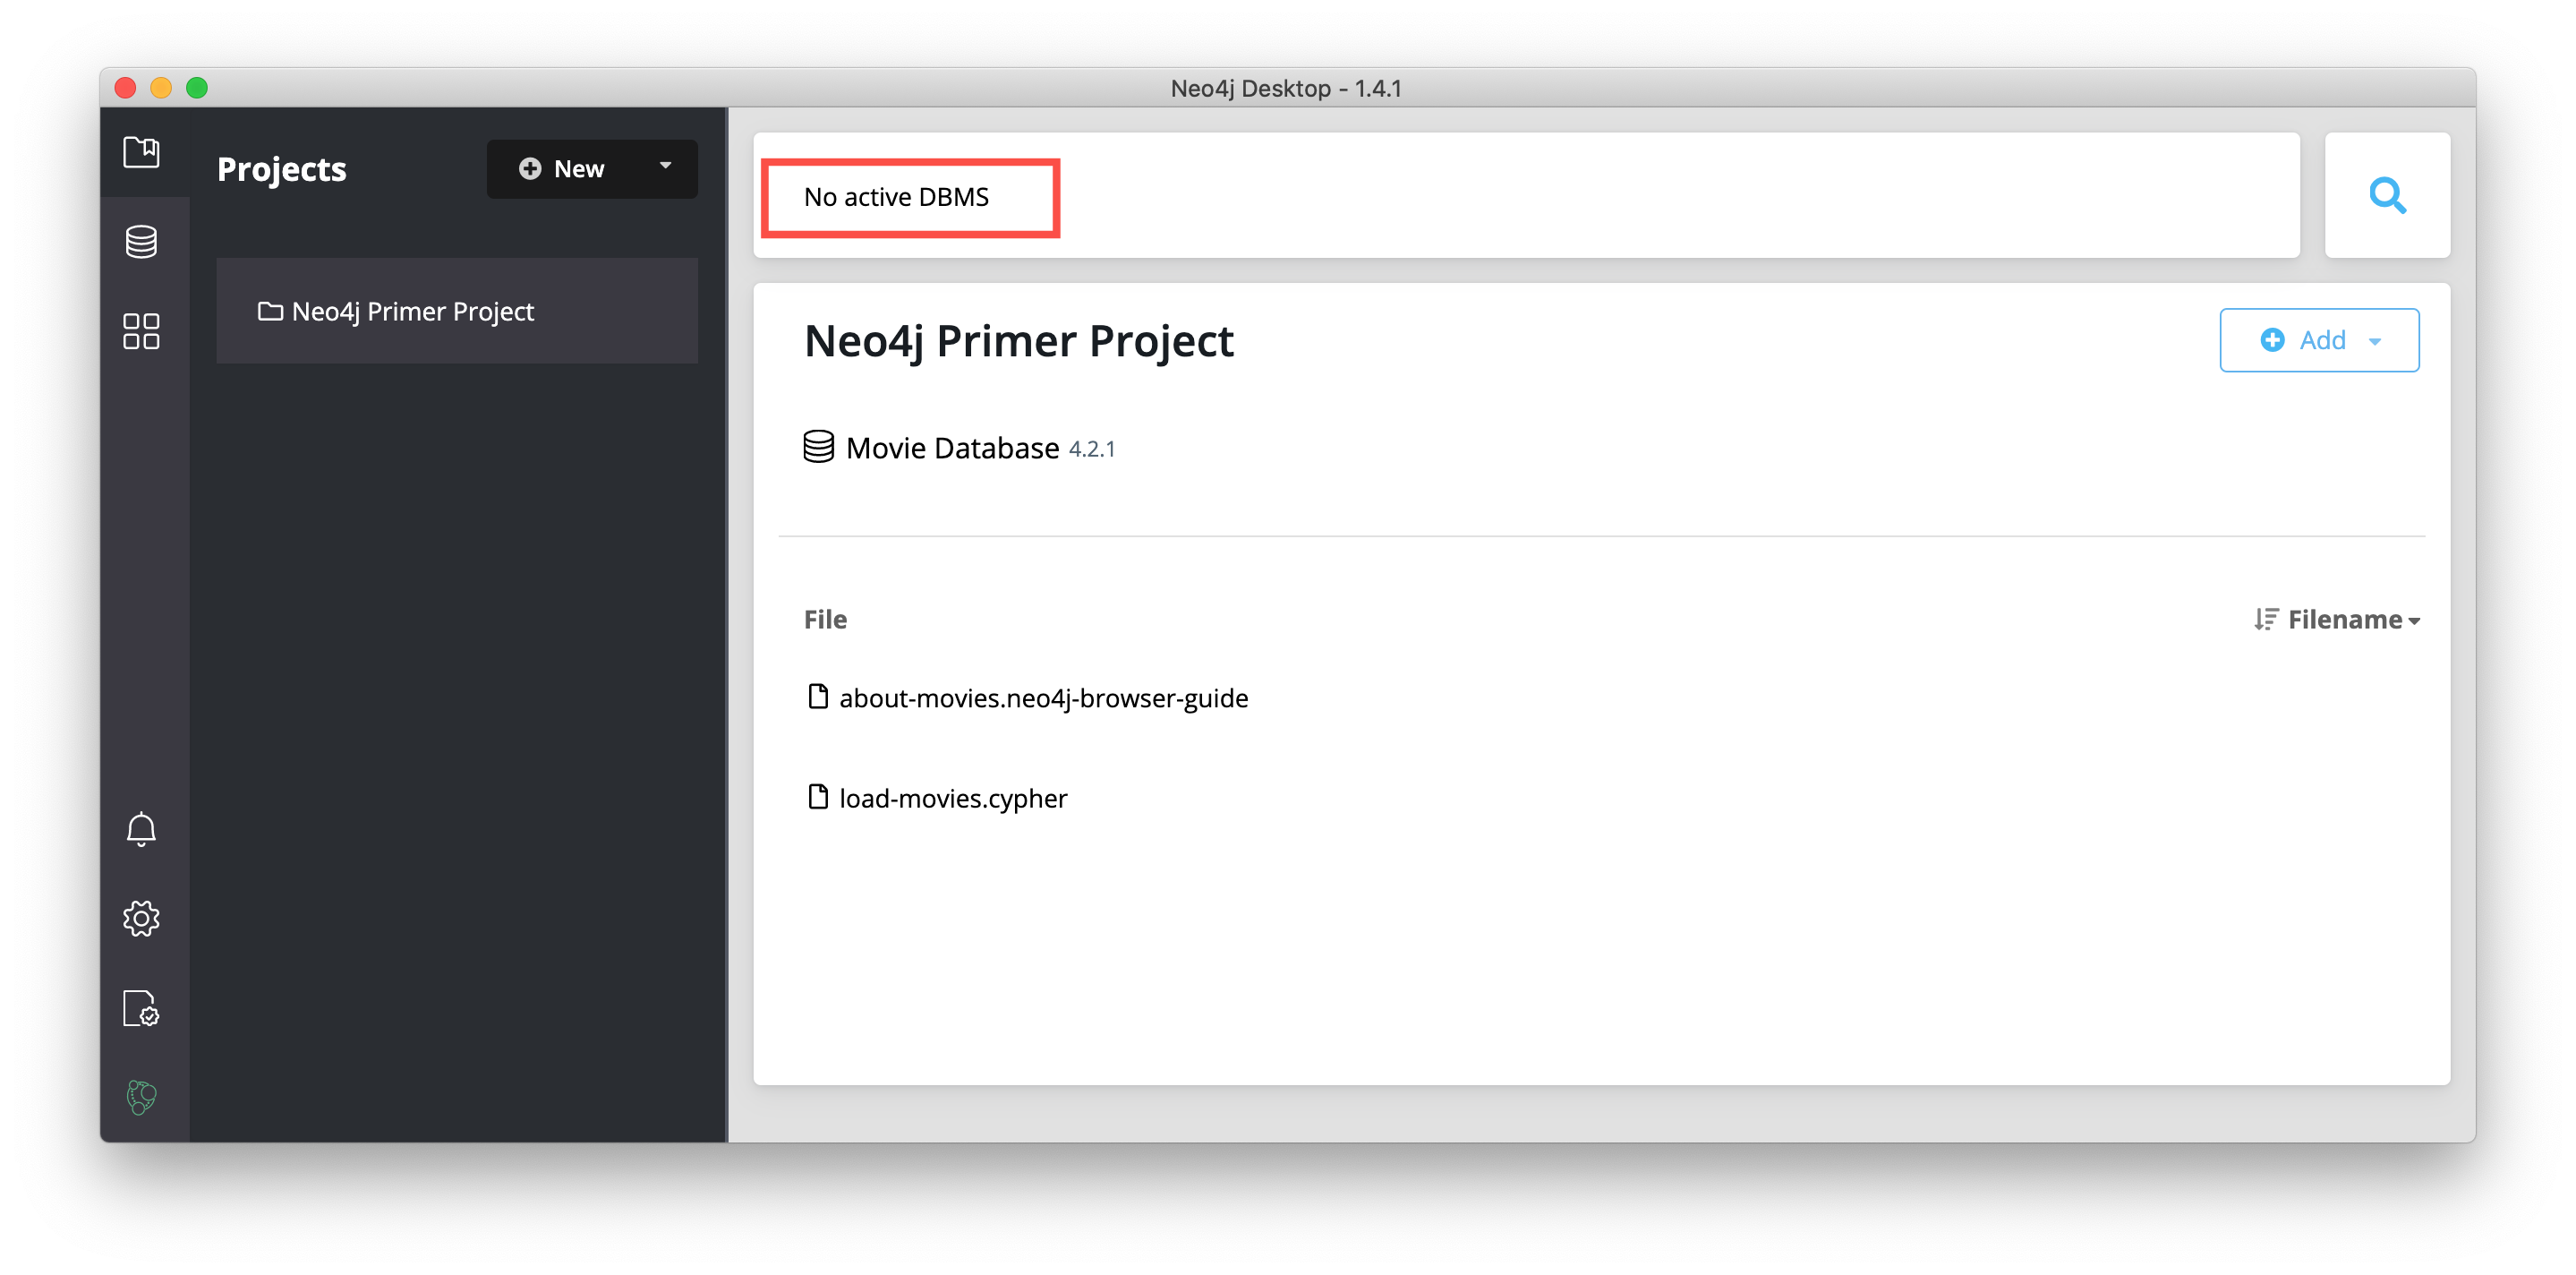
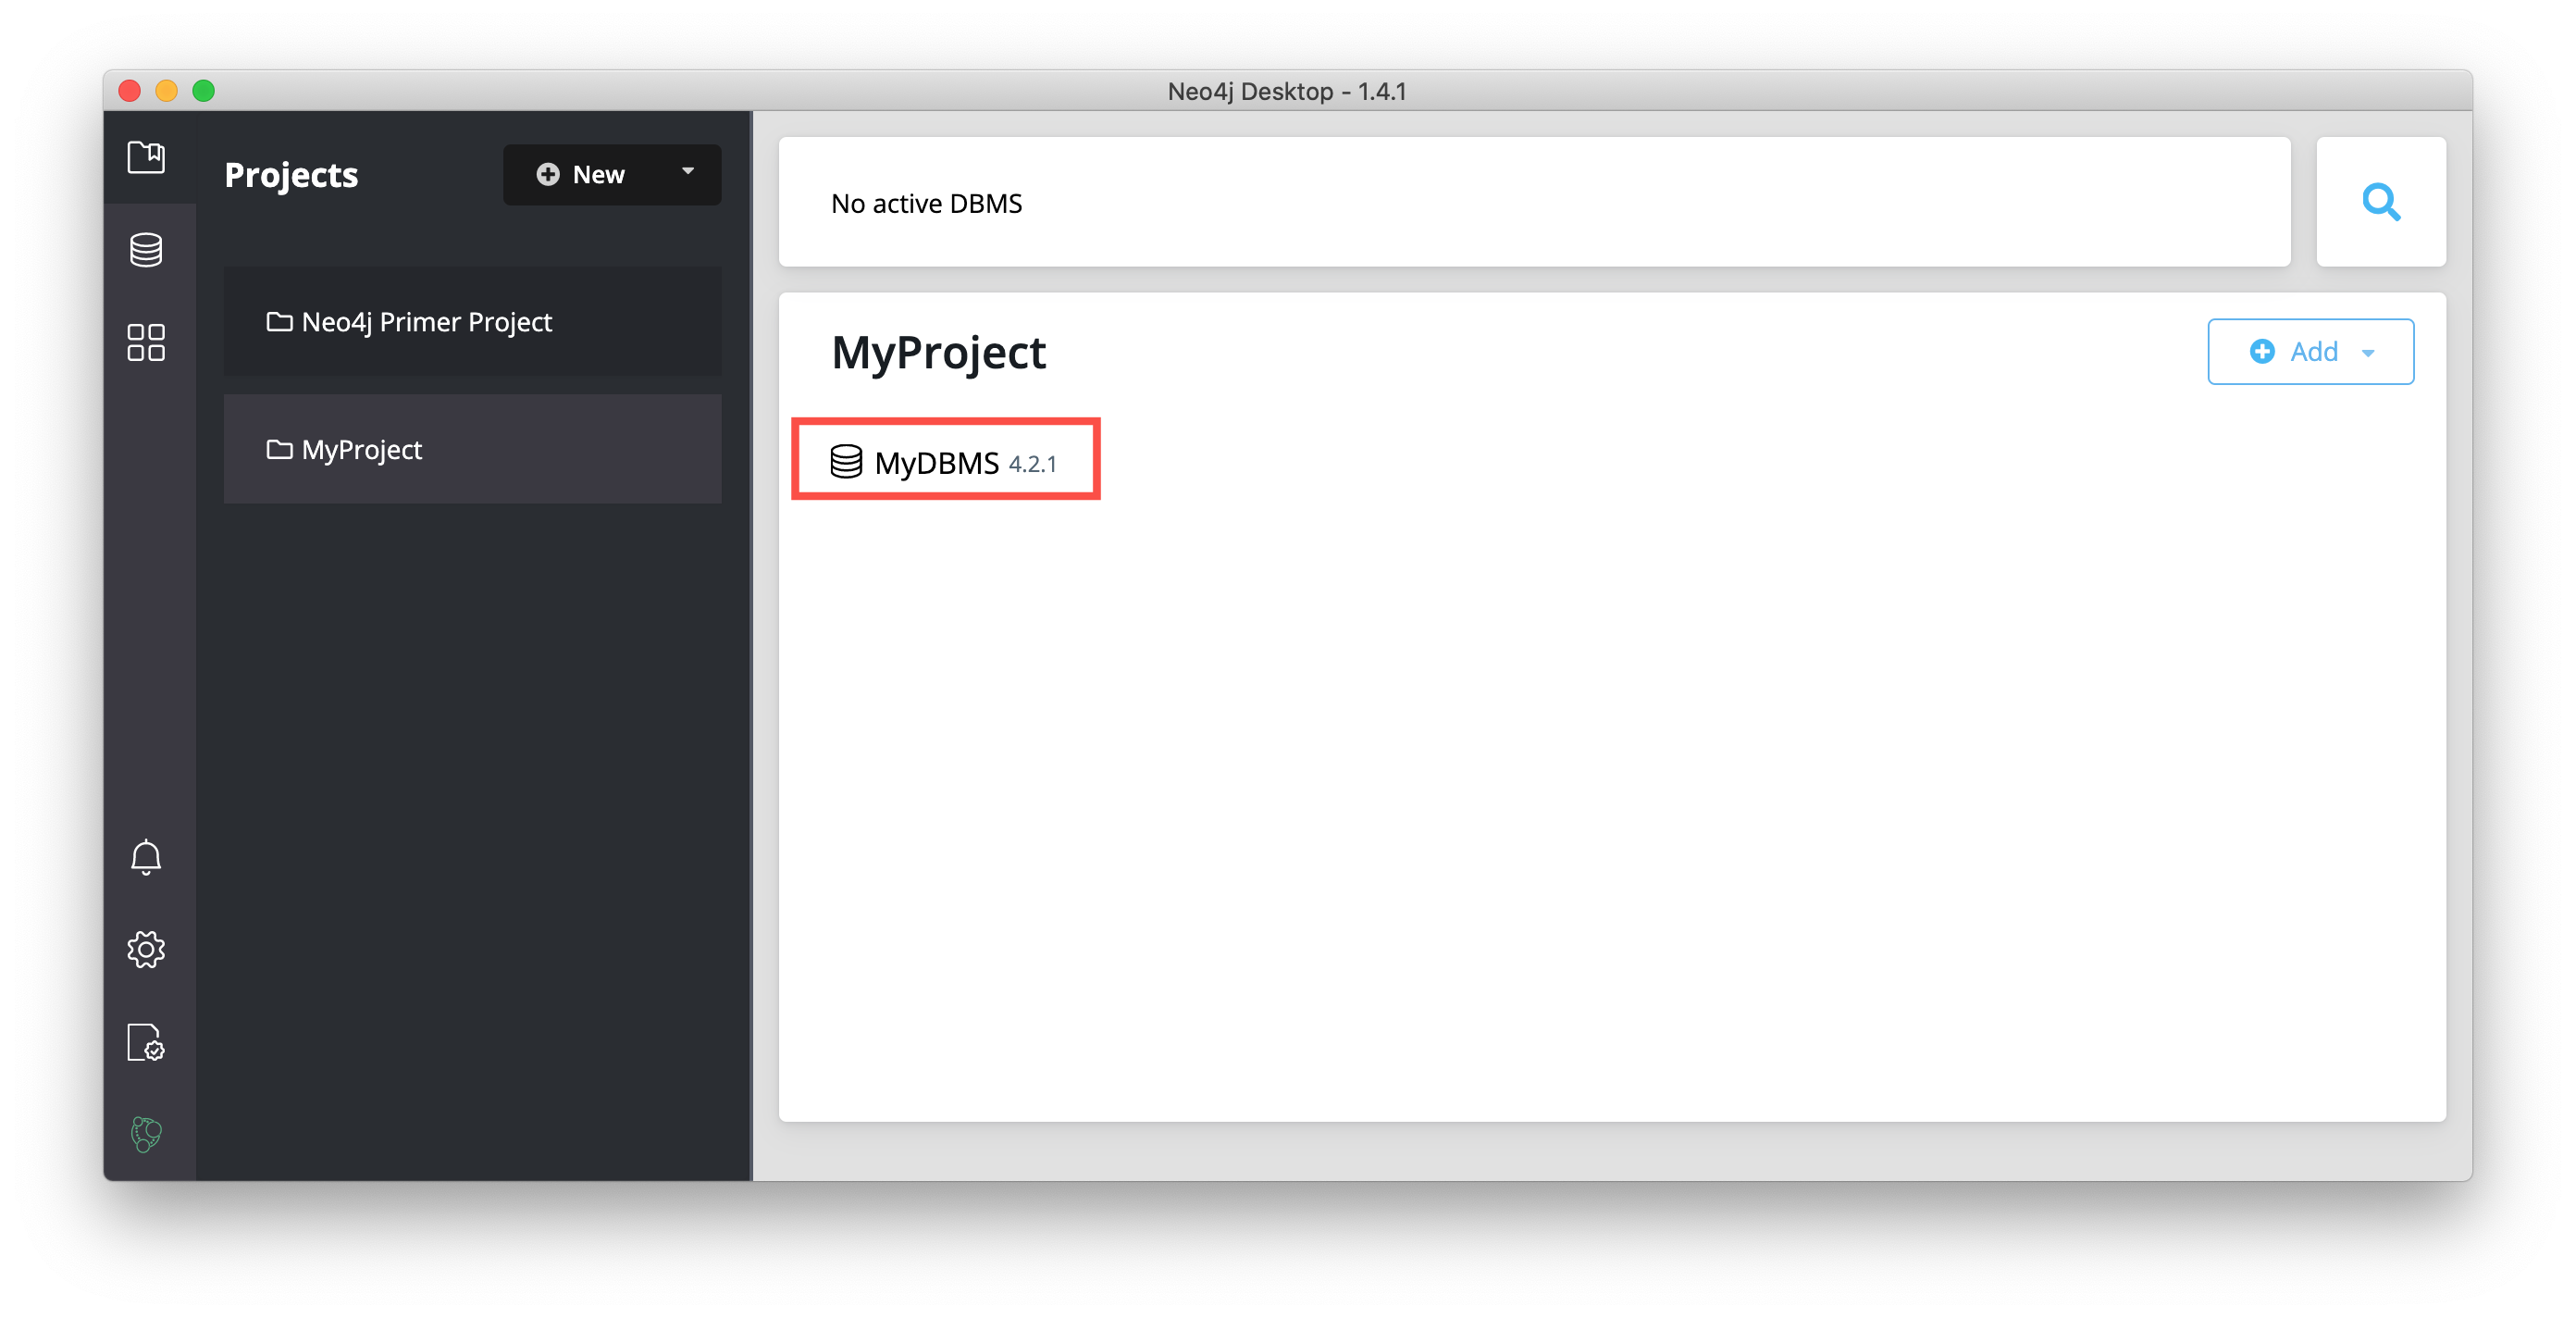
You should now see that there is no active DBMS:
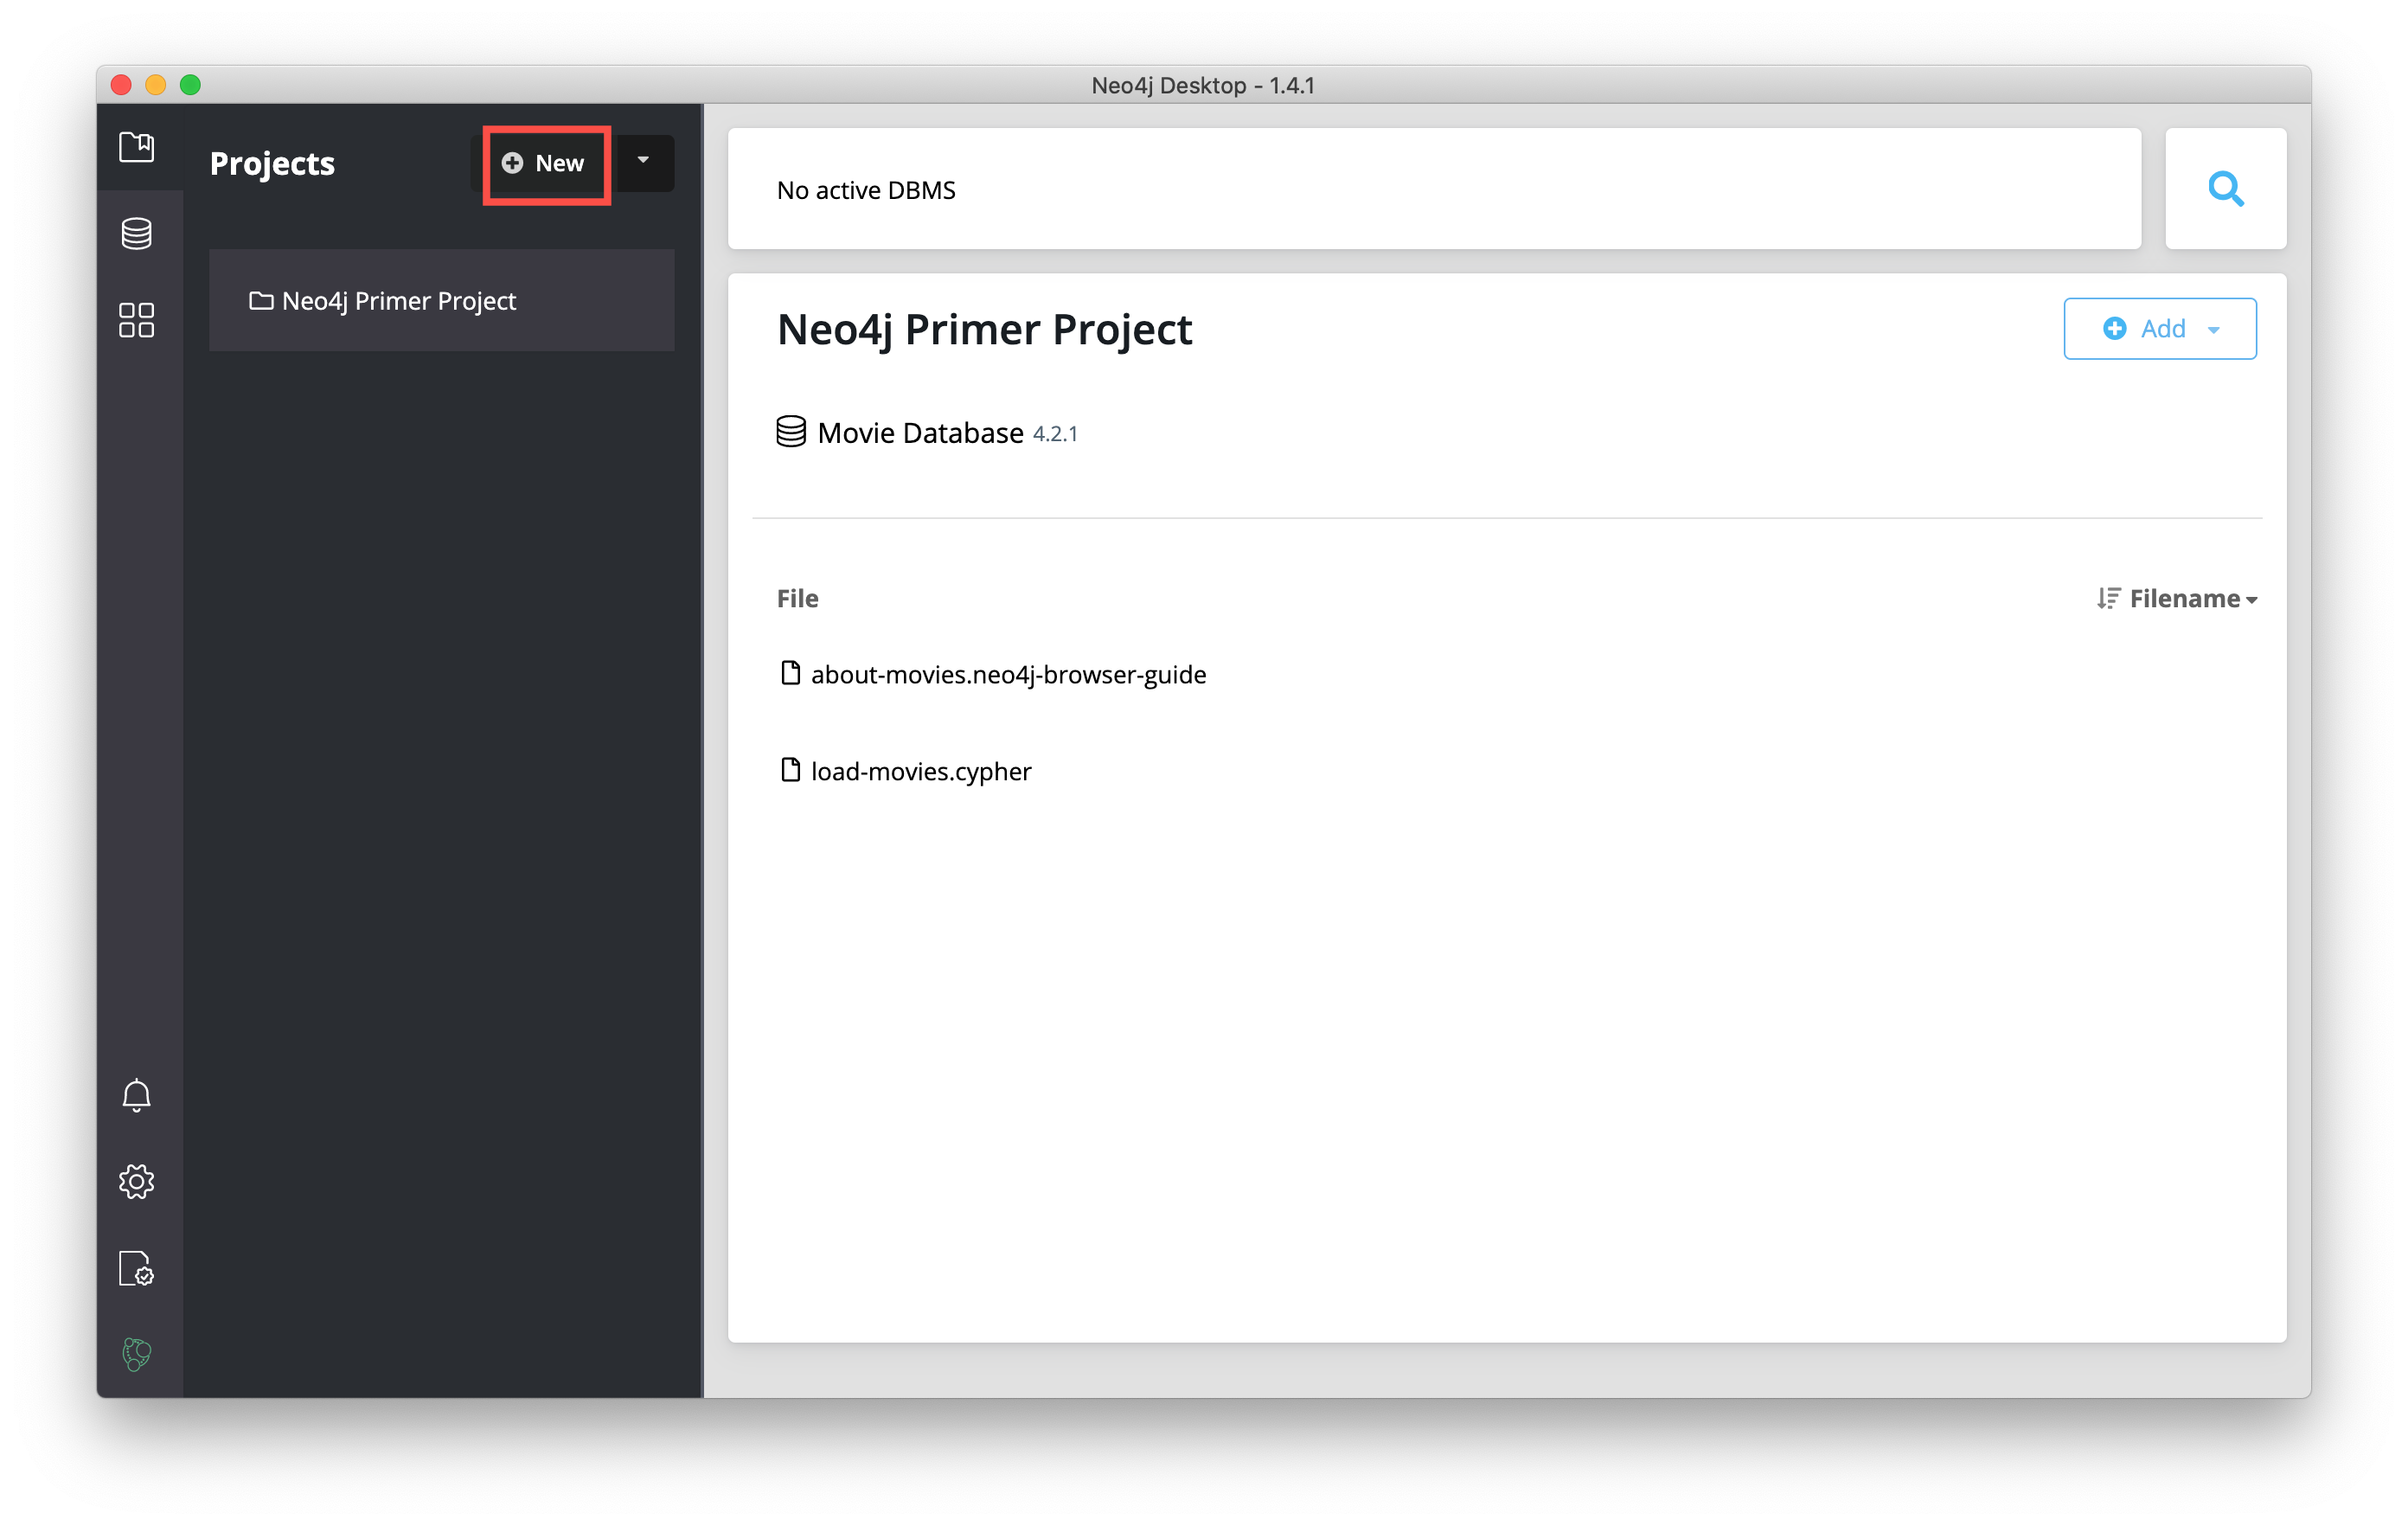
Add a new project by clicking New at the top of the sidebar:
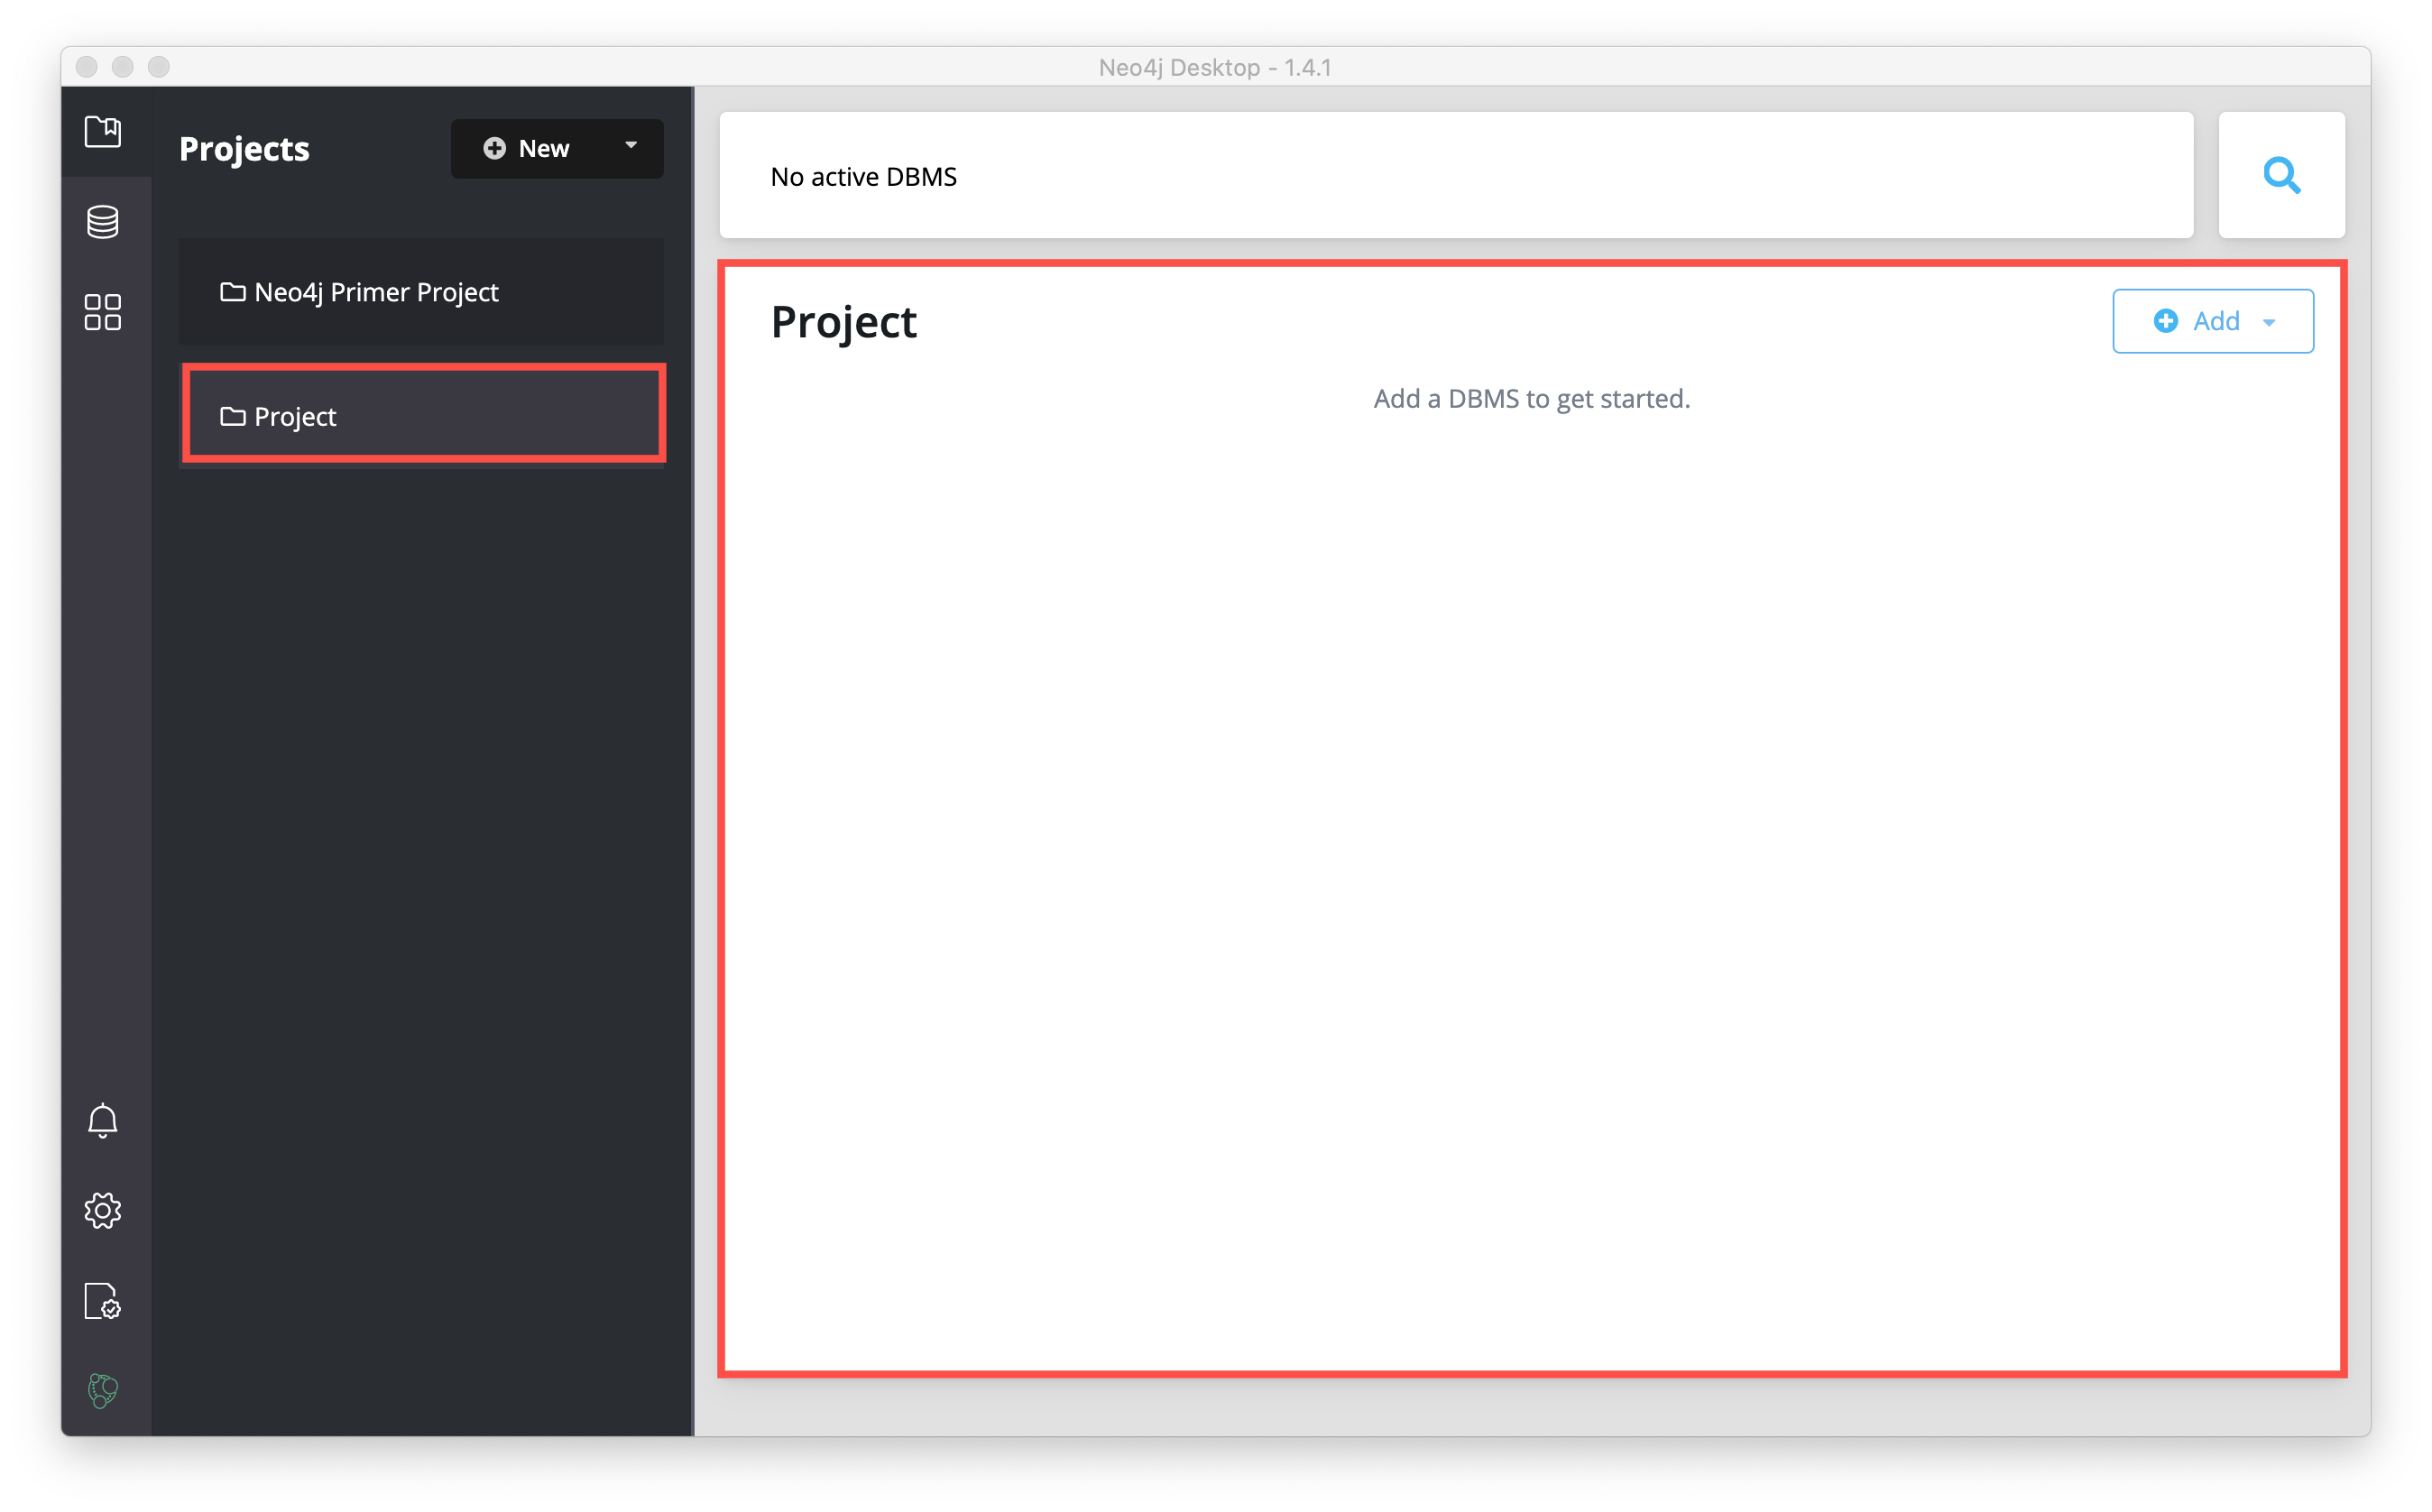
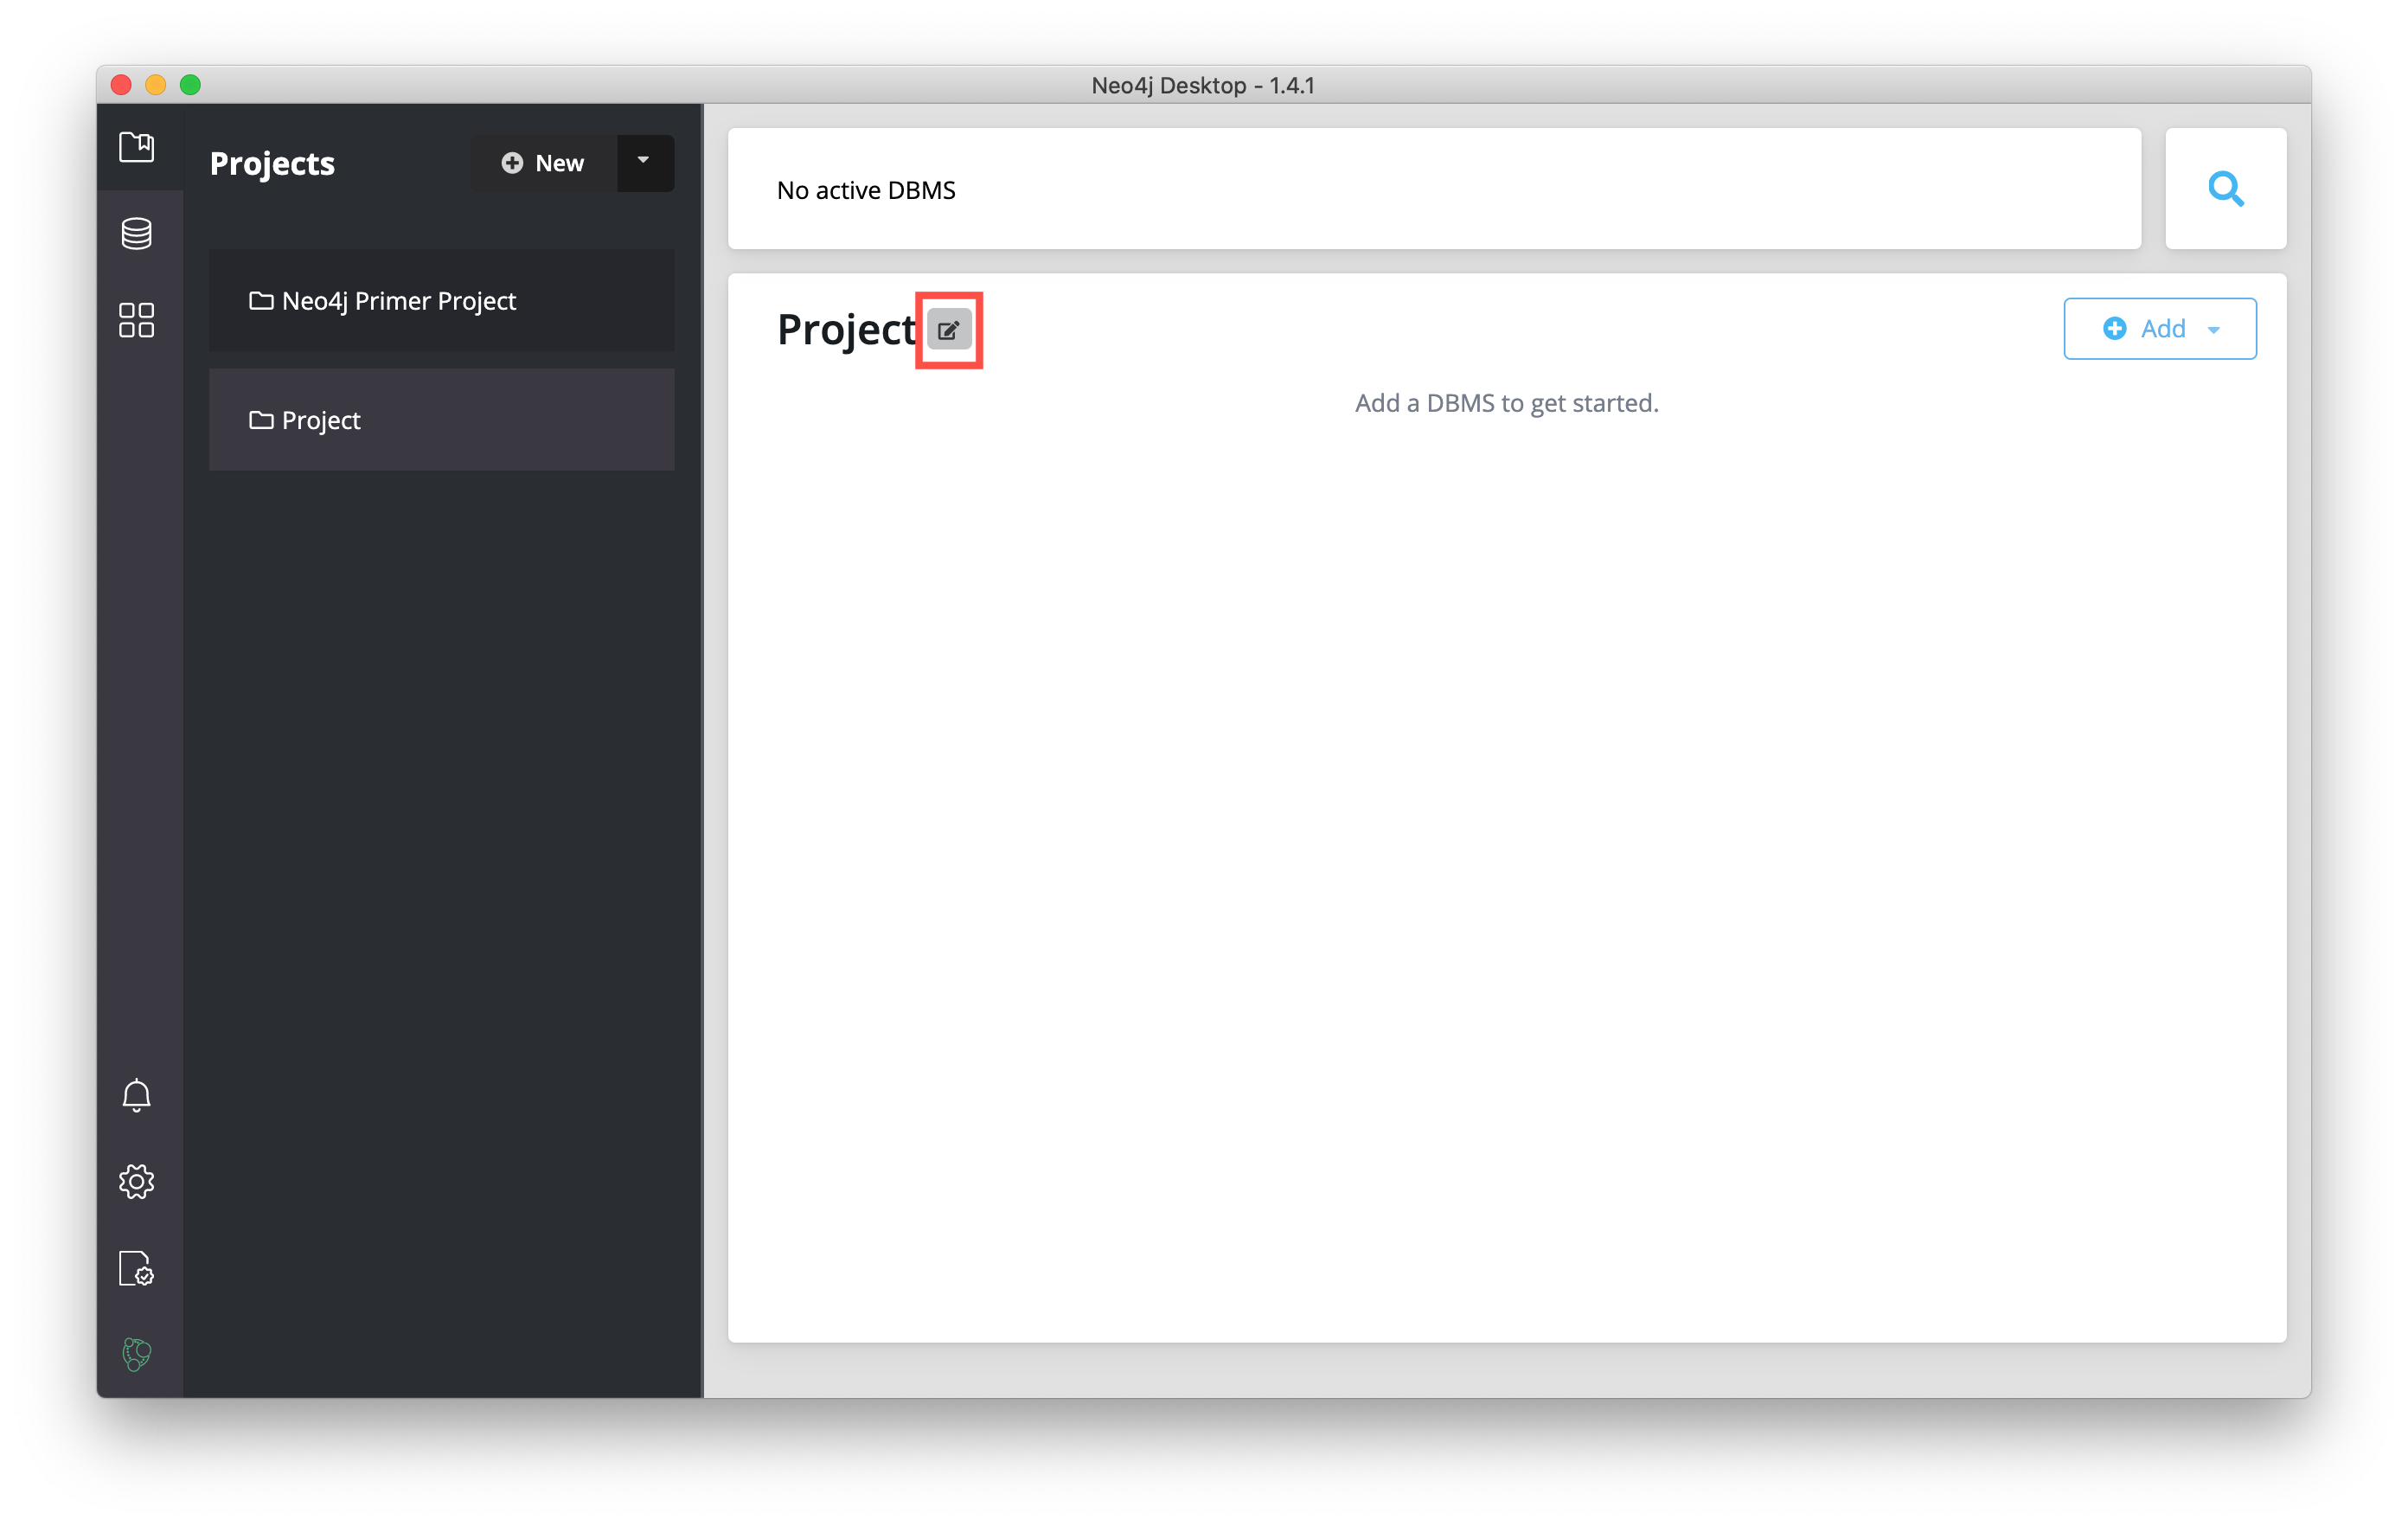
This creates a project named Project:
You want your projects to be named something that describes the goal of the project. You can change the name of a project by hovering over the area to the right of the project name and selecting the Edit button:
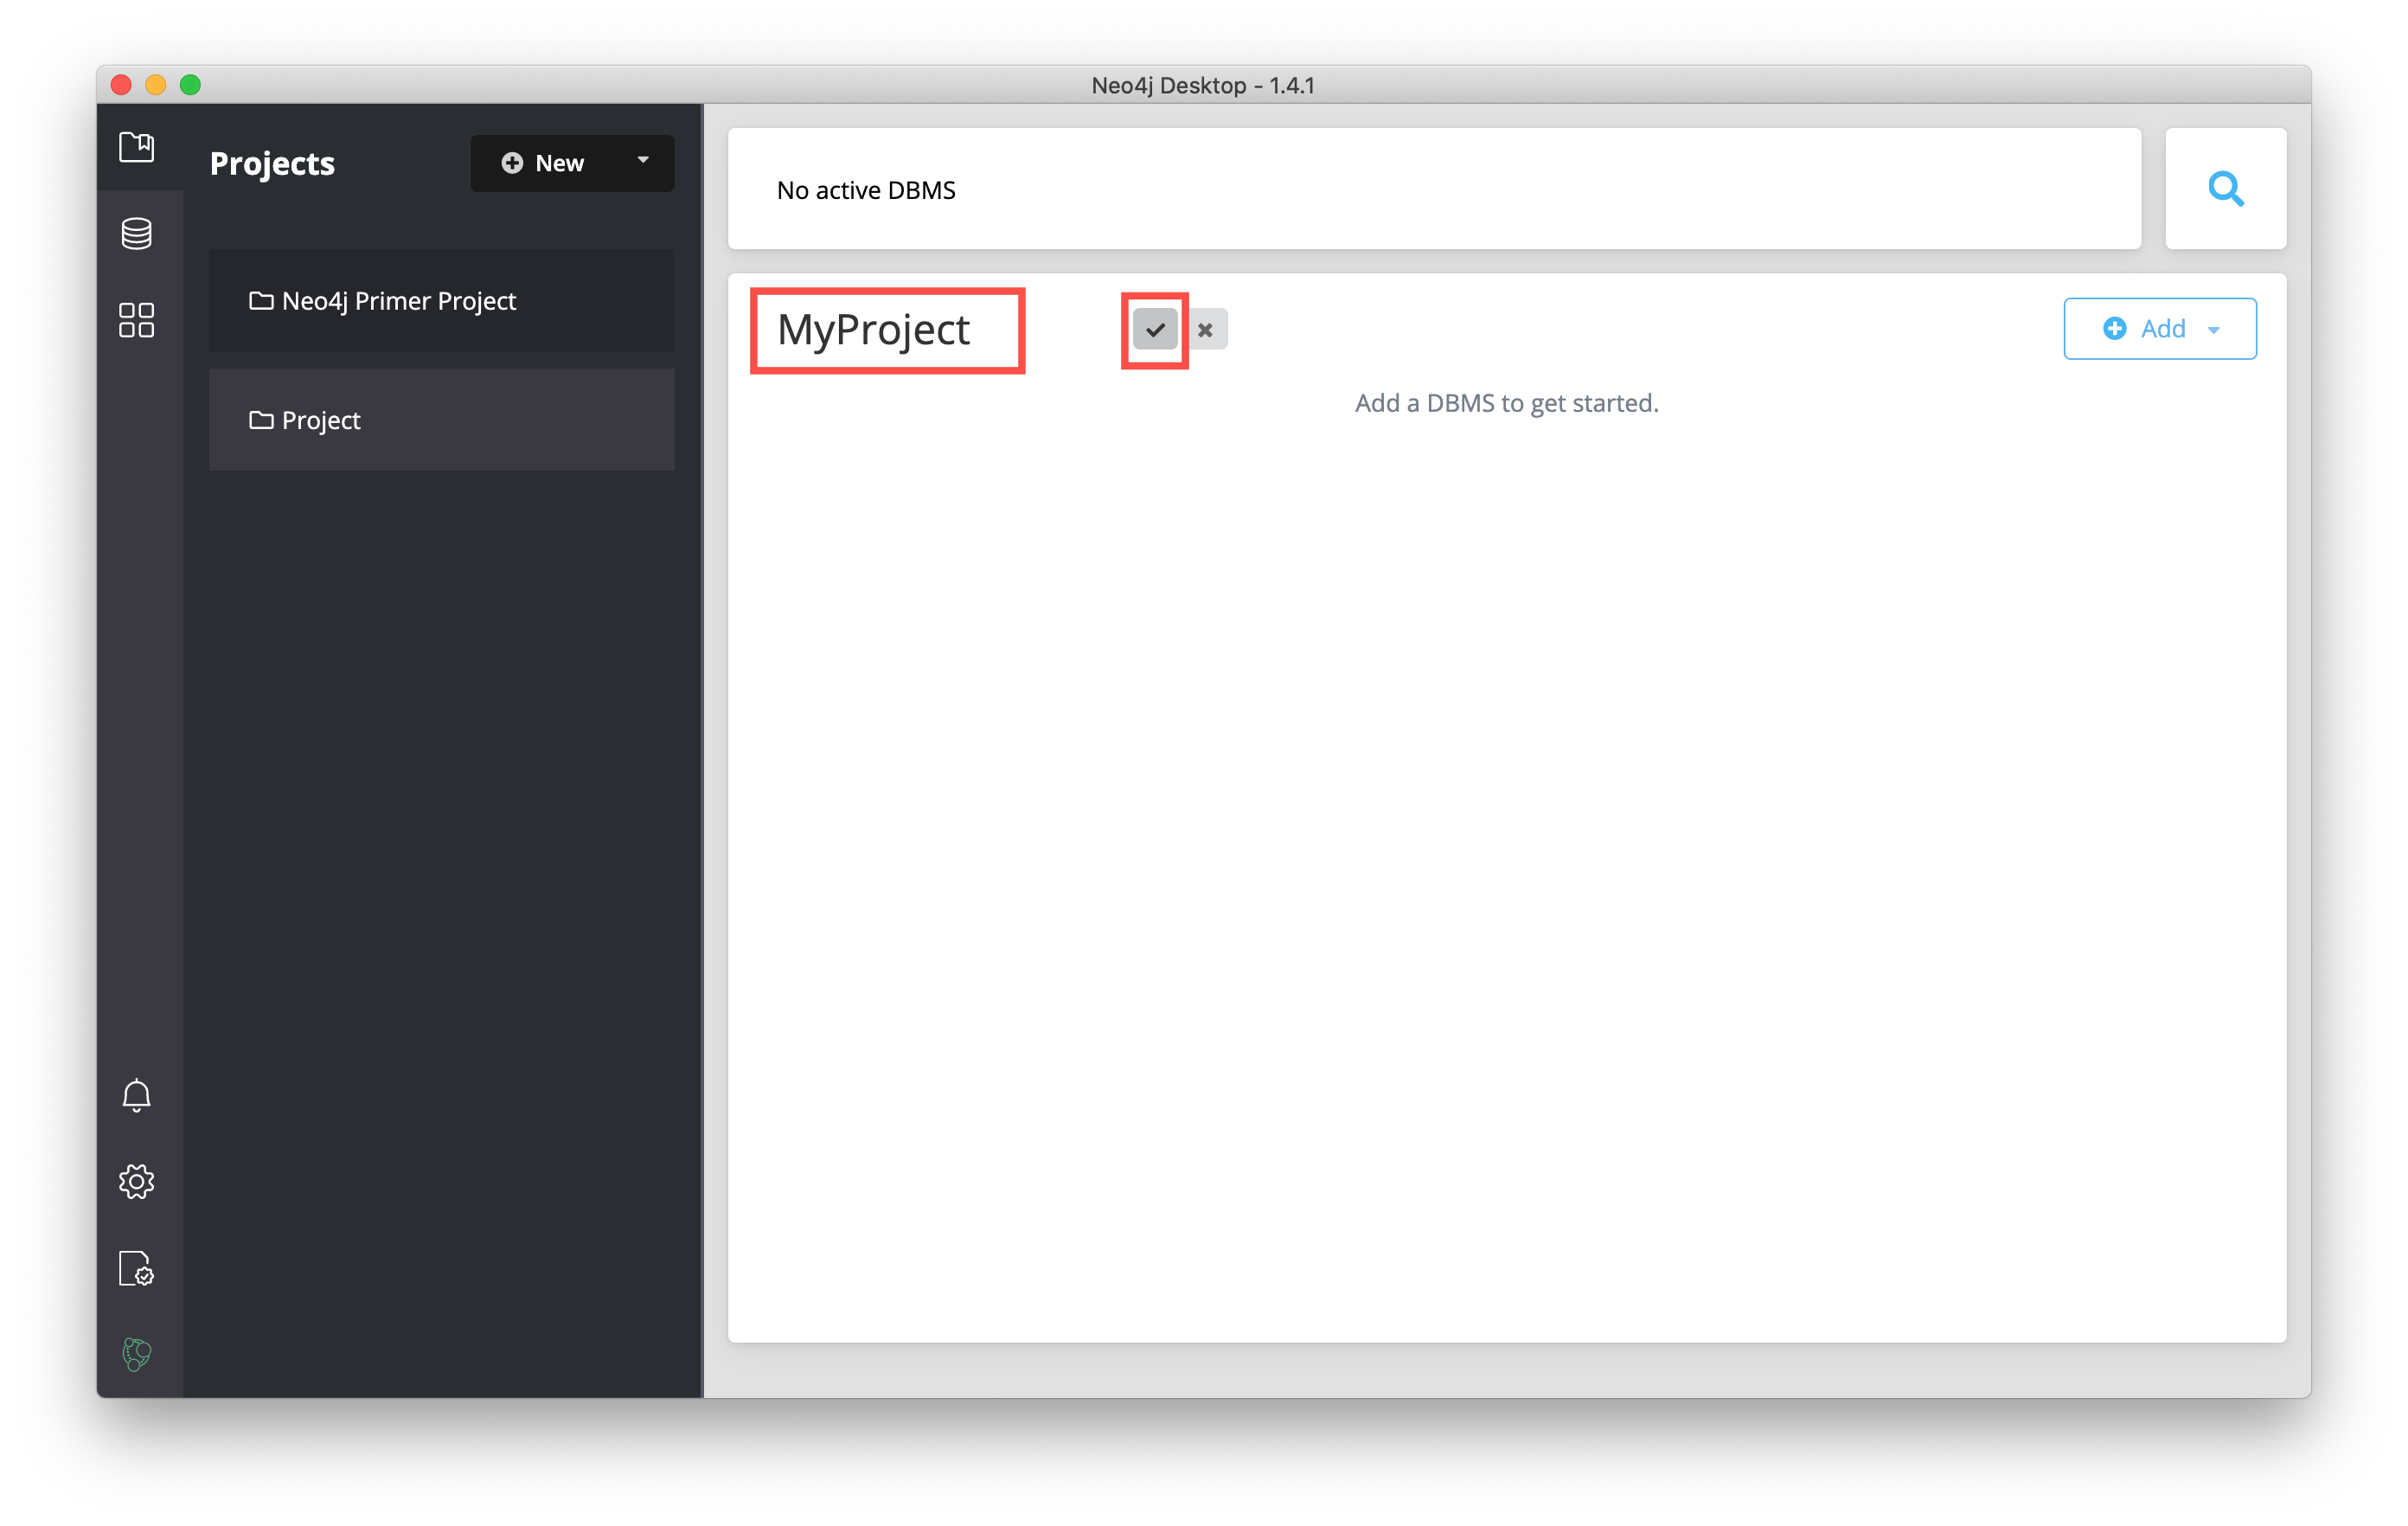
Then you type a name for the project and select the "Check" button to save the name.
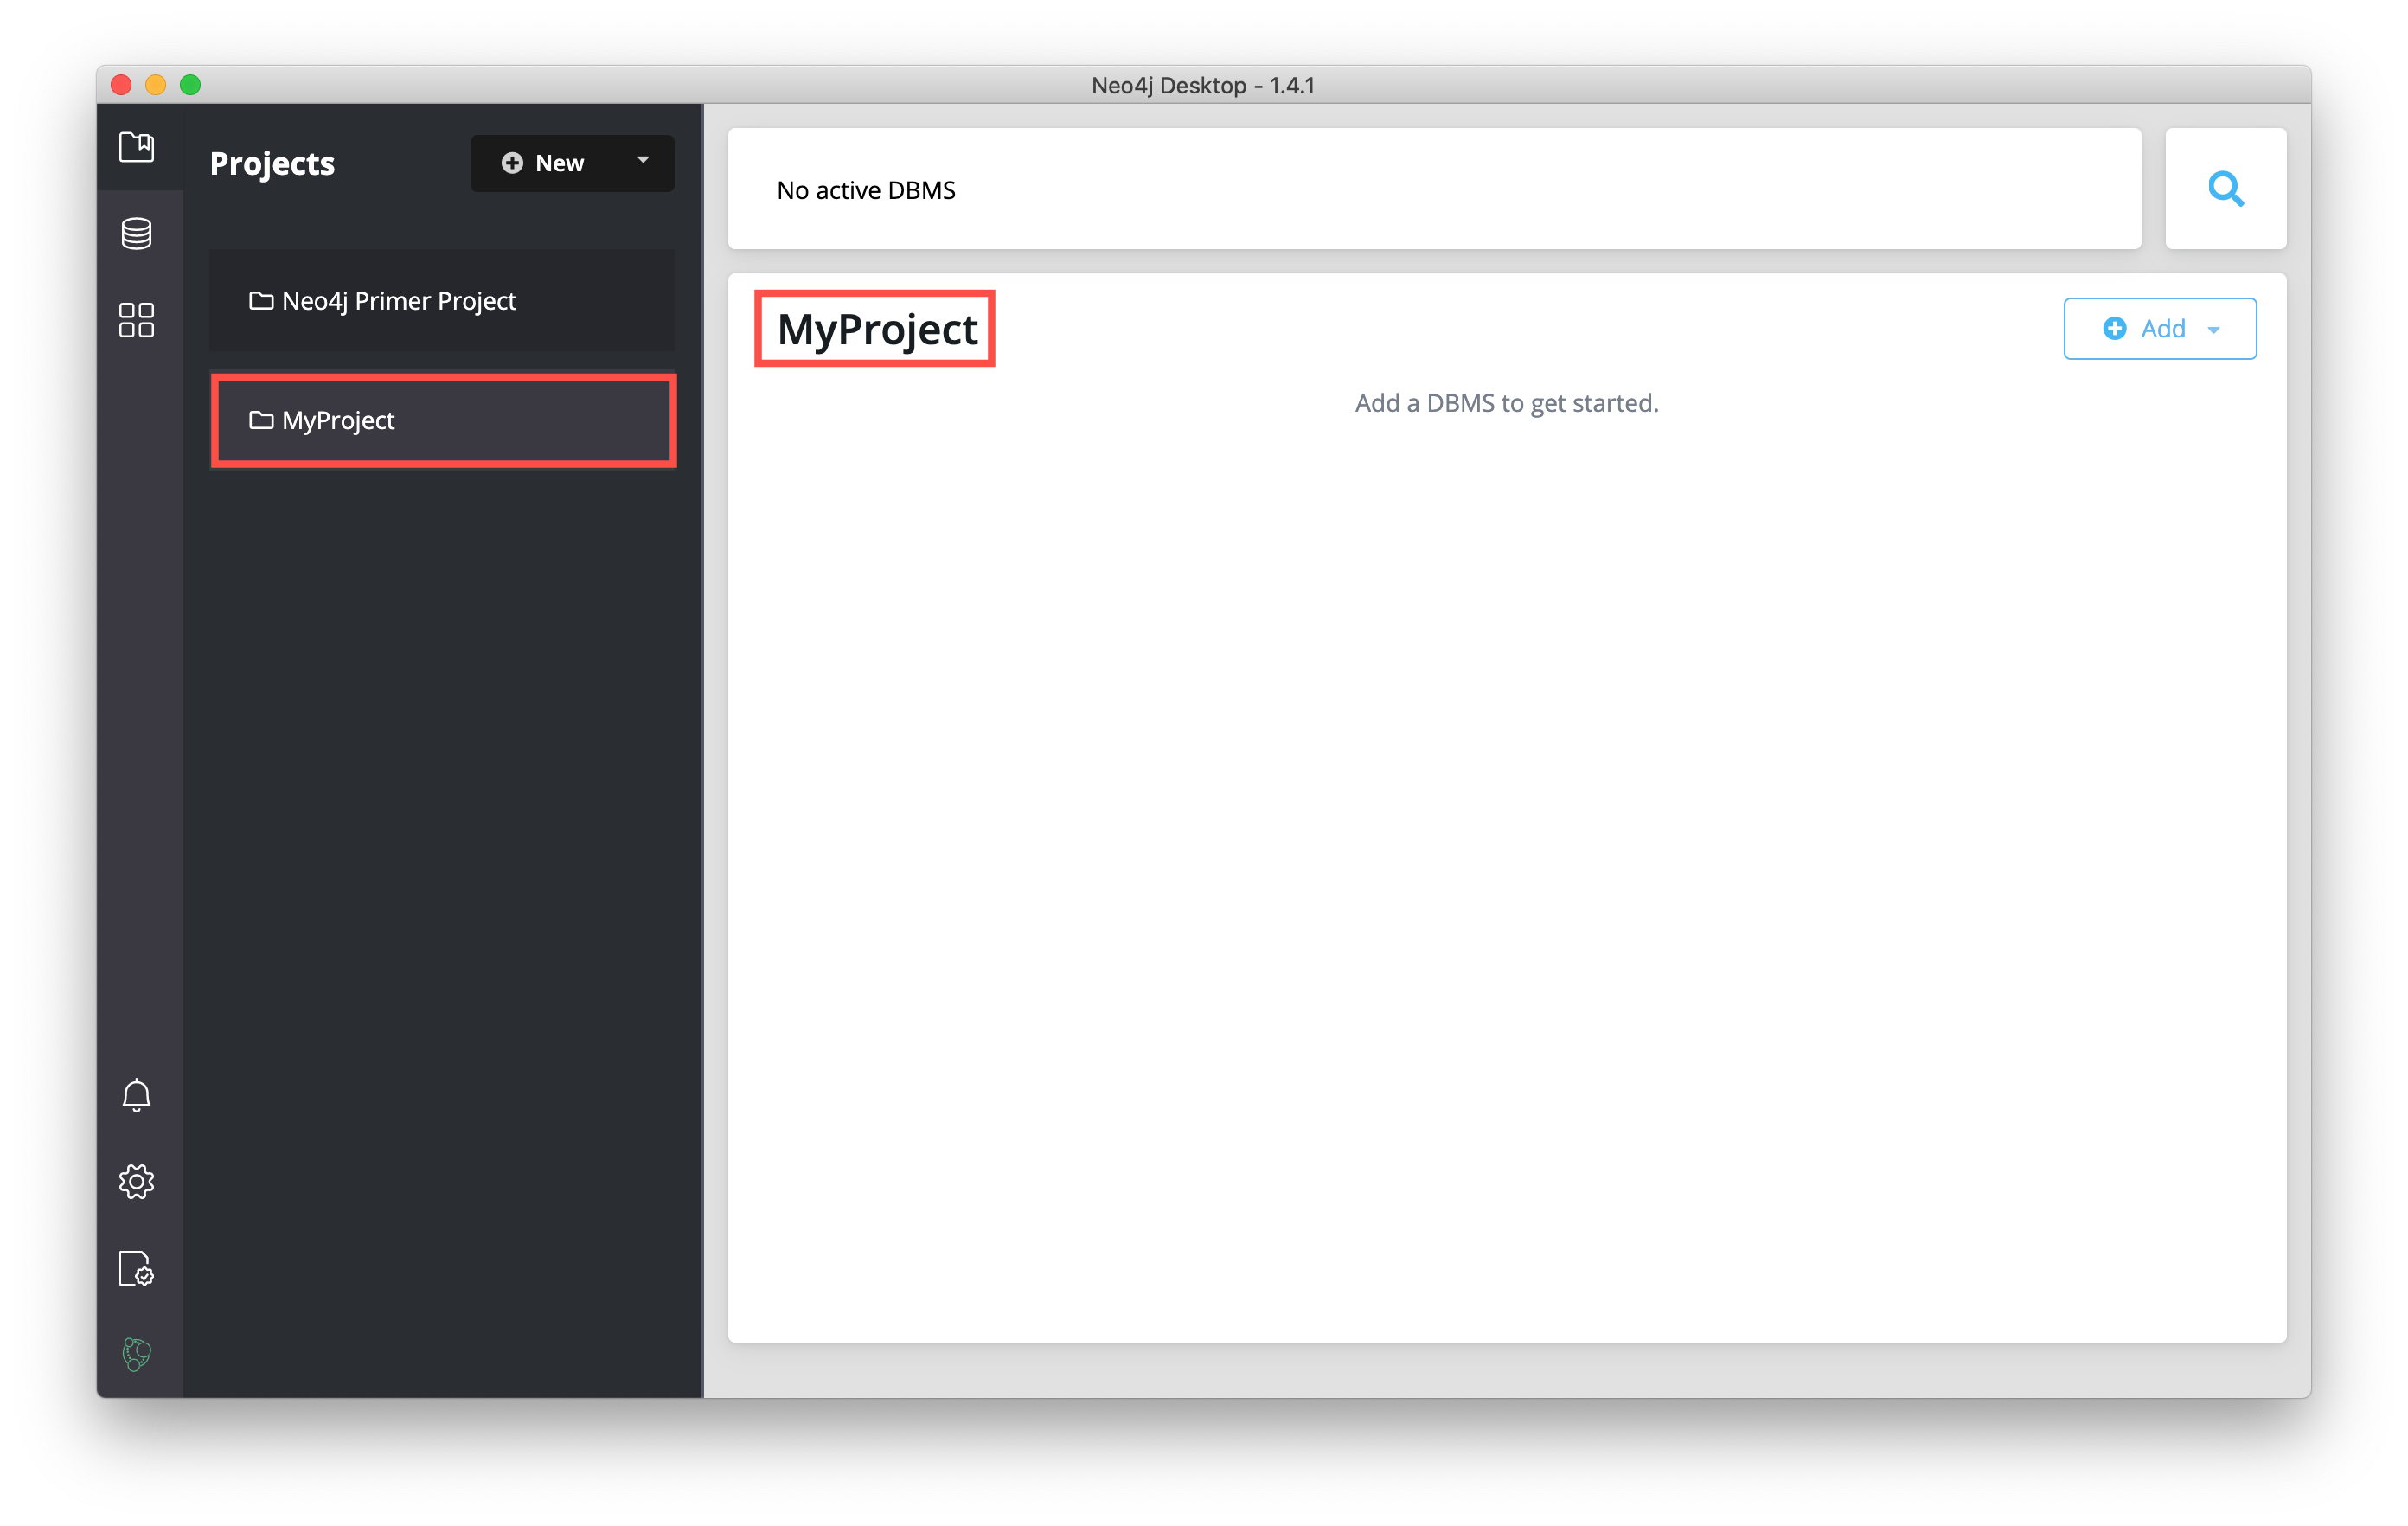
And here we see the project with the changed name:
To remove the project, hover over the Project row in the projects menu and click the trash bin icon that appears on the right side (![]() ).
).
Creating a DBMS
A DBMS is a Neo4j Server instance that contains the system and neo4j databases, but can contain more databases (multi-db feature of Neo4j 4.x Enterprise Edition)
In a Neo4j Desktop project, you can create one or more DBMSs. Next, you will create a local DBMS in a project and start it.
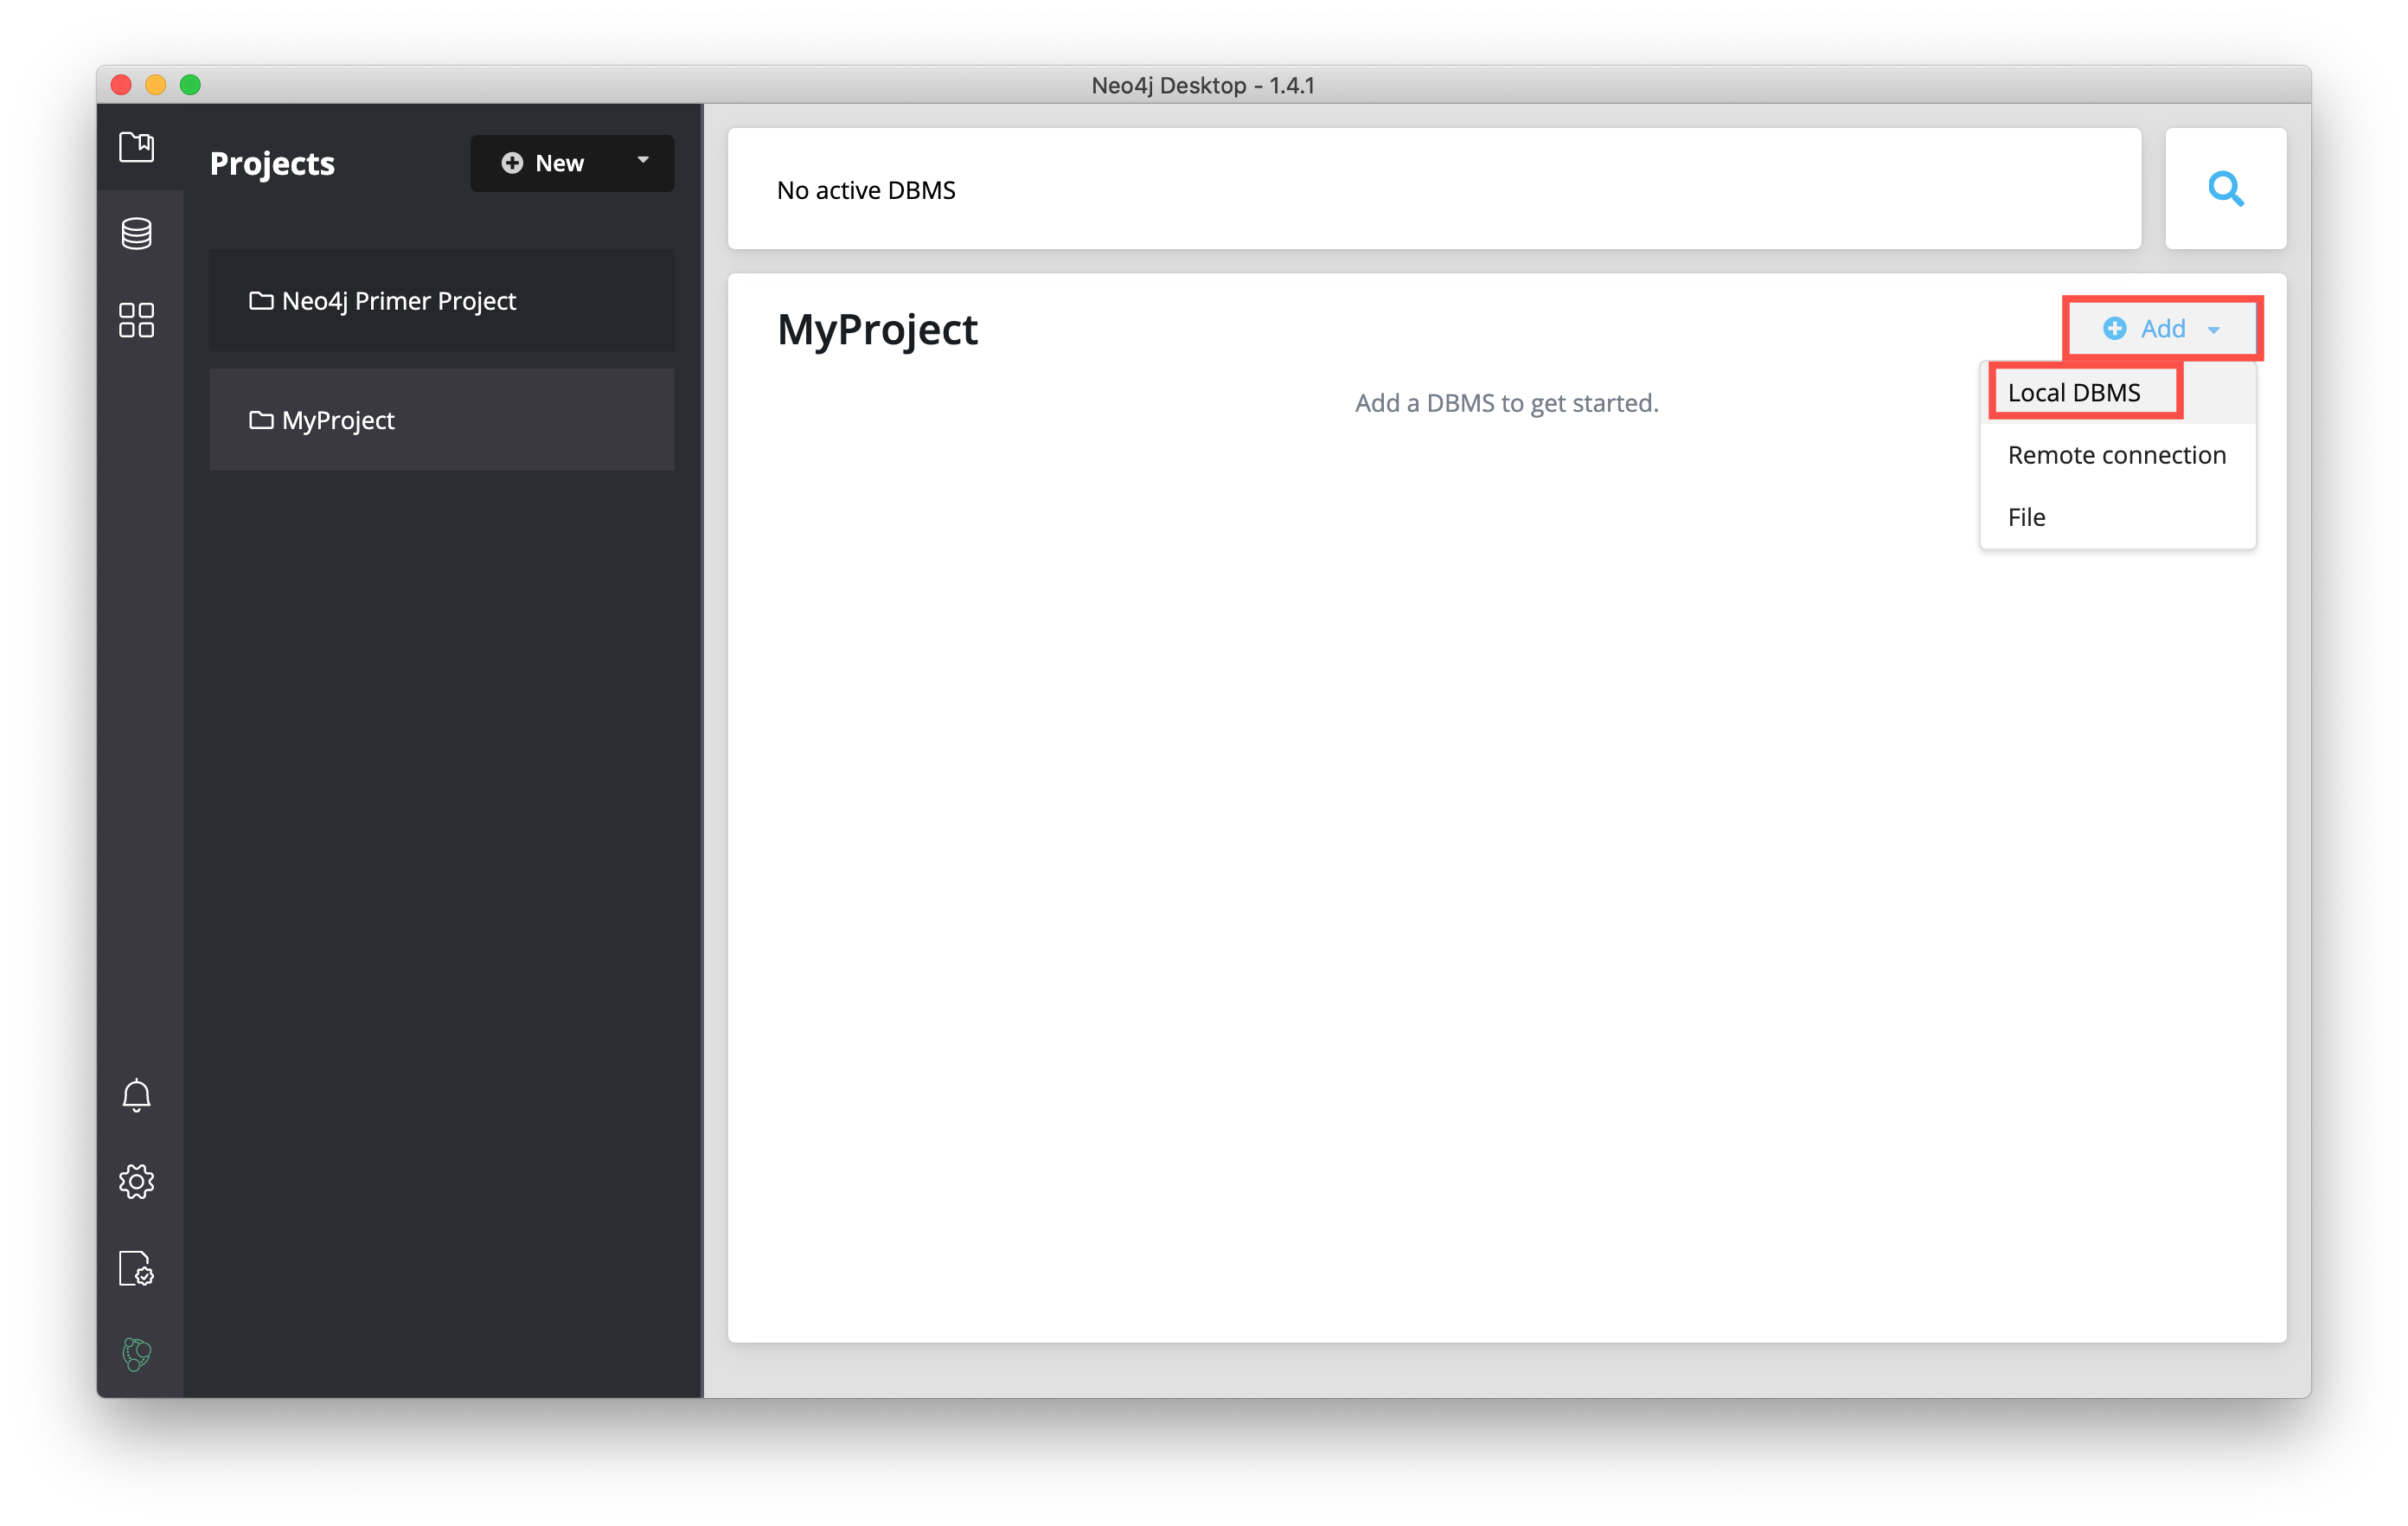
In the project where you want to add the DBMS, click the Add button, and then select Local DBMS:
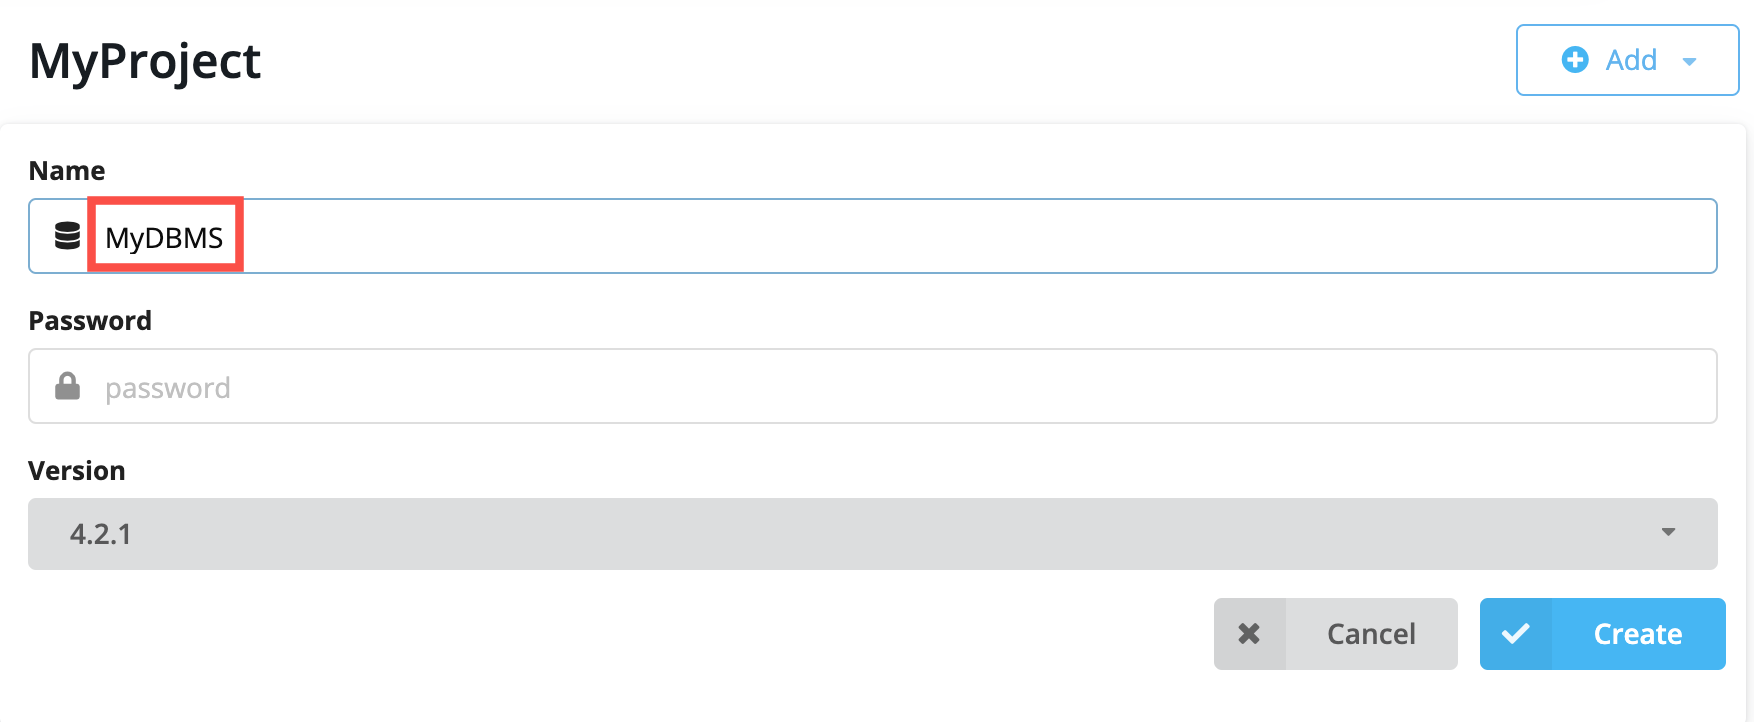
This opens a dialog where you will specify the details of the DBMS. You can use the default name for the DBMS, which is Graph DBMS, but you should name it something that helps to identify the use case for the DBMS. Here we specify MyDBMS as the name:
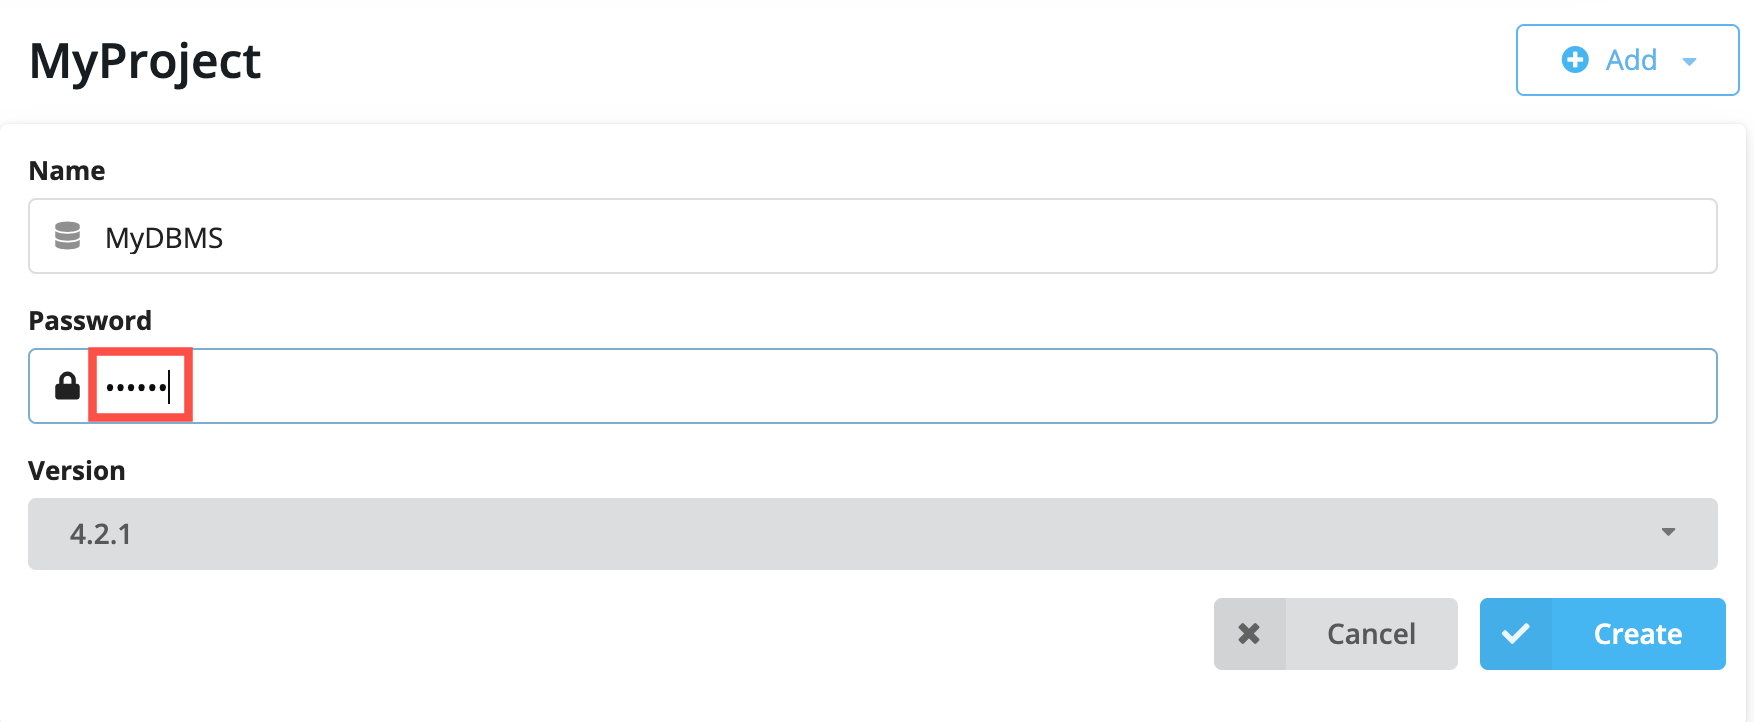
You must specify a password for the DBMS so enter a password that you will remember:
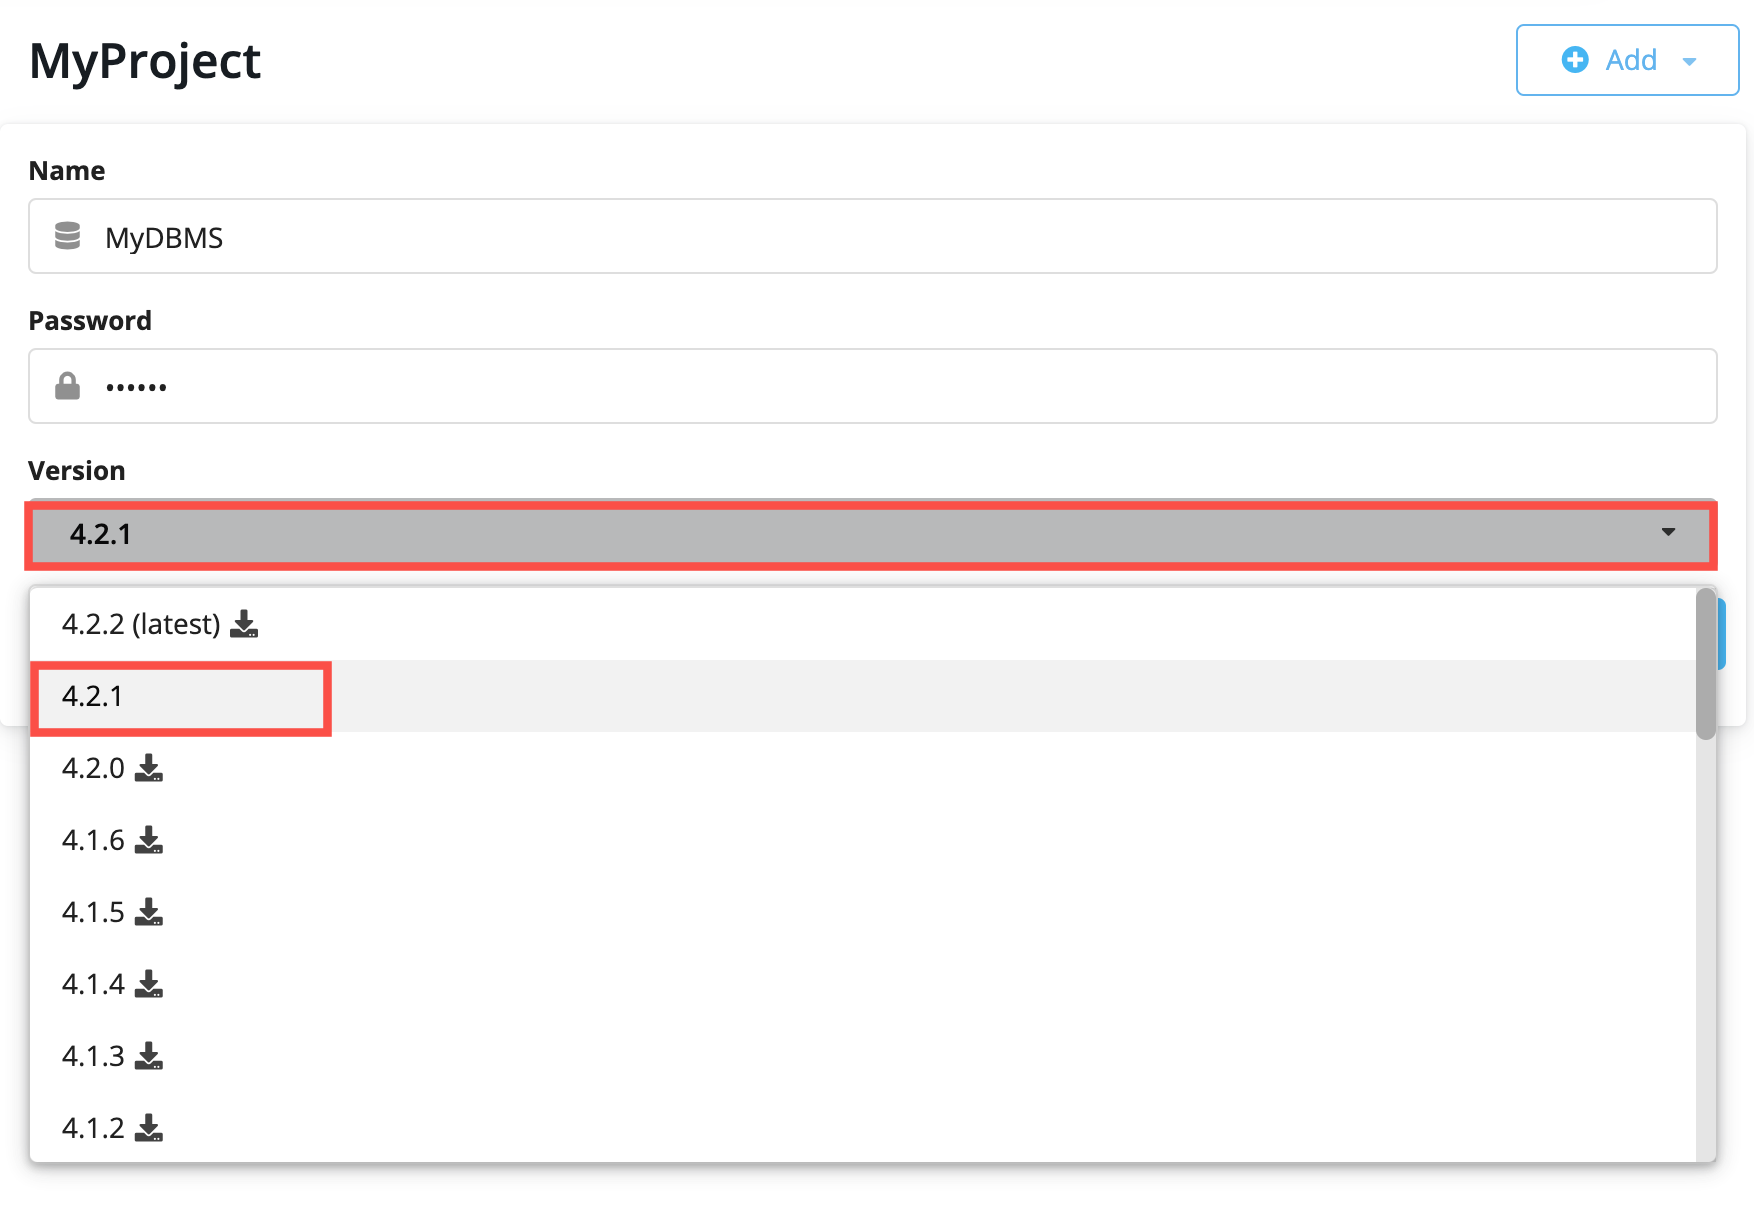
Neo4j Desktop will create a DBMS with the default version for Neo4j Desktop. However, you can select a different version. Keep in mind that if there is a down arrow shown next to the version, this means that Neo4j Desktop will need to download resources for that particular version of the DBMS. To do this you must be connected to the Internet:
After you have specifed the details for the DBMS you want to create, you click the Create button:
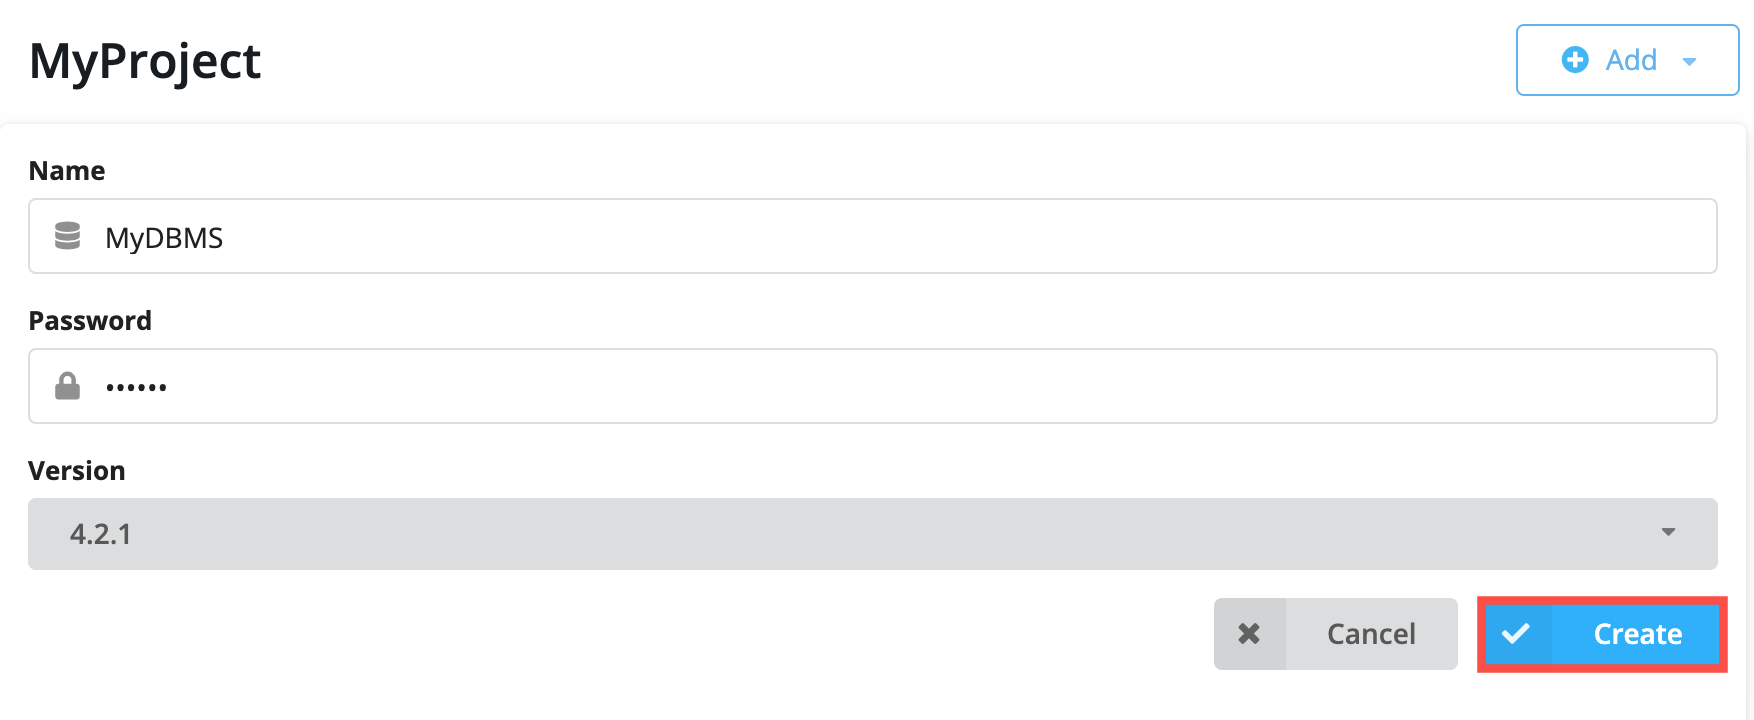
And here is what you should see after the DBMS is successfully created:
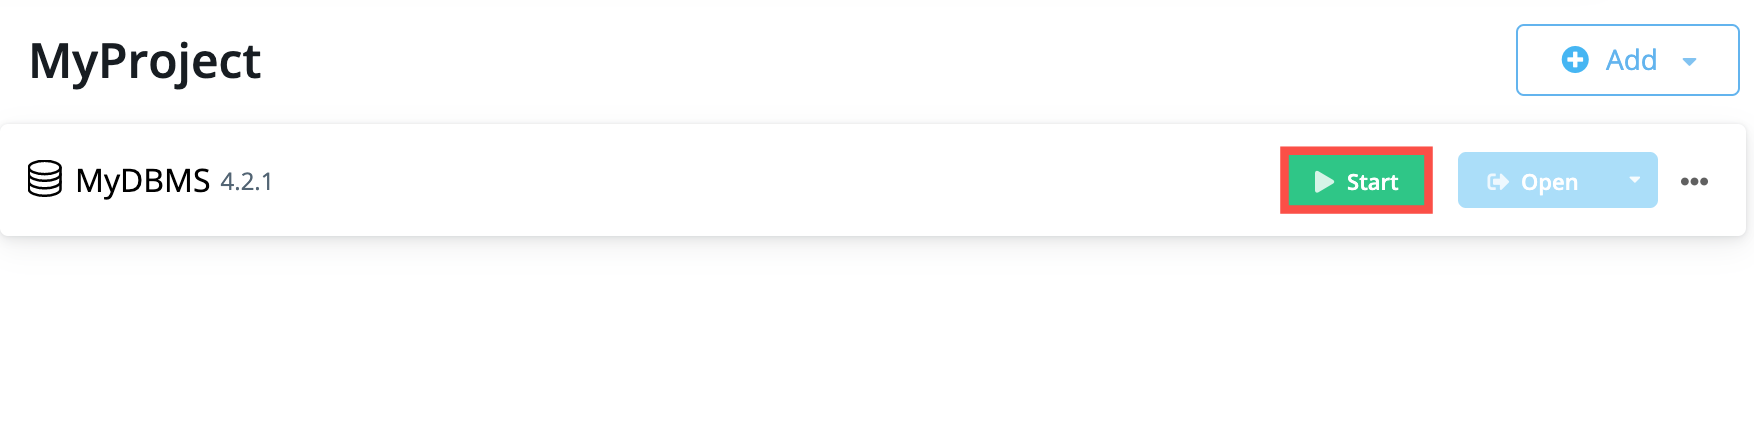
Recall that you cannot have more than one DBMS started. Provided you have no other DBMSs started in Neo4j Desktop, you can start your newly-created DBMS by hovering to the right of the DBMS name and clicking the Start button:
The DBMS will take a few seconds to start. After it is started, you should see something like this:
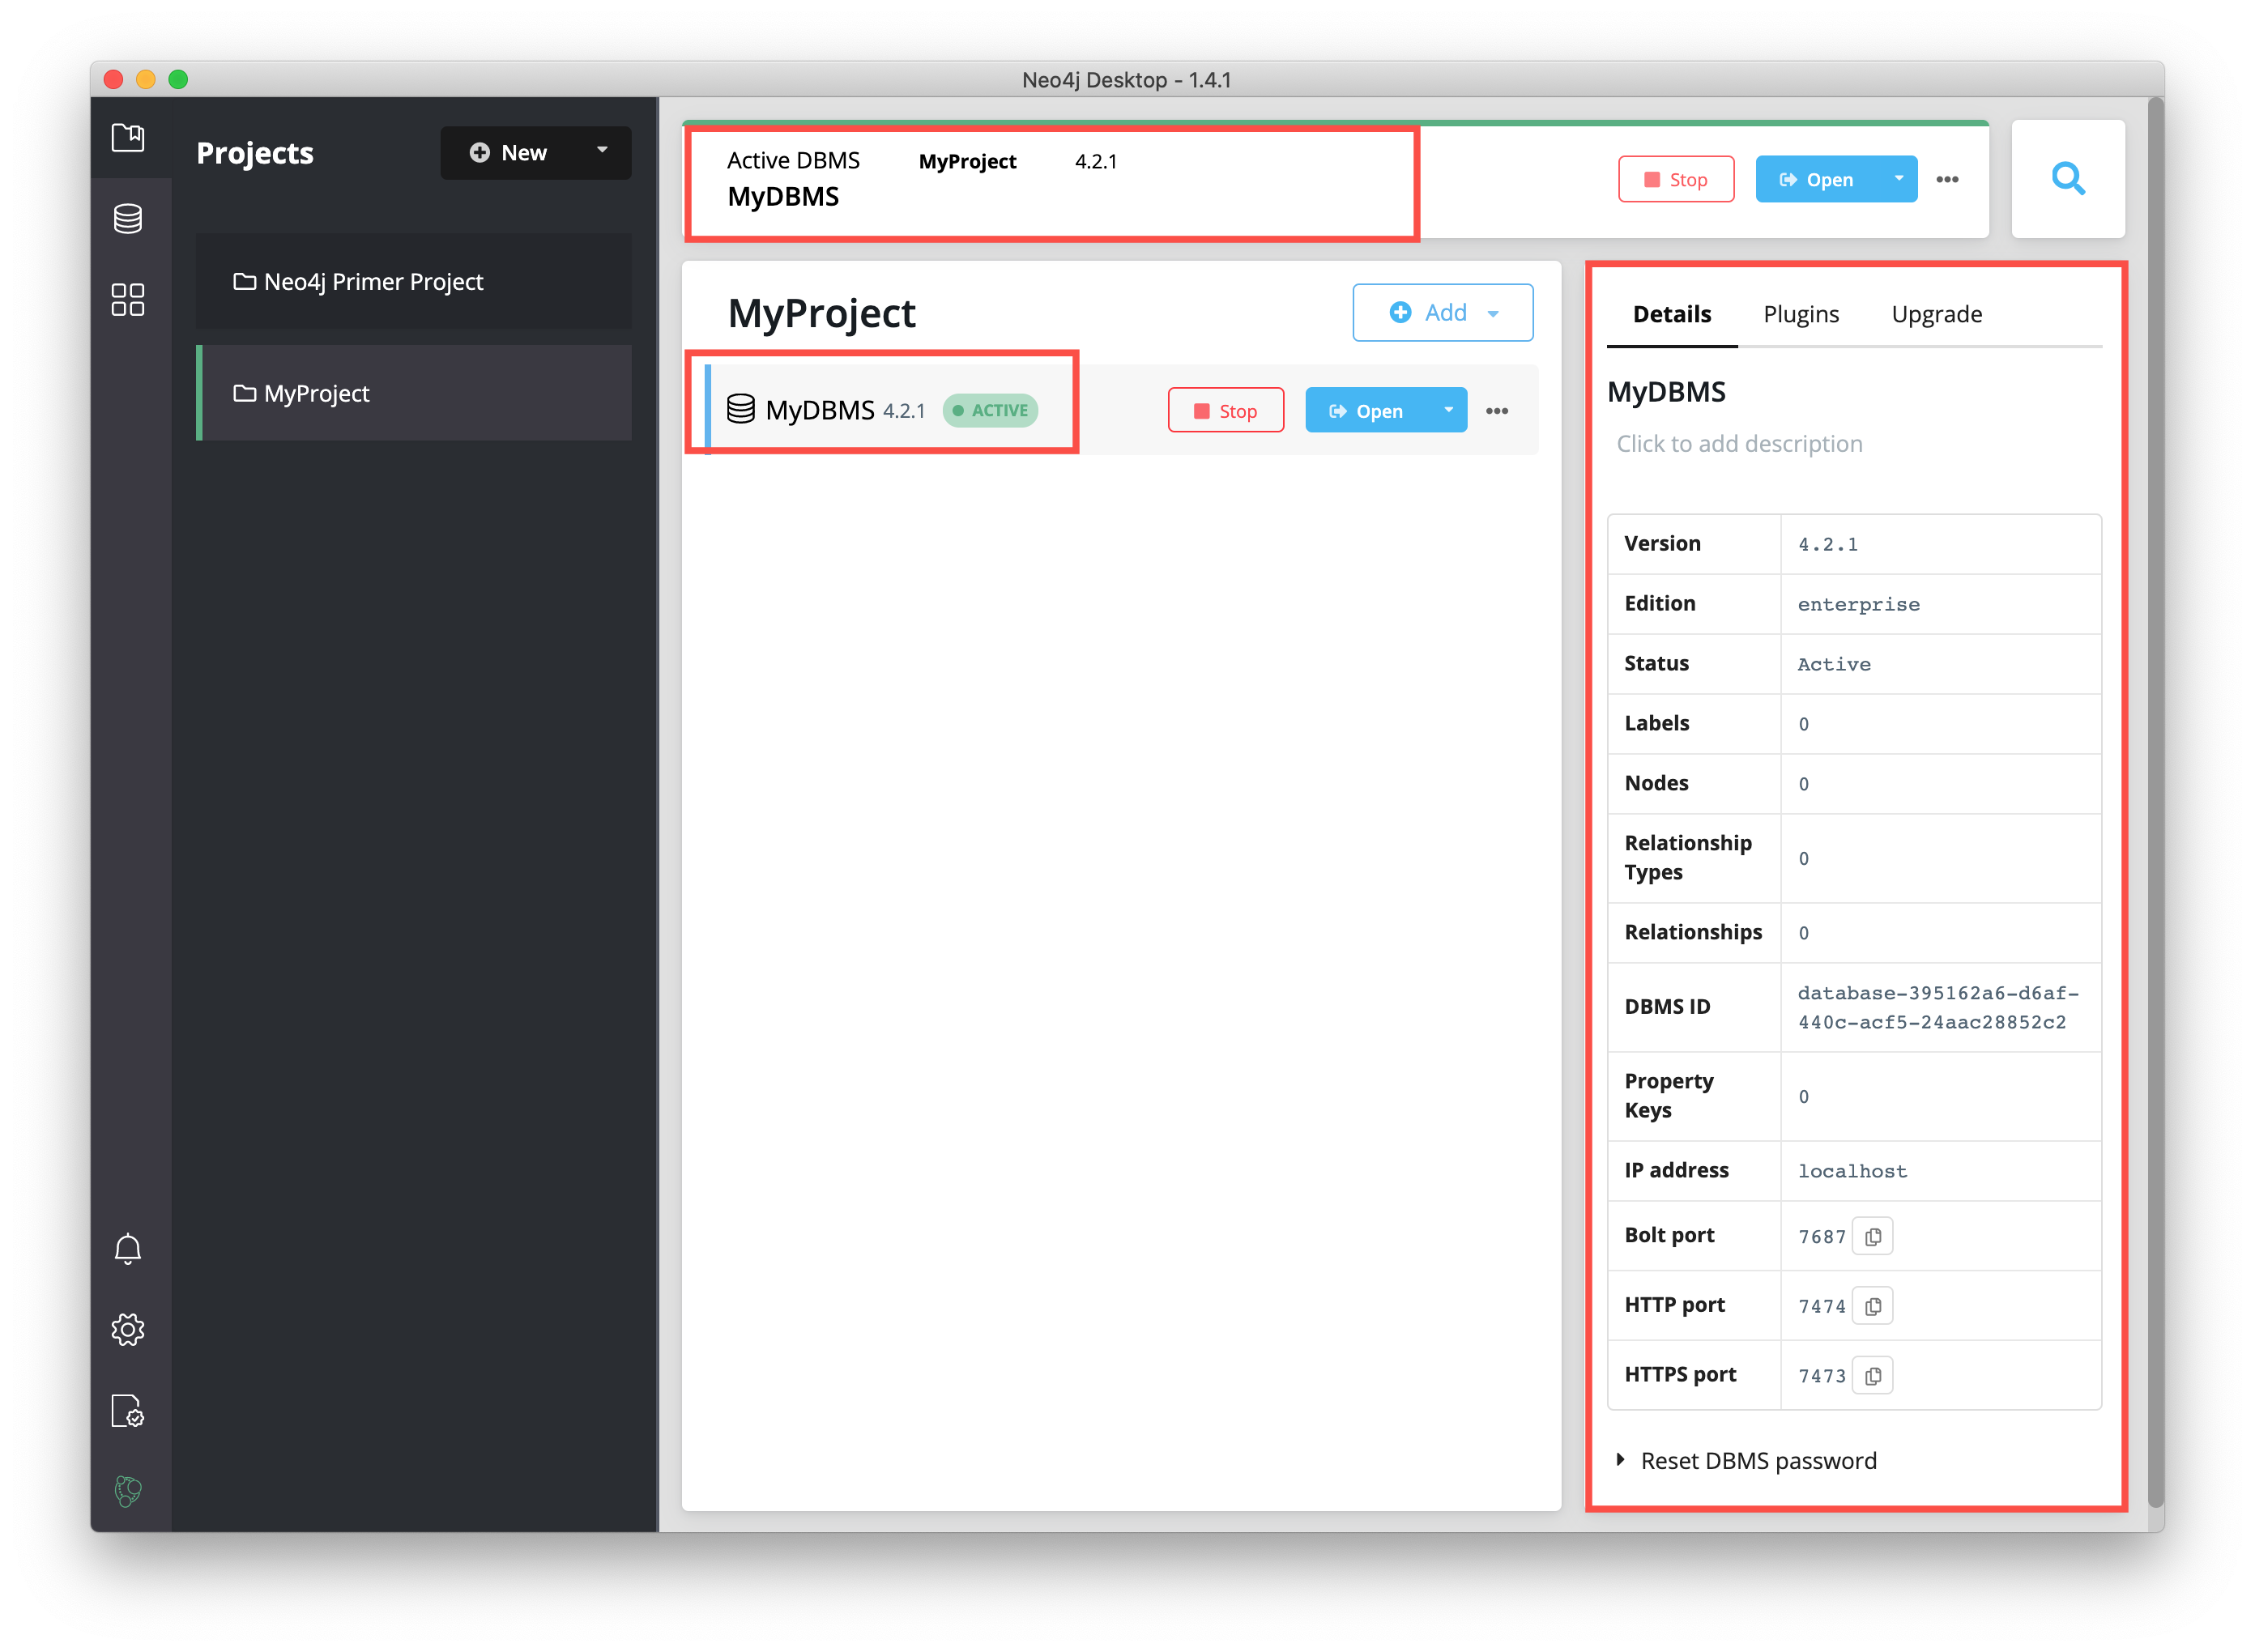
After the DBMS is started, you can access it with clients running on your system such as Neo4j Browser, Neo4j Bloom, etc. In Neo4j Desktop, the DBMS is an Enterprise Server, but it can only be accessed locally.
You have now created y our own DBMS!
Managing the DBMS
After you have created a DBMS you may want to:
-
Add a plugin (library) that will be used for the instance.
-
Add a file for importing data into a database of the DBMS.
-
Open a terminal window for the DBMS.
-
Modify runtime settings for the DBMS.
-
View log files for the DBMS.
-
Reset the password for the DBMS.
Adding a plugin
A plugin is additional functionality that can be enabled for a DBMS. Currently with the latest release of Neo4j Desktop that uses a 4.2.x DBMS, the following plugins come with Neo4j Desktop that you can install:
-
Awesome Procedures for Cypher (APOC)
-
Graph Data Science Library
-
GraphQL
-
Neo4j Streams
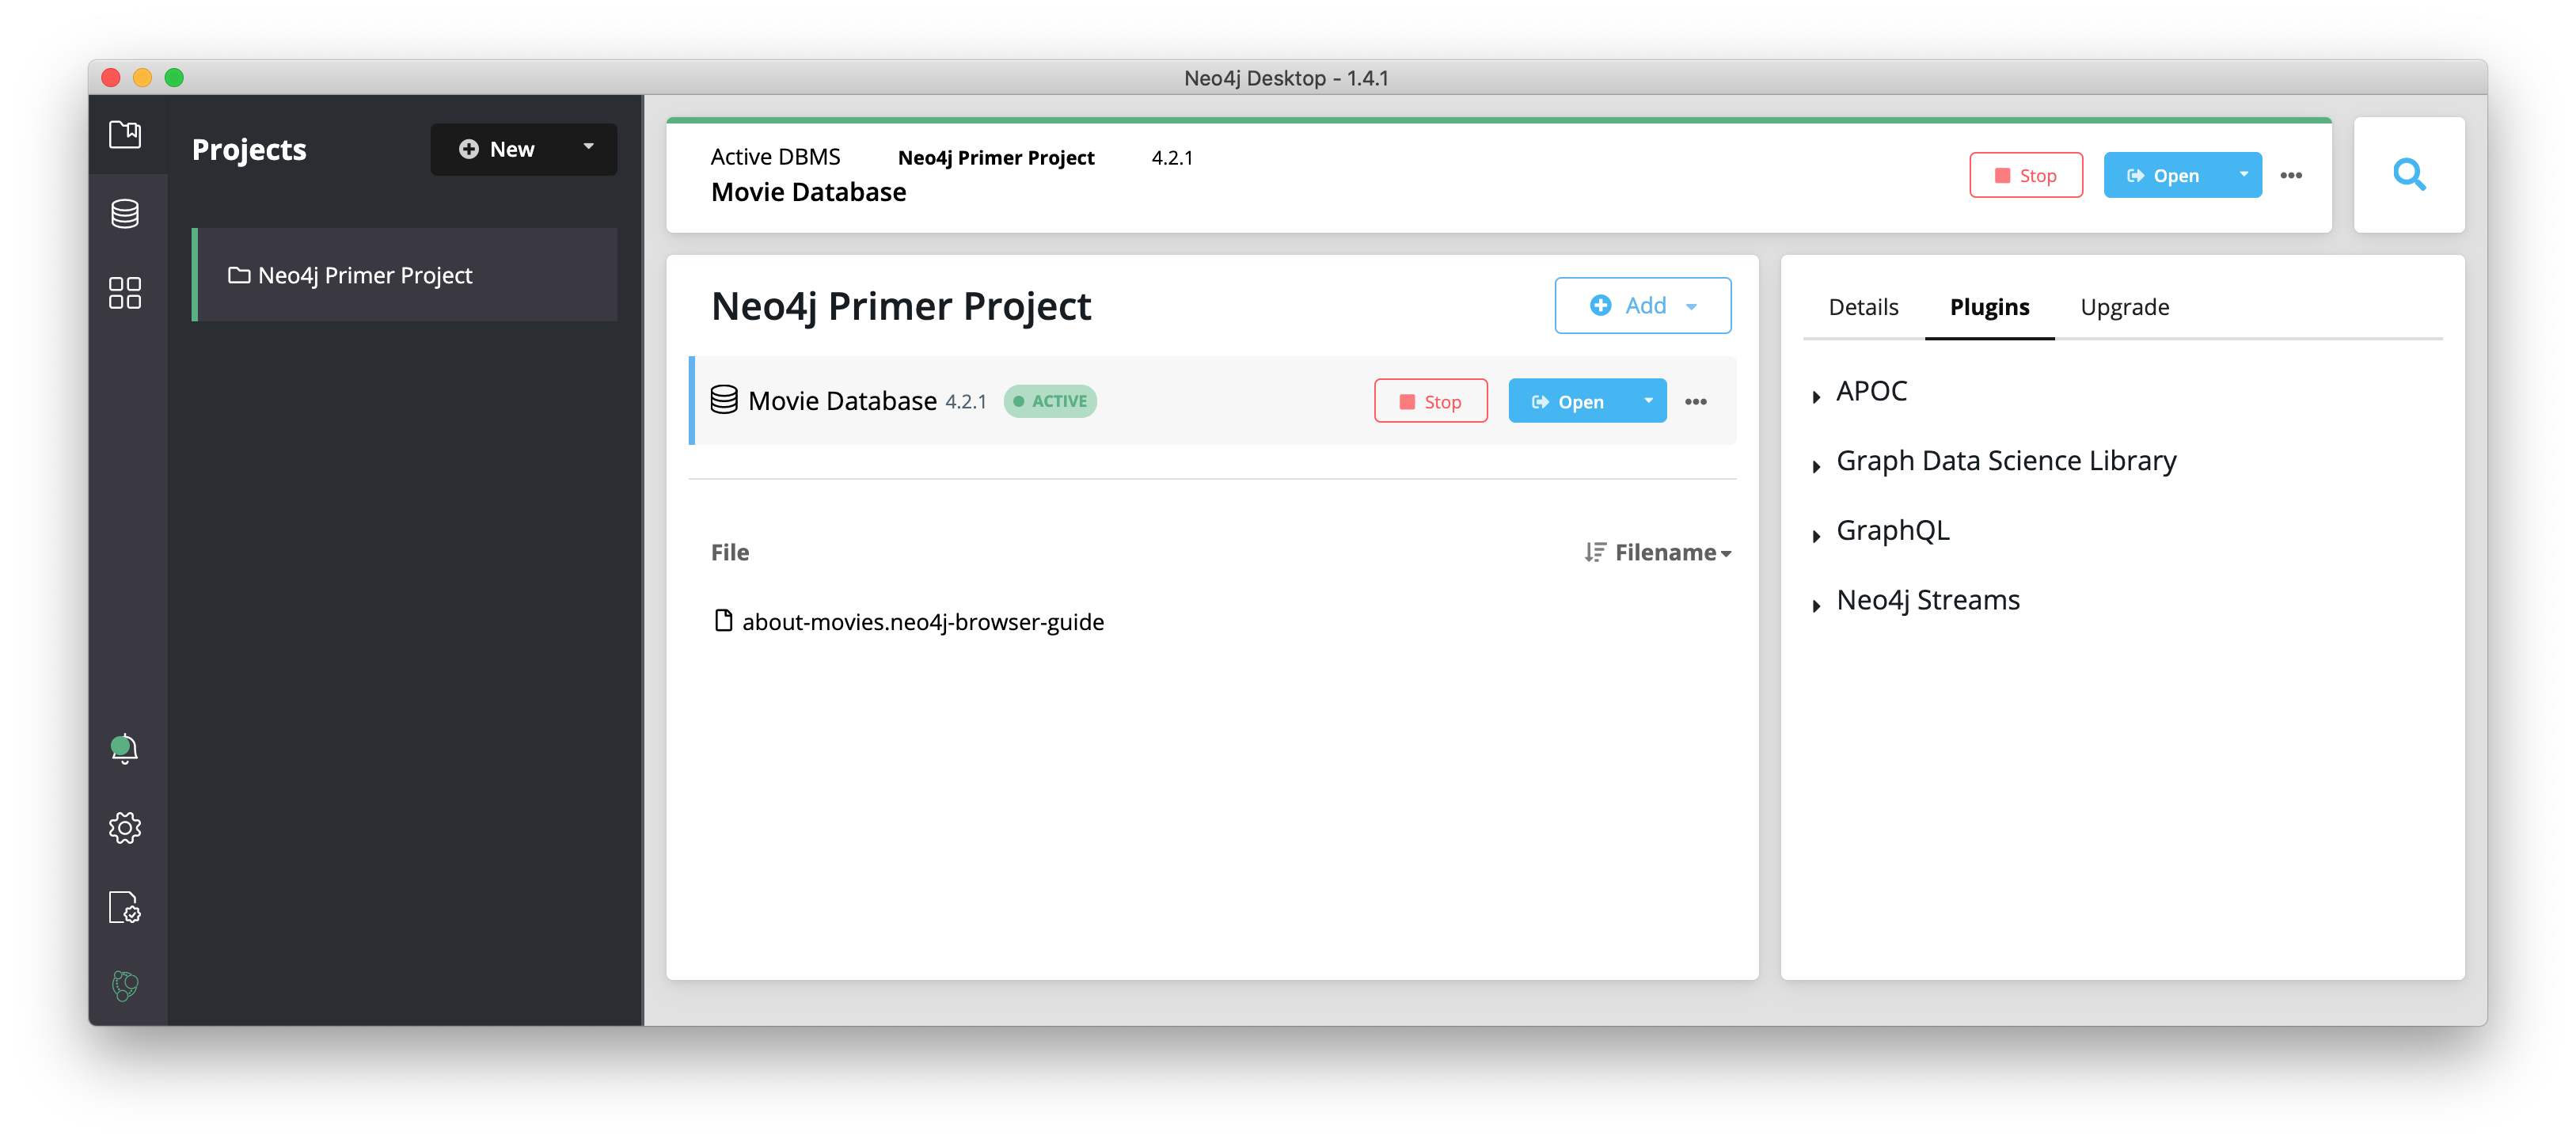
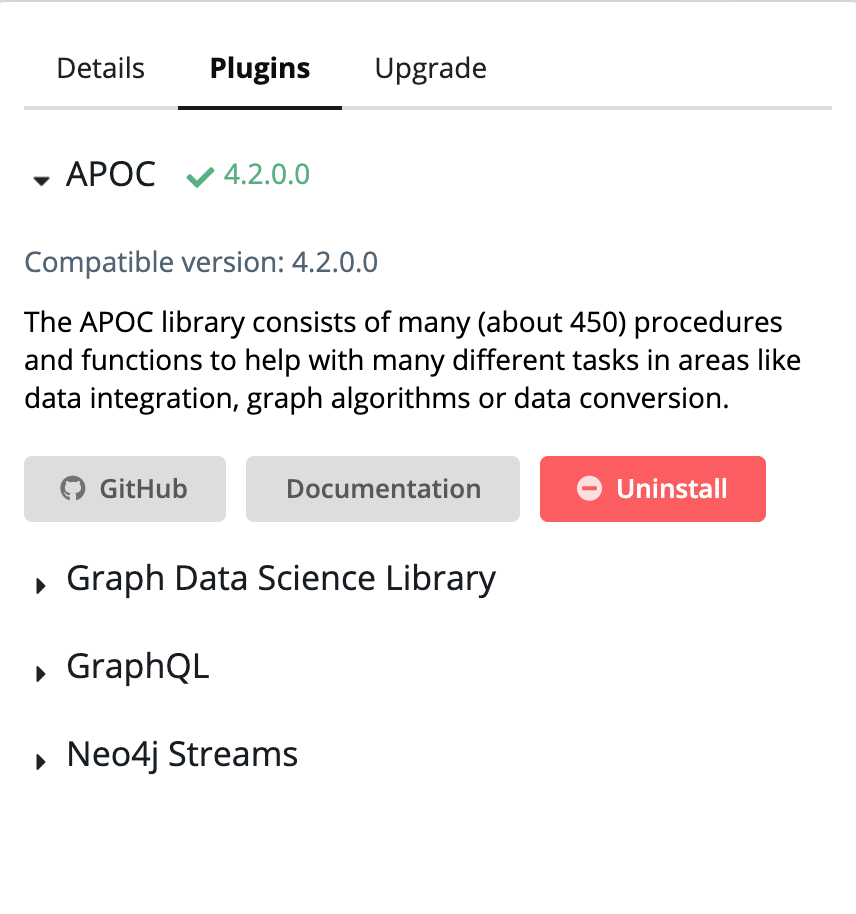
If you click the DBMS, a pane should open on the right with the Details, Plugins, and Upgrade tabs. If you do not see this pane on the right, make sure your Neo4j Dekstop window is wider to accomodate this pane.
You can install or uninstall a plugin from this tab. The version of the plugin must be compatible with the version of the DBMS. Neo4j Desktop will ensure compatibility. After you install or uninstall a plugin, you must restart the DBMS.
Here we see that we can now access APOC procedures for this DBMS:
Adding files to import
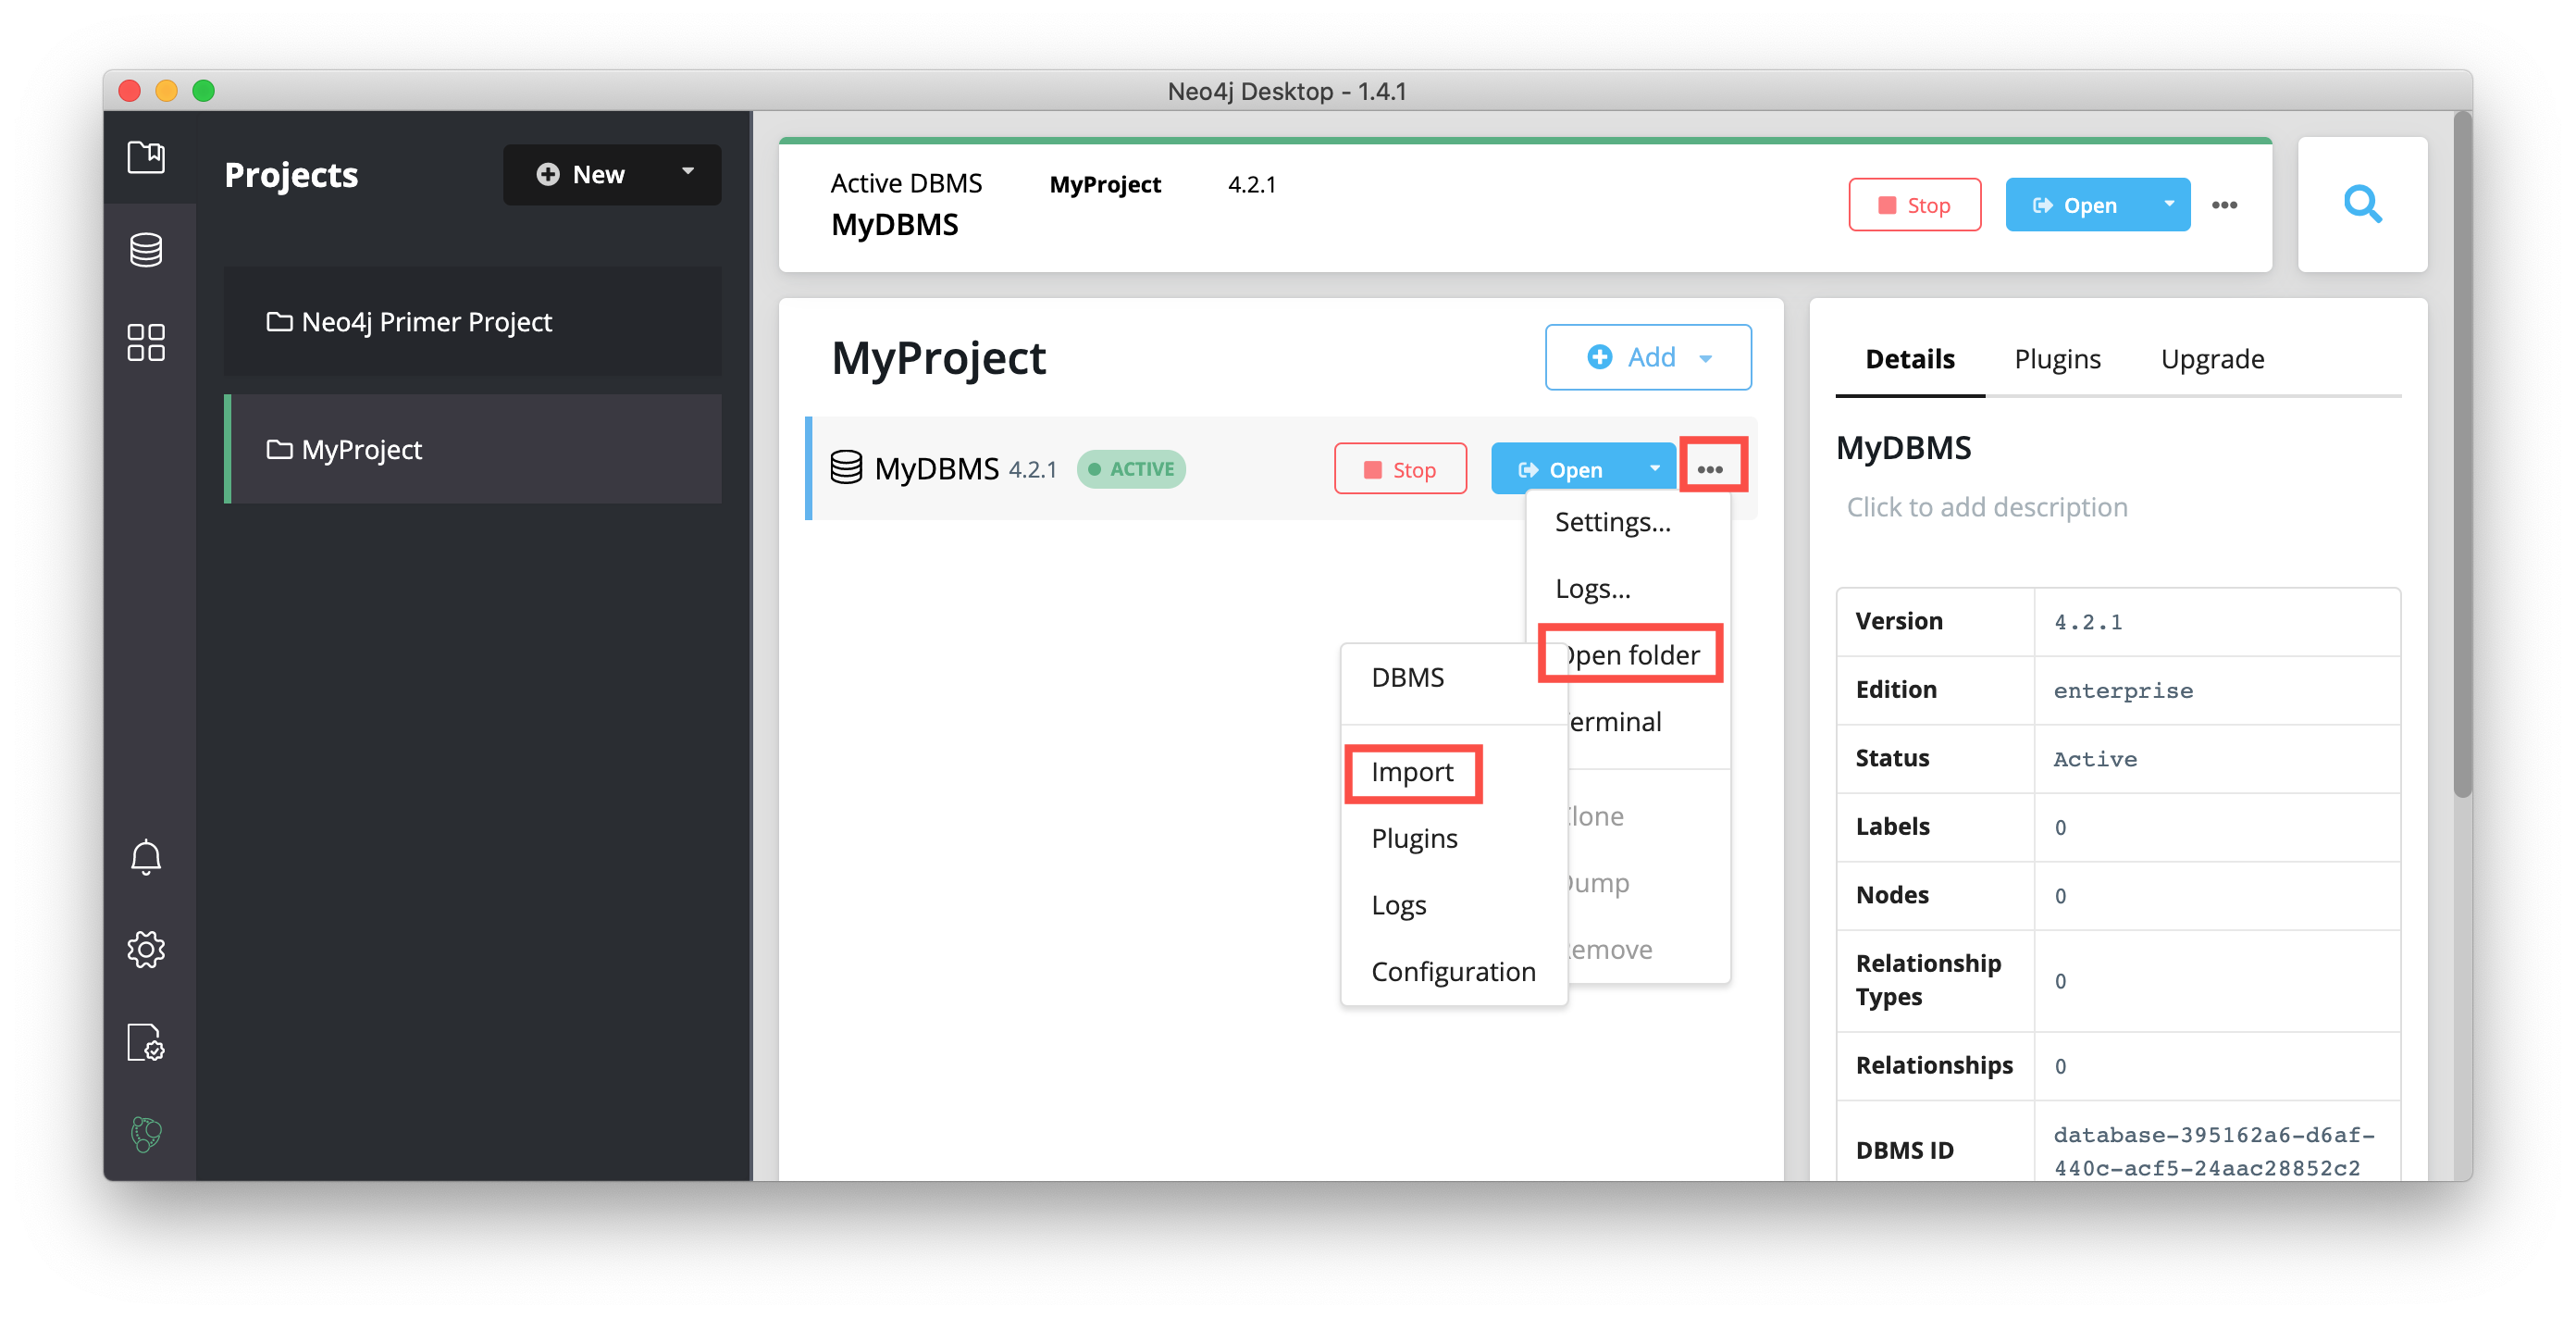
The default local folder where Cypher expects CSV files when you are importing data is the import folder for the DBMS. Open a finder window on your system by hovering over the three dots to the right started DBMS and select Open folder, and then Import:
You can copy or move CSV files into this import folder. With CSV files here, you can use LOAD CSV to import data into your database.
Opening a terminal
You can open a terminal window that will be automatically ready for using your Neo4j DBMS. In a terminal window you can use the command-line tools that are available in your installation such as:
-
cypher-shell
-
neo4j-admin
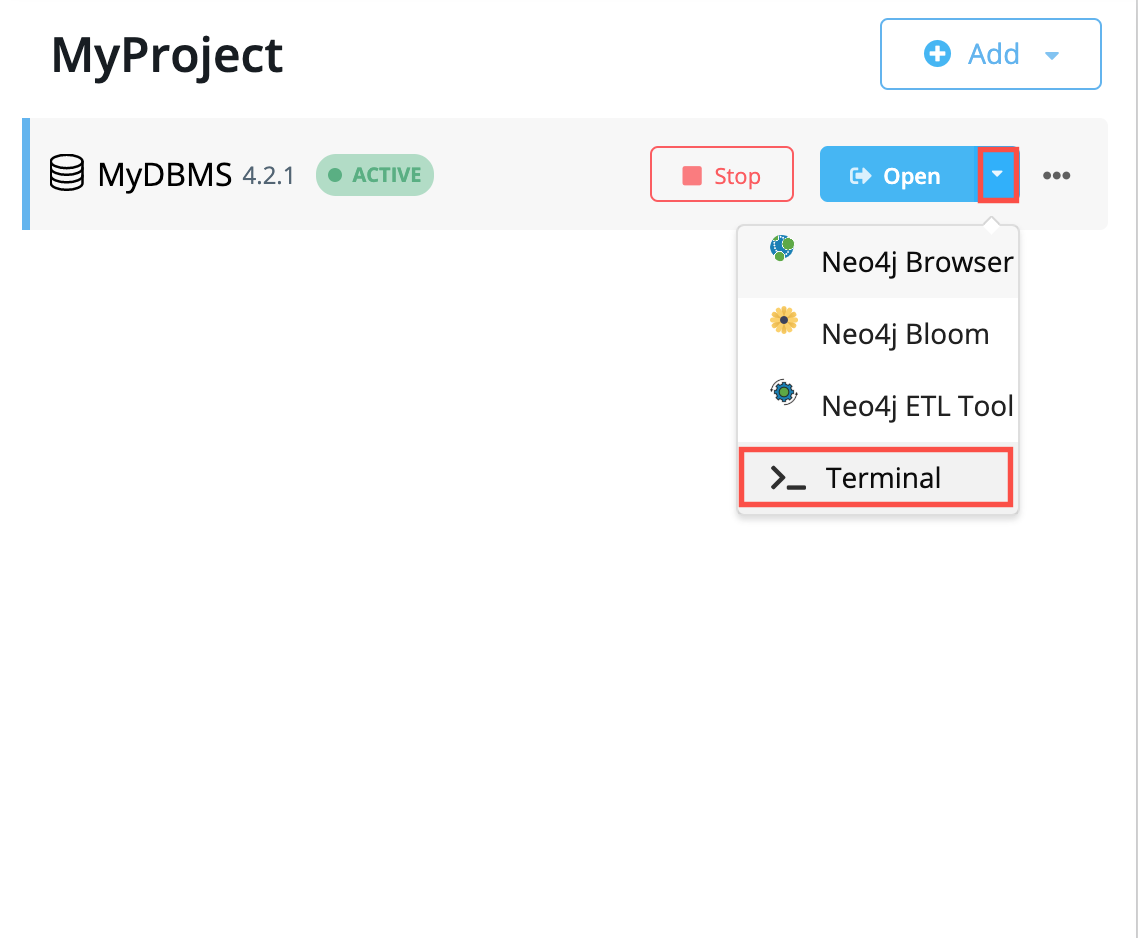
To open a terminal window you select the dropdown menu to the right of the Open button and select Terminal:
In the terminal window you can navigate to the bin directory to execute the cypher-shell or neo4j-admin tools.
Modifying settings for the DBMS
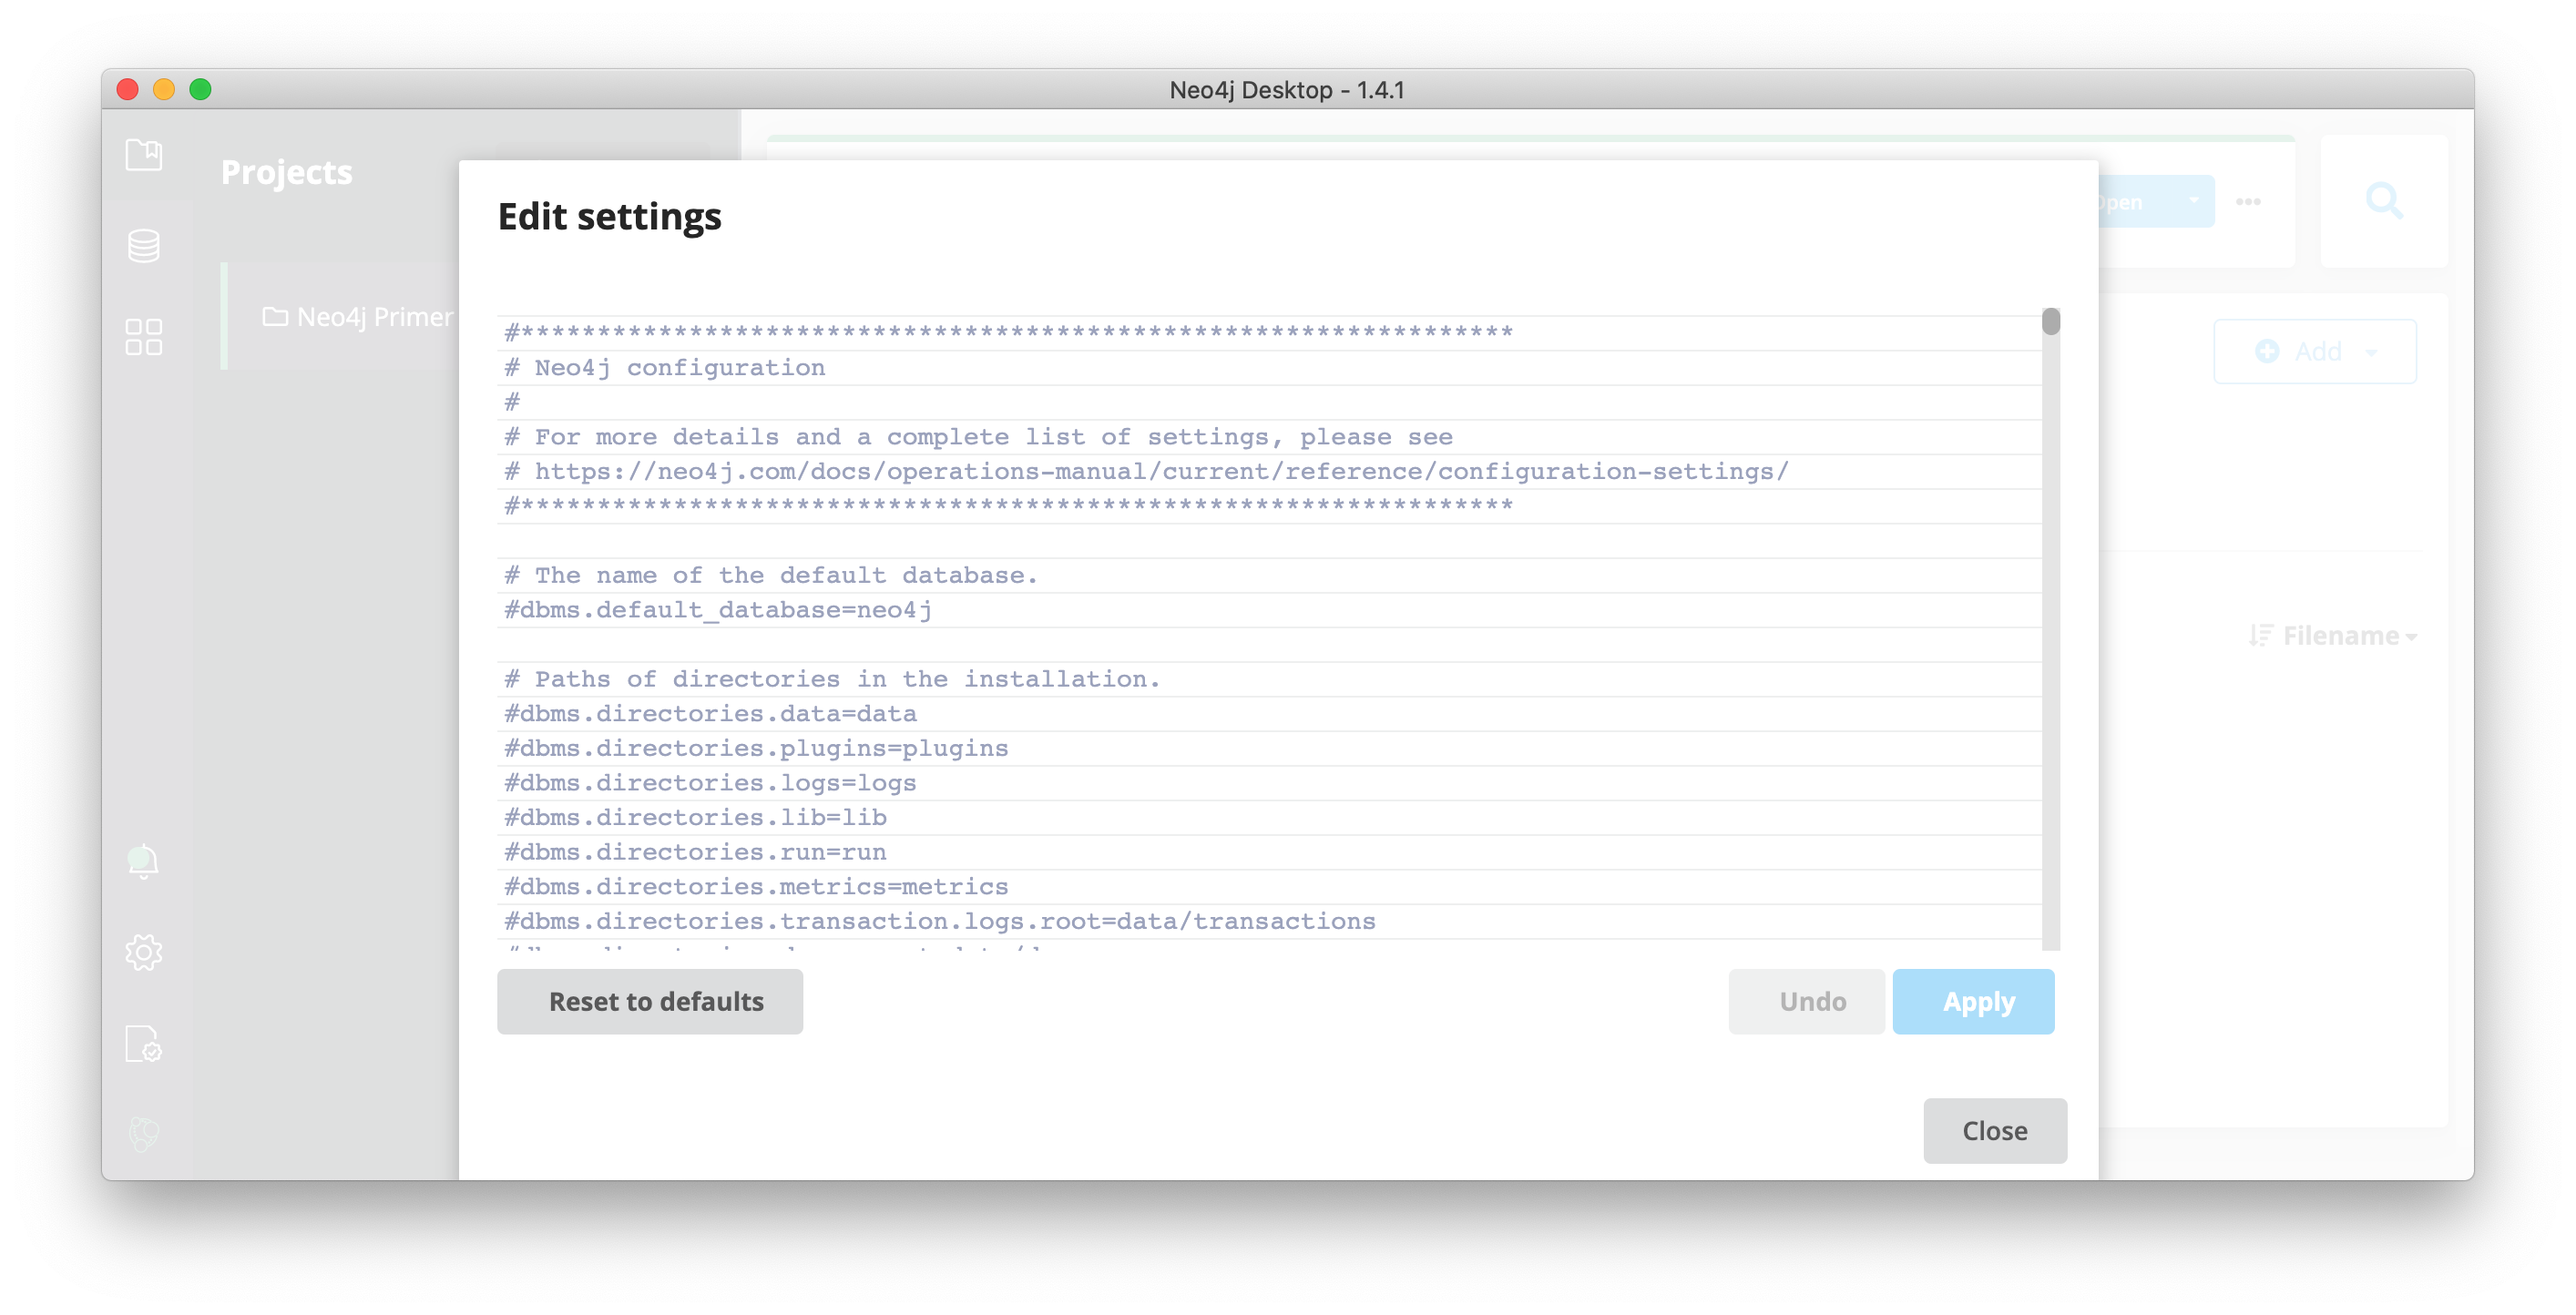
You can view or modify settings for the DBMS by selecting the dropdown menu to the right of the Open button and select Settings.
The current settings for the DBMS are displayed. You can modify them. In most cases the DBMS will need to be restarted.
Viewing logs
There are different types of log files associates with a DBMS.
The main log file can be viewed by selecting the dropdown menu to the right of the Open button and select Logs.
Here is the neo4j.log file:
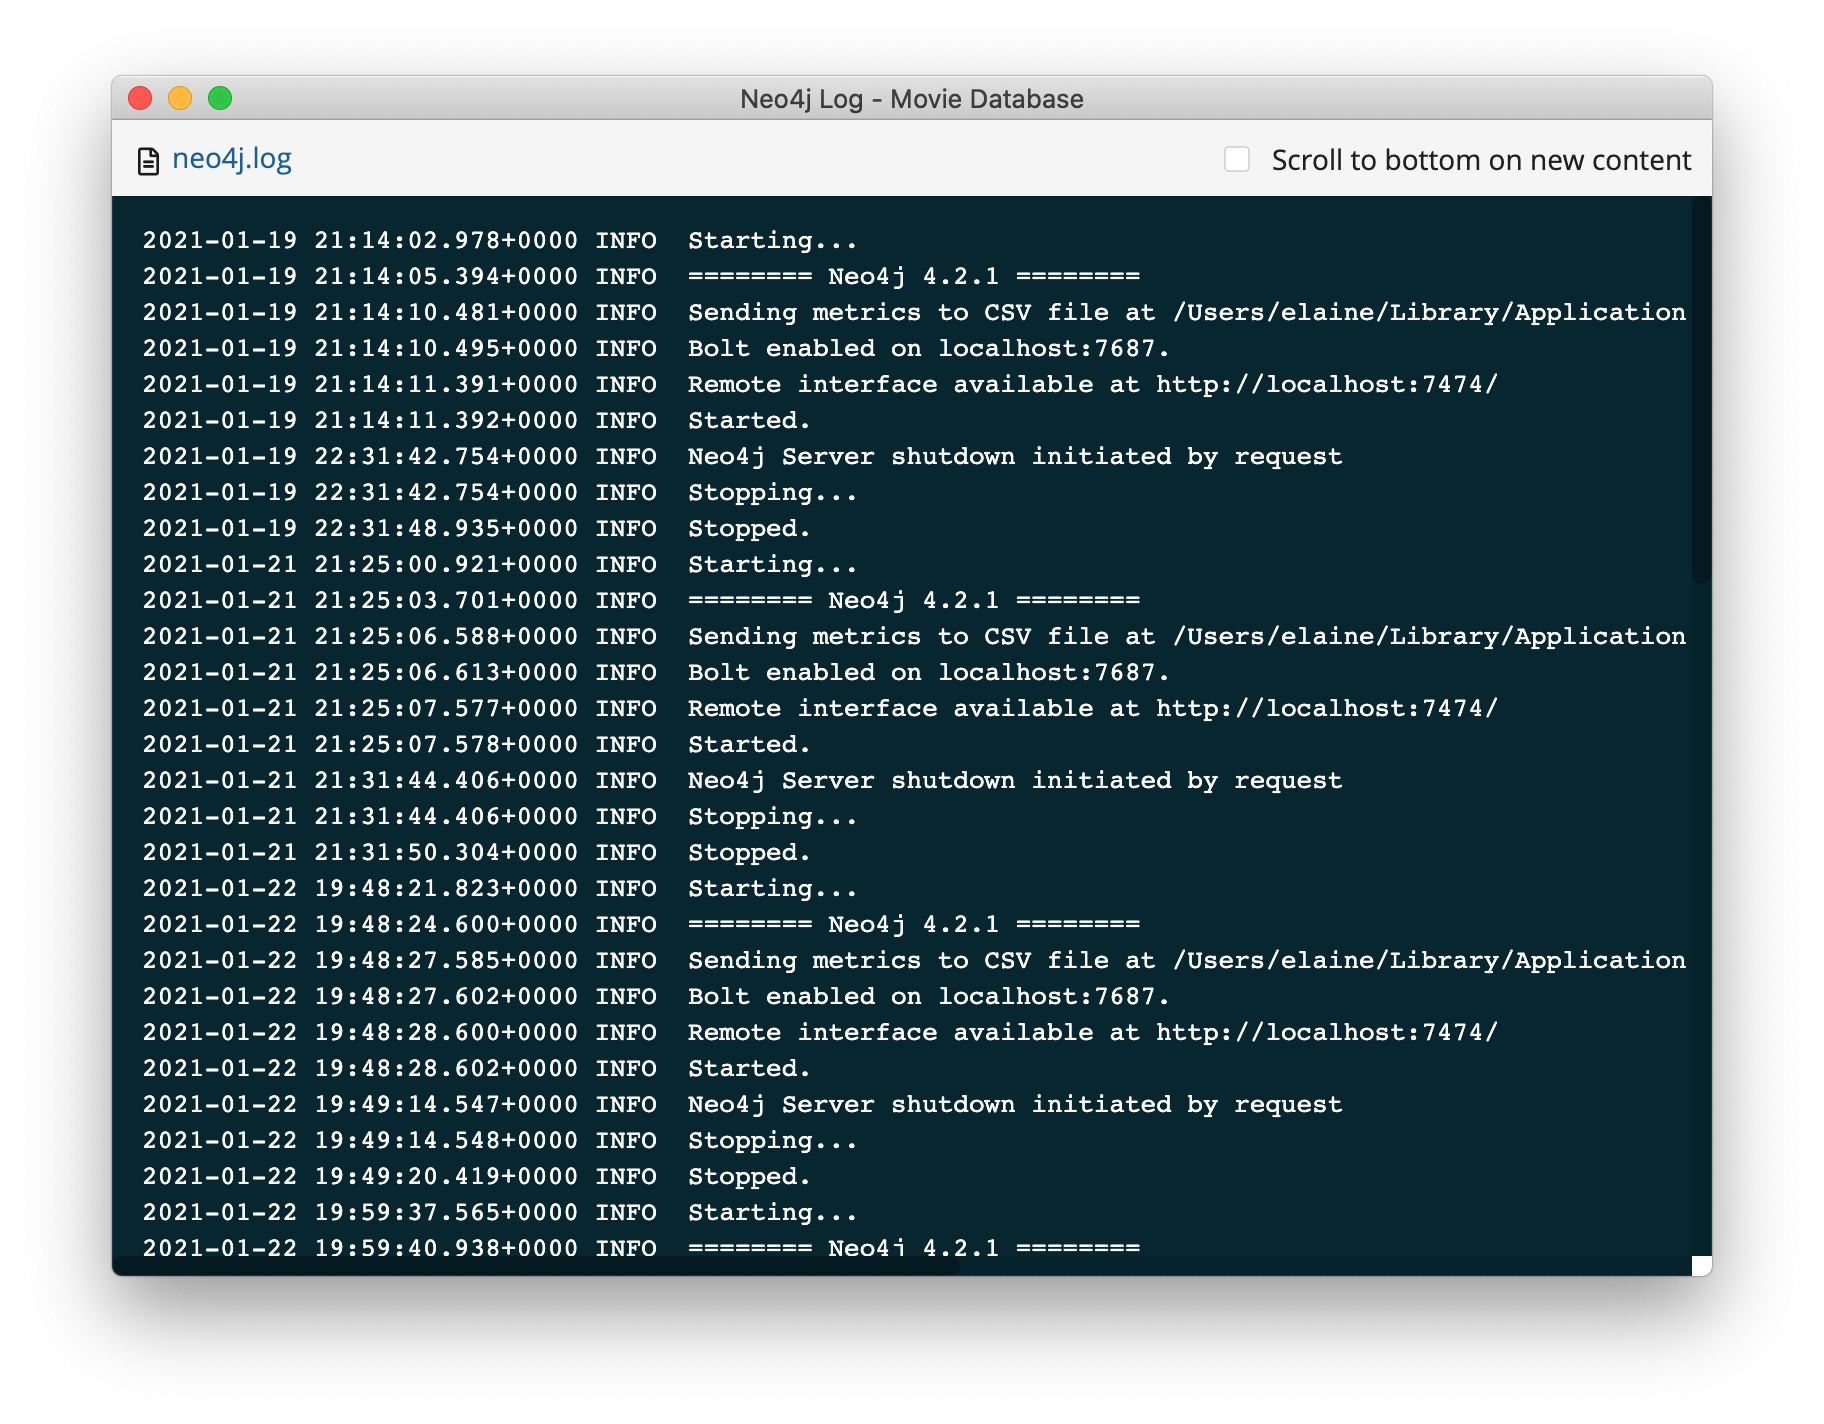
There are other log files that can be used by the Neo4j DBMS. These files are all found in the logs directory.
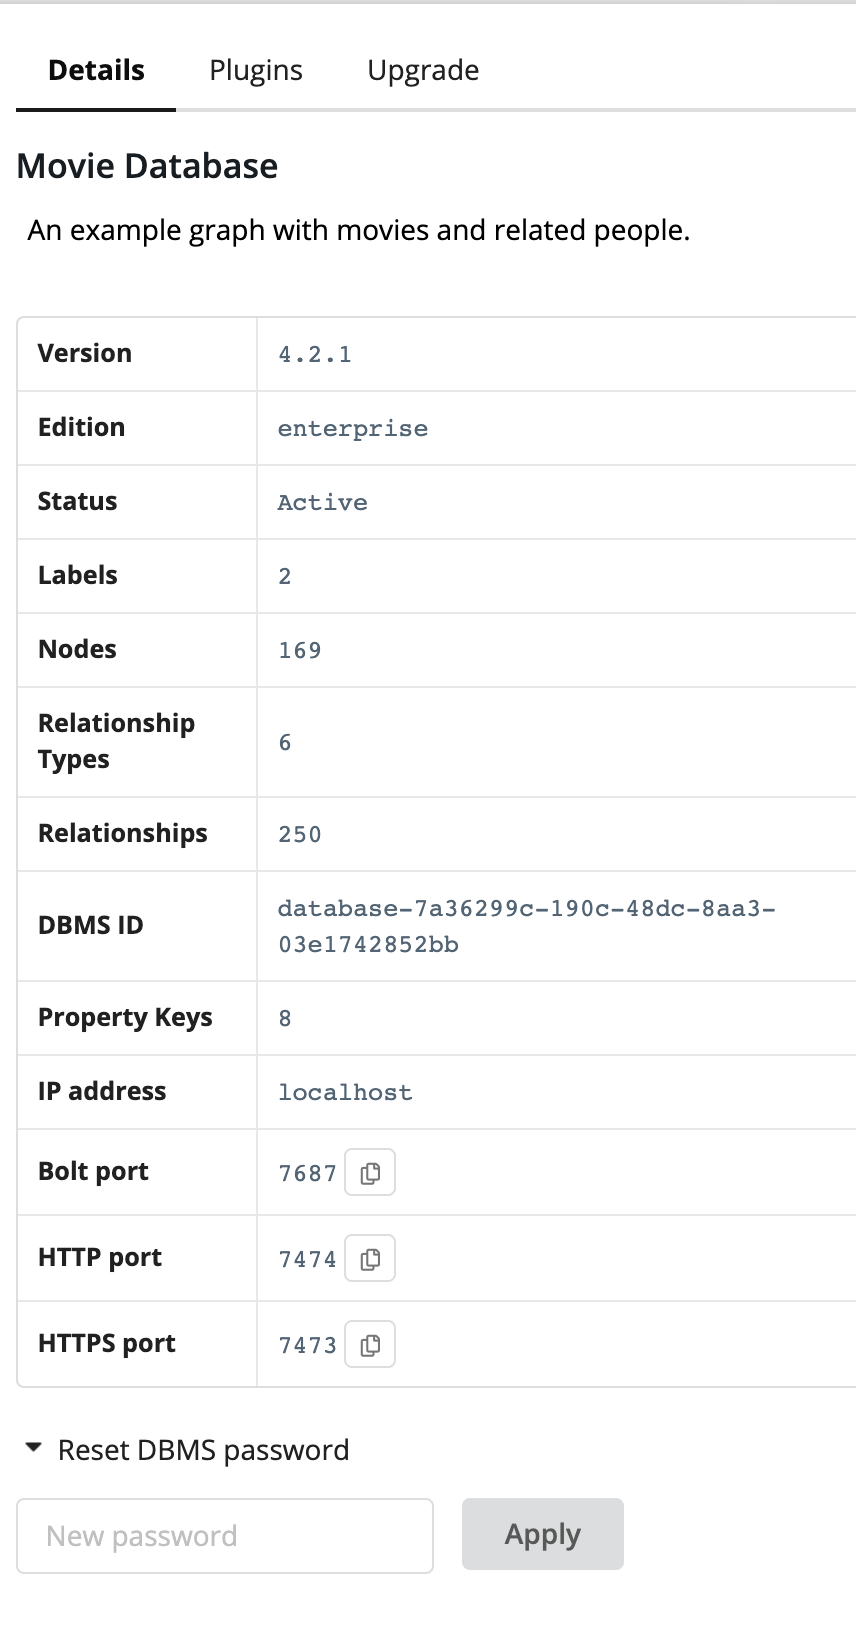
Resetting the DBMS password
You may have forgotten or want to change the password for the DBMS. You can reset it by clicking the DBMS, where a pane should open on the right with the Details, Plugins, and Upgrade tabs. If you do not see this pane on the right, make sure your Neo4j Desktop window is wider to accommodate this pane.
If you scroll to the bottom of the Details pane, you can reset the password for the DBMS:
Feedback & Questions
If you have feedback or questions on how to use Neo4j Desktop, feel free to reach out to us. You can submit messages to us through the Neo4j Desktop category on the Neo4j Community website. If you have spot any bugs, please create an issue in the Neo4j Desktop Github Repository
Next Steps
Now that we covered the basics of Neo4j Desktop, you can start working with data using our query language, Cypher. You can also get a feel for interacting with Neo4j through Neo4j Browser. The Neo4j Sandbox walks you through demos of popular use cases in Neo4j and helps you get more familiar with the interfaces and Cypher. If you’re ready to dive in, feel free to check out how to import your data to Neo4j. Our Language Guides section shows you how to create an application in your preferred programming language to interact with data in Neo4j.
Was this page helpful?